Introduction
Atoraxxion: Orzekea is a co-op dungeon for a party of 5 players, with strategies, puzzles, and a final boss to defeat. The dungeon was created by a Sage in the past as a last effort to train before the Black Spirits arrived in the world. Atoraxxion is divided into 4 different themes: Desert, Ocean, Canyons, and Forest, with each theme having its own unique mechanics.
All planned dungeons are now released:
- 1st Dungeon: Vahmalkea
- 2nd Dungeon: Sycrakea
- 3rd Dungeon: Yolunakea
- 4th Dungeon: Orzekea
The dungeon includes a monster zone for you to grind in and is not a “typical” dungeon style, since it is not instanced until the final boss. You can also challenge the dungeon in a party and players get rewards for defeating the final boss and completing the weekly quests.


How to enter the Dungeon
To enter the dungeon, your character needs to be at least level 60, and it is recommended (but not mandatory) to complete the questline first through the solo adventure mode.
You can enter the dungeon through the gate at the Ancient Stone Chamber.
There are three difficulty options when entering the dungeon:
- Elvia Realm – recommended 280 Kutum AP and 340 DP
- Normal Server – recommended 250 Kutum AP and 300 DP
- Season Server – recommended DUO Tuvala gear
Make sure to select the Orzekea option to enter Orzekea directly. You can also enter Orzekea after completing the Vahmalkea, Sycrakea, or Yolunakea zones’ final boss.

Main Quest – Solo Story Adventure
You can complete the Atoraxxion main questline “[Atoraxxion] The Last Stronghold, Atoraxxion: Orzekea”.
- The first quest in the questline is called “[Atoraxxion] Patron’s Influence” and is obtained from your Black Spirit
This is a family quest that has the following requirements to begin:
- Level 60 or higher
- Completed “[Atoraxxion] Yolu’s Paradise” from the Atoraxxion: Yolunakea questline

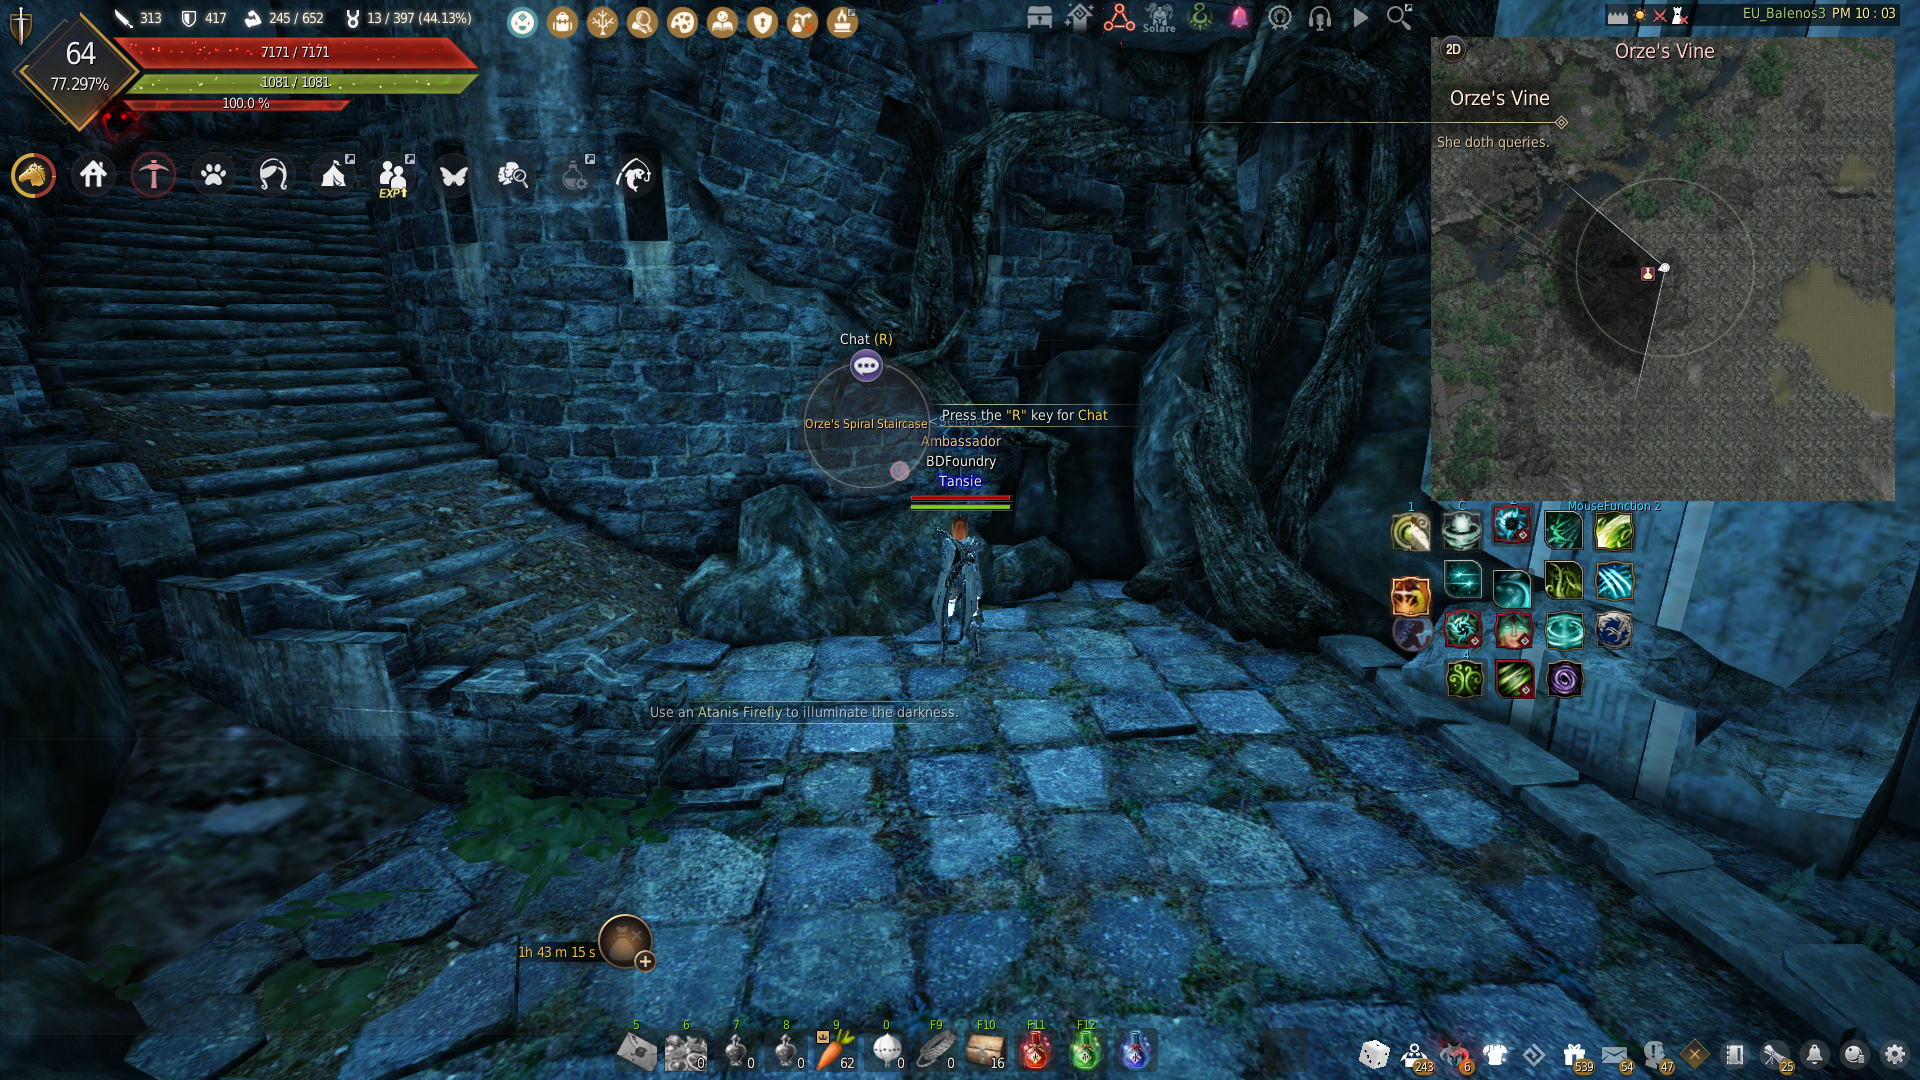
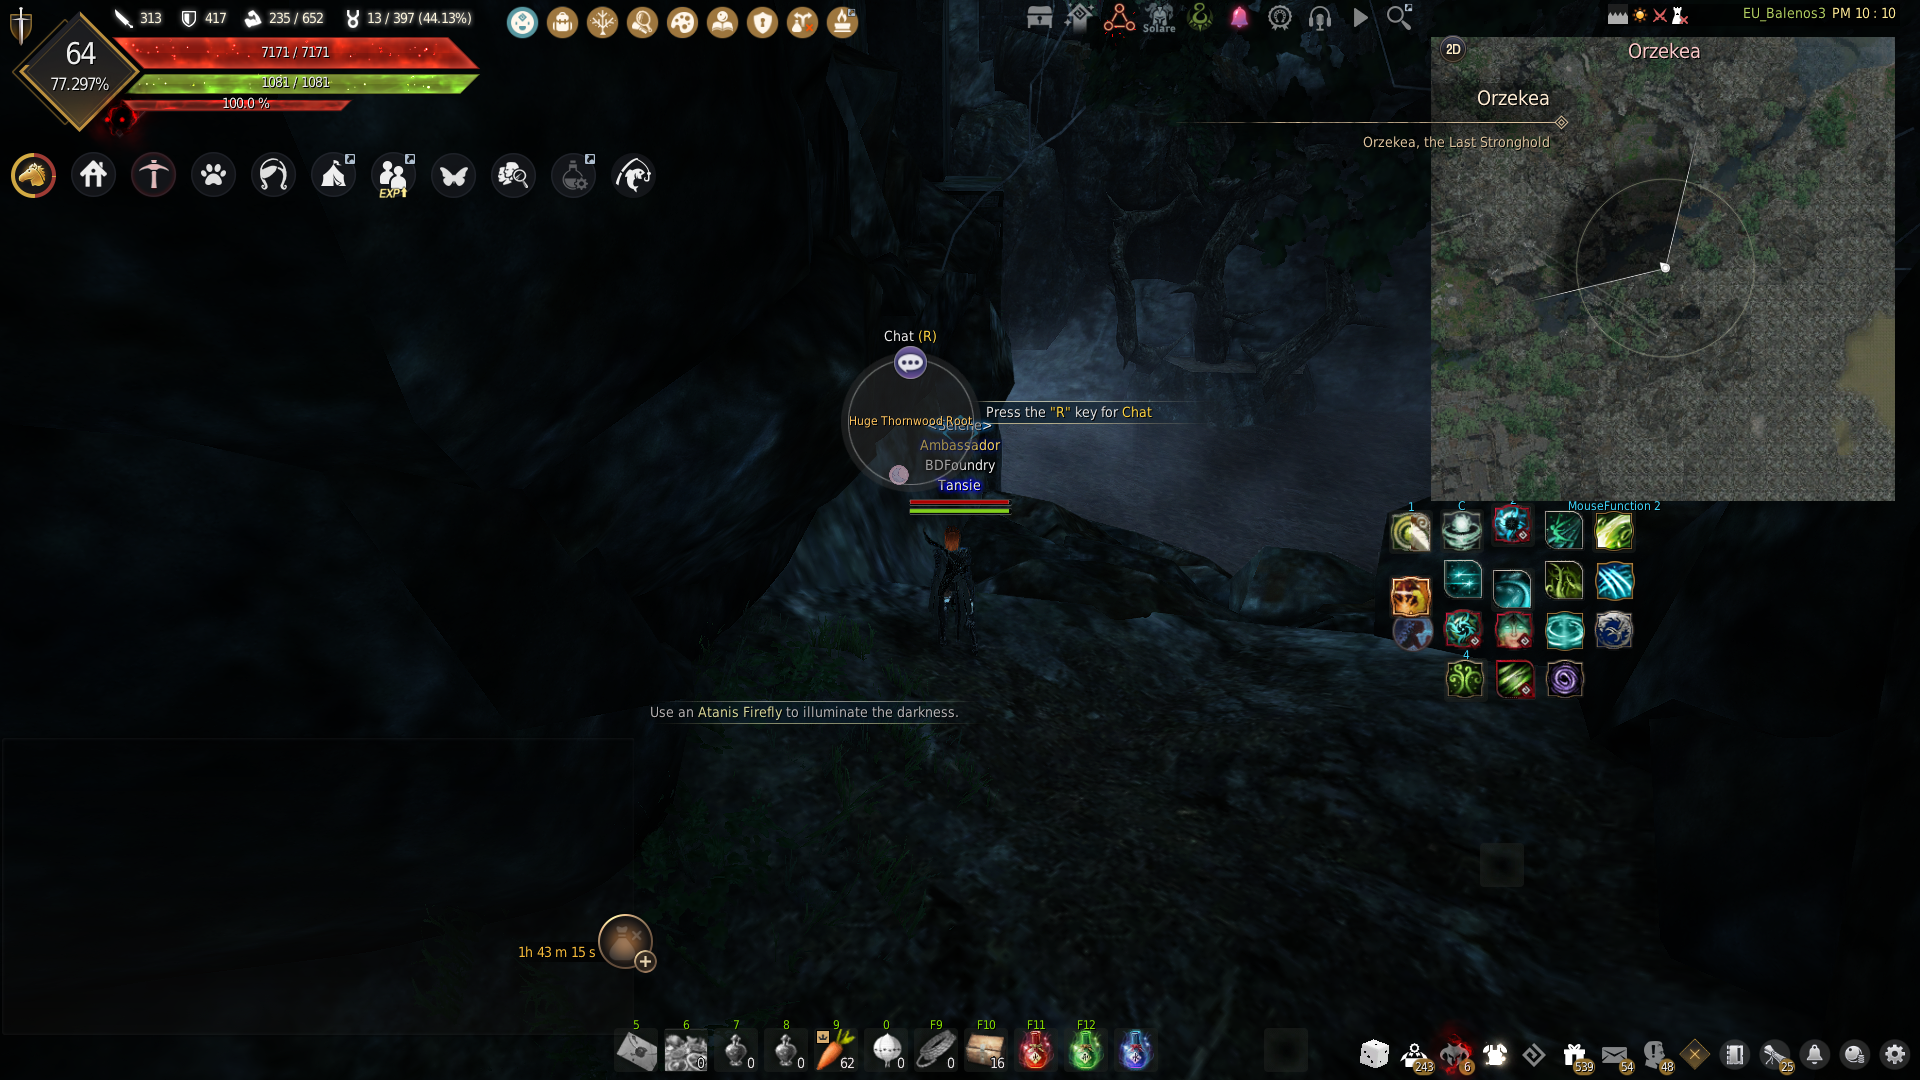
Progressing through the Dungeon
Once you are inside the dungeon, the normal monsters are like a normal grind spot, and players can see each other if they are on the same channel. However, the final boss will be focused and faced in a separate instance for your party only.
The normal monsters in the dungeon are Ancient Weapons. Each monster has a special mechanic that makes them easier to defeat.
Unlike other Atoraxxion Dungeons, you do not need to defeat the trash monsters to obtain items and progress through the dungeon. Instead, you can simply defeat the mini-boss “Cathawen” to obtain the ![]() Holy Devotee’s Dagger and immediately challenge the final boss. Cathawen can be found in certain spots throughout the dungeon.
Holy Devotee’s Dagger and immediately challenge the final boss. Cathawen can be found in certain spots throughout the dungeon.
| Item Name | How to obtain | Use |
|---|---|---|
| Obtained when defeating mini-boss Cathawen | Used to enter Orze’s Cradle and challenge the final boss |

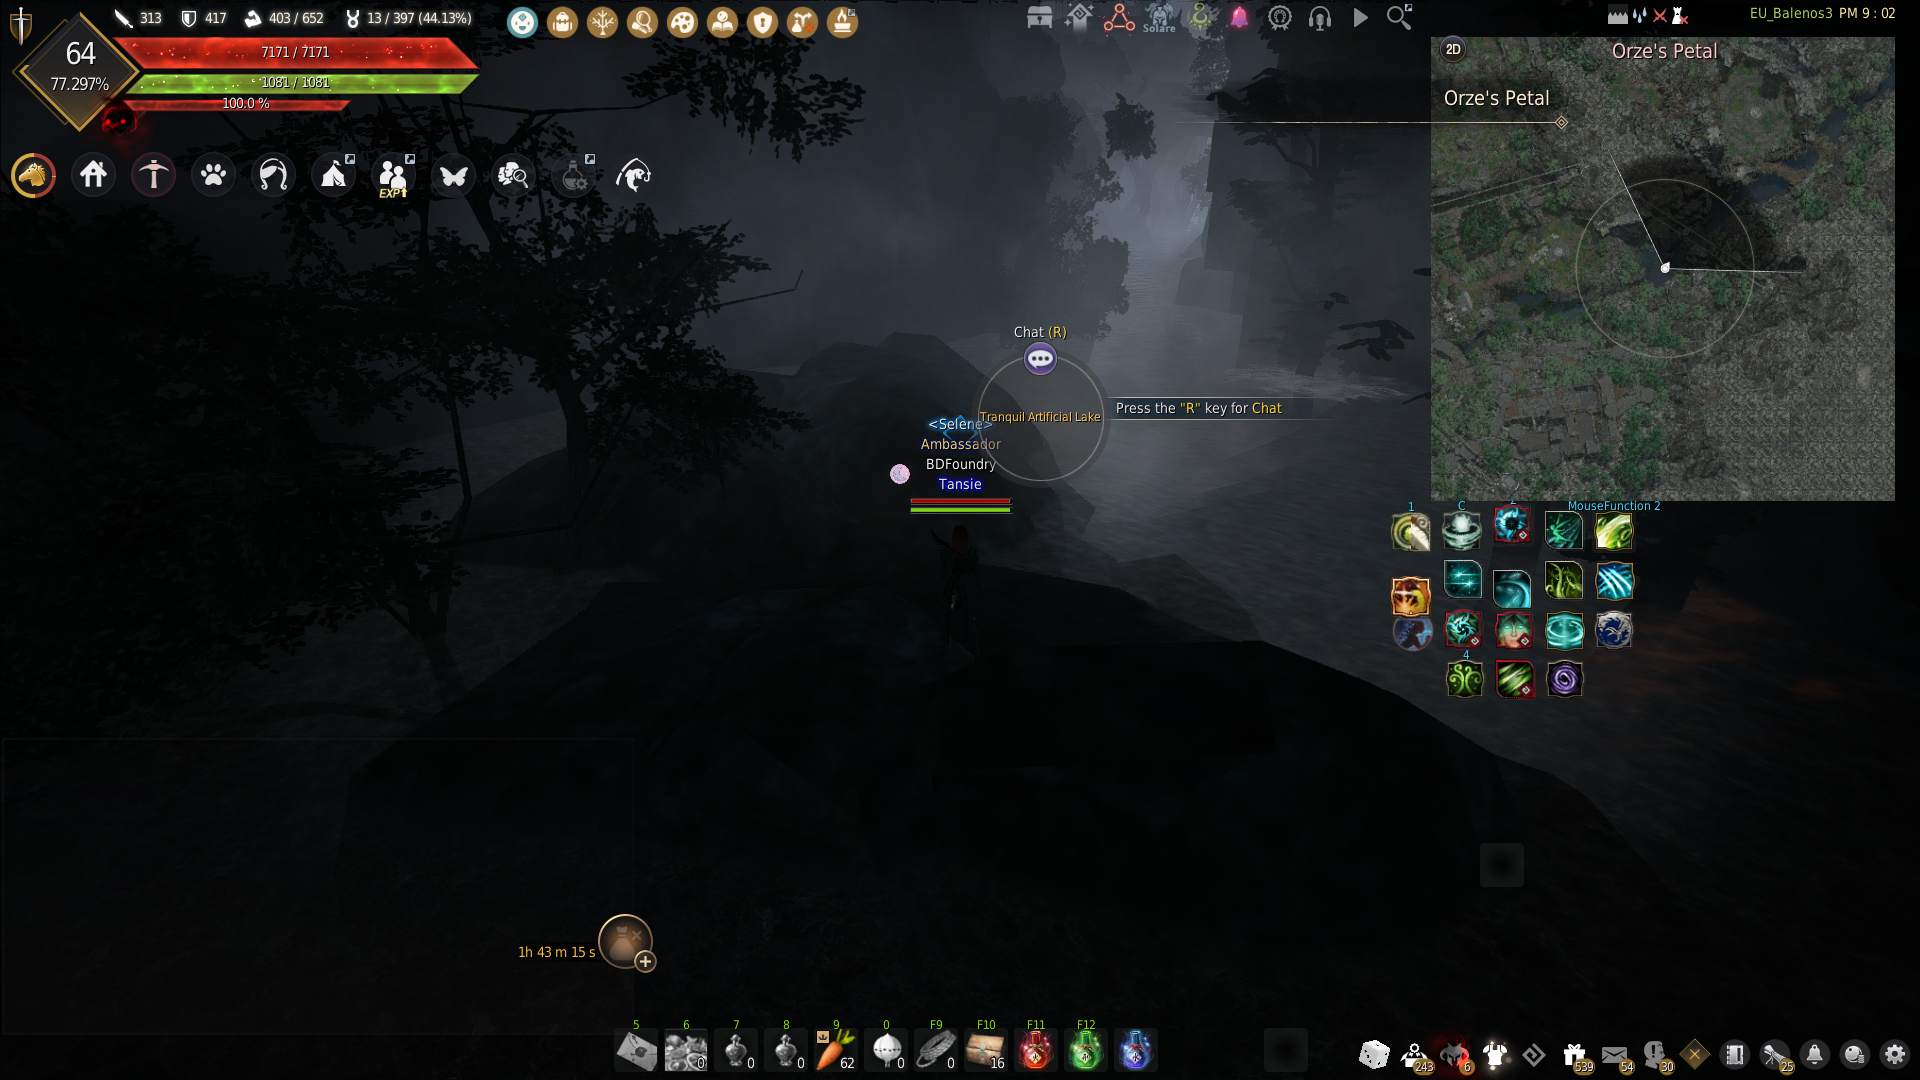
Map of the Dungeon
Click image below to open in full screen
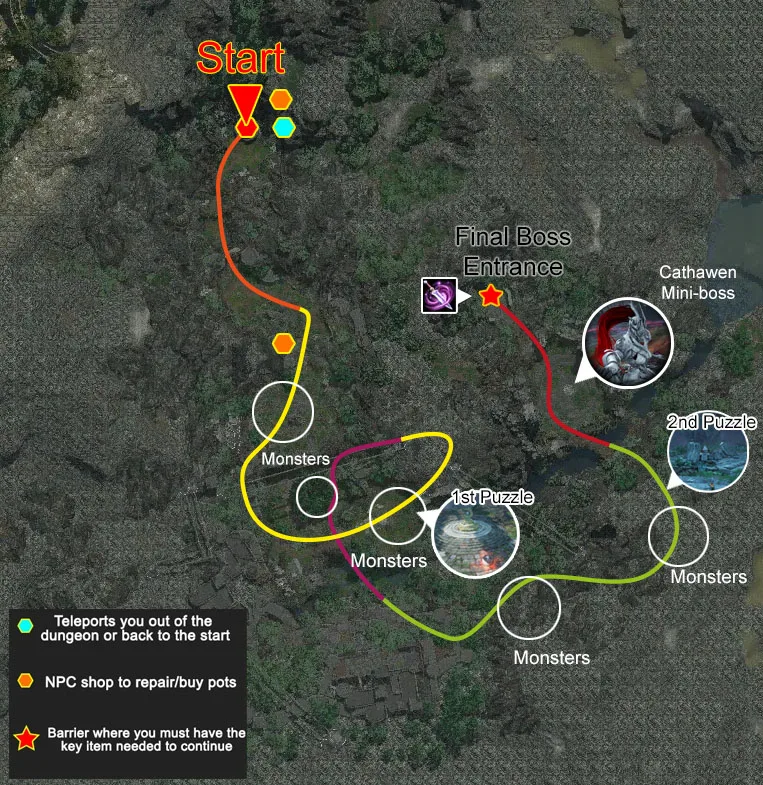

Atoraxxion NPC/Supply Depot – You can repair or buy potions and other items here
Monster Zone
Atoraxxion Orzekea can also be challenged as a monster zone.
When you enter Orzekea in the Elvia Realm, you’ll find general monster zones with lethal weapons like Spiran, Centarion, and Leos.
- As you subjugate these monsters, the alert phase is activated, bringing forth [Ancient Weapon] Spiran, Centarion, and Leos. Reach the final alert phase, and Alketa, an even stronger monster, will spawn with a notice.
- The monsters here aren’t affected by bonus Species Damage.
| Recommended Stats |
|---|
|
Recommended AP: 350 / Recommended DP: 440
Recommended AP: 1100+ (Based on Total Stats)
Recommended Damange Reduction: 700+ (Based on Total Stats)
|
The main loot you can obtain from defeating Centarion, Leos, Spiran, and Alketa is as follows:
- Deboreka Belt
- Deboreka Earring
- Gem of Void
- Caphras Stone
- Ancient Spirit Dust
- Black Stone
- Sealed Black Magic Crystal
- Thorn-Entwined Weapon Fragment (Junk loot, sells for 96,040 Silver at shops)
| Monsters |
|---|
 Centarion
|
 Leos
|
 Spiran
|
 Alketa
|
Daily Quest
If you are on the Elvia difficulty of the dungeon, you can collect 2 daily quests to defeat monsters
- On the Elvia server, characters at lv. 60 or above can take on daily quests from [Investigator] Ivor.
- The 2nd quest is only availalbe after completing the first quest (Orzekea Ancient Weapon Research)
- Daily quests reset every day at 00:00 UTC
- You’ll find Ivor at the foot of the stairs between “Orze’s Root” and “Orze’s Base” in the Elvia Realm of Orzekea.
| Quest Name | Quest NPC | Objective | Reward |
|---|---|---|---|
| [Elvia Daily] Orzekea Ancient Weapon Research | [Investigator] Ivor | Kill 200 monsters in Atoraxxion: Orzekea | Caphras Stone x15 Contribution EXP (800) |
| [Elvia Daily] Subdue Alketa | [Investigator] Ivor | Defeat Alketa | Caphras Stone x30 Contribution EXP (800) |

Puzzle Walkthroughs (Main Quest)
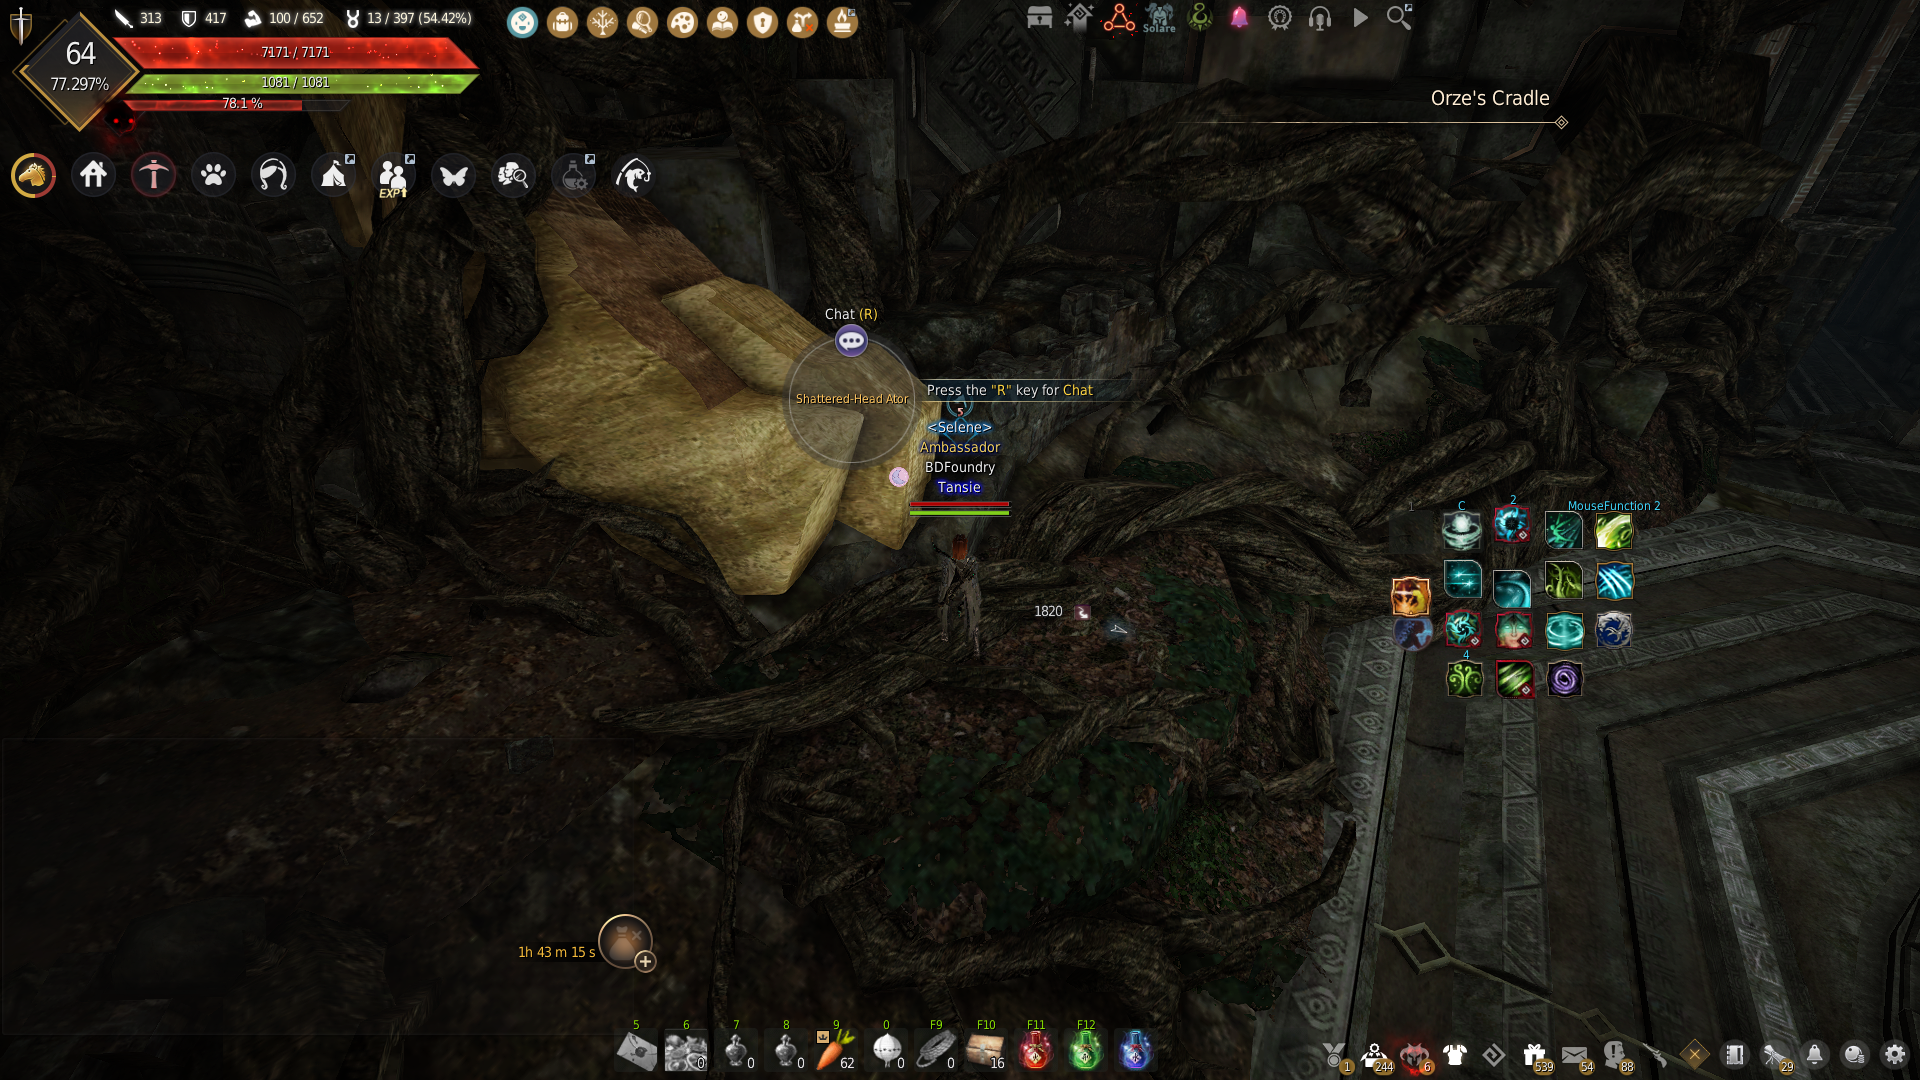
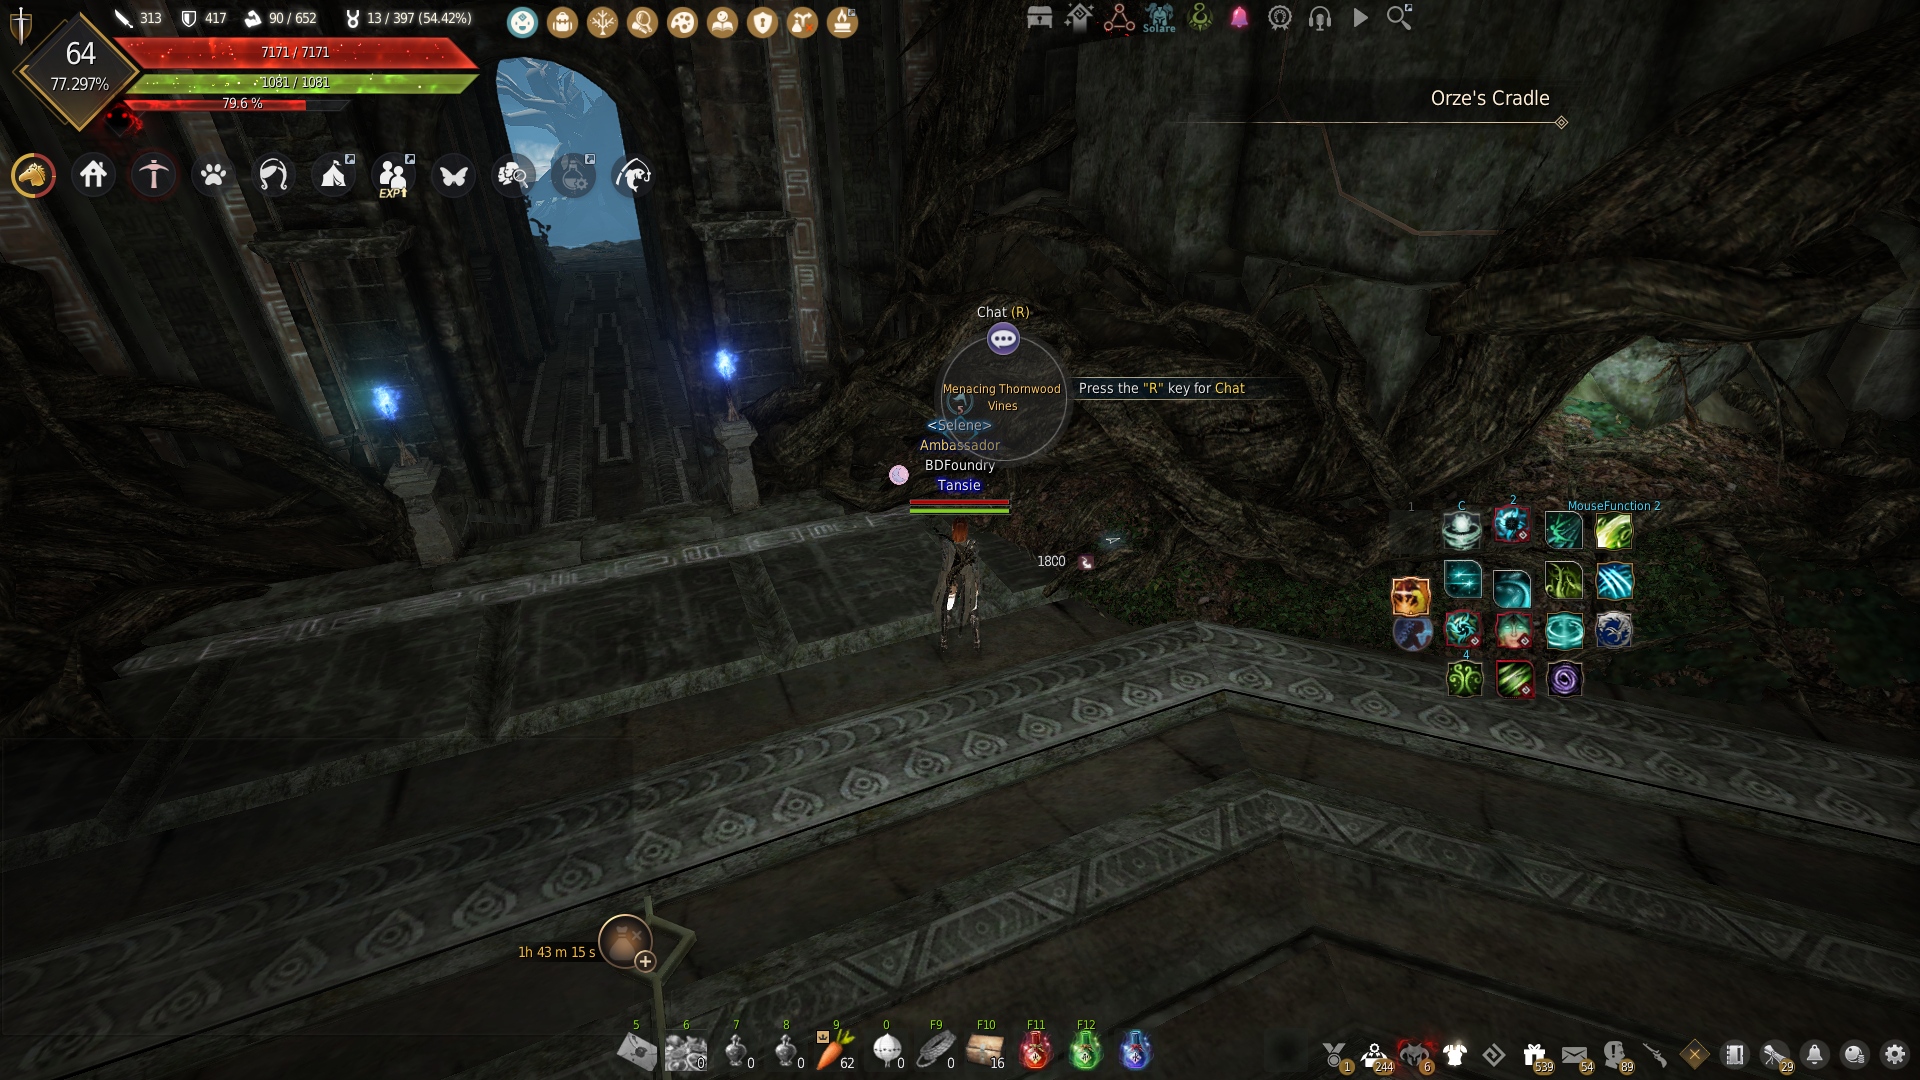
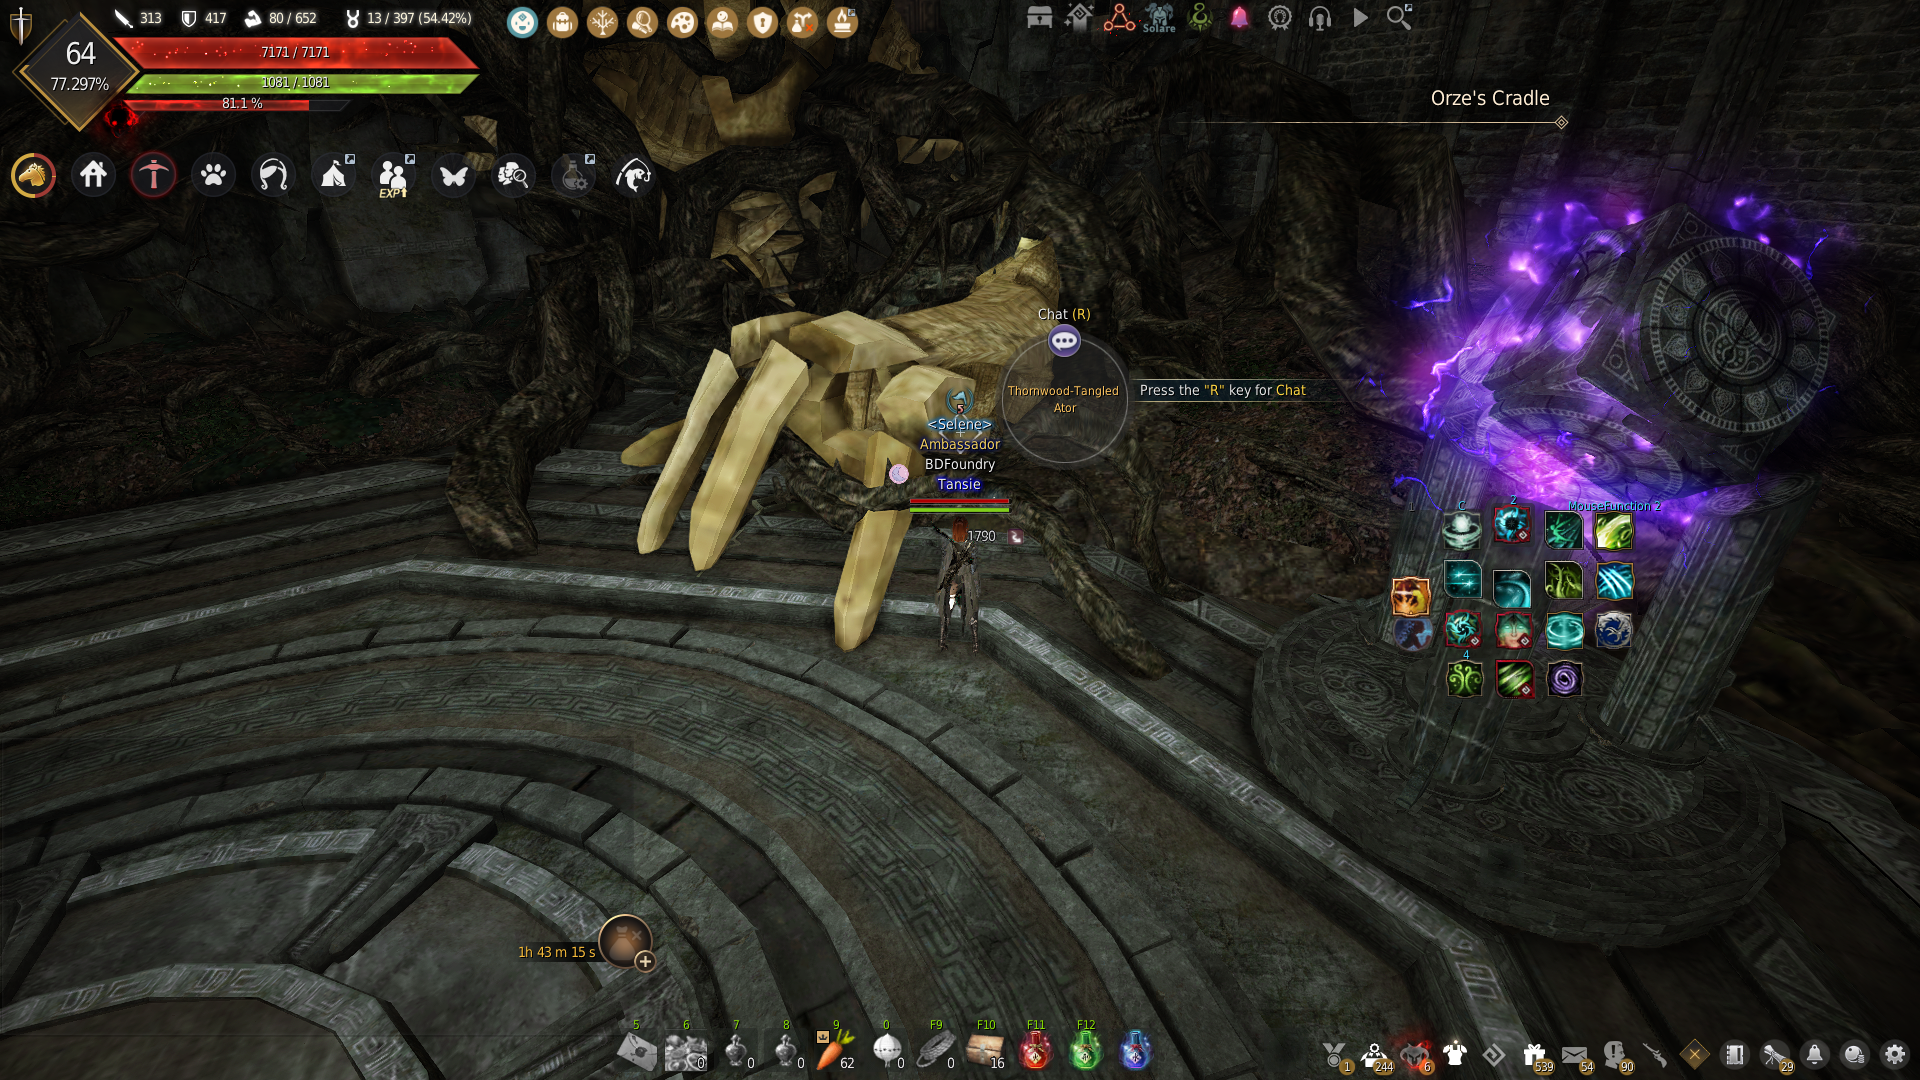
1st Puzzle – Floating Sphere
- You will see a floating sphere that glows red or yellow.
- There will also be a yellow beam indicating a platform.
- When you hit the sphere, it will move in the direction you are facing.
- Hit the sphere using auto-attacks to move it onto the platform, then interact with the sphere to complete


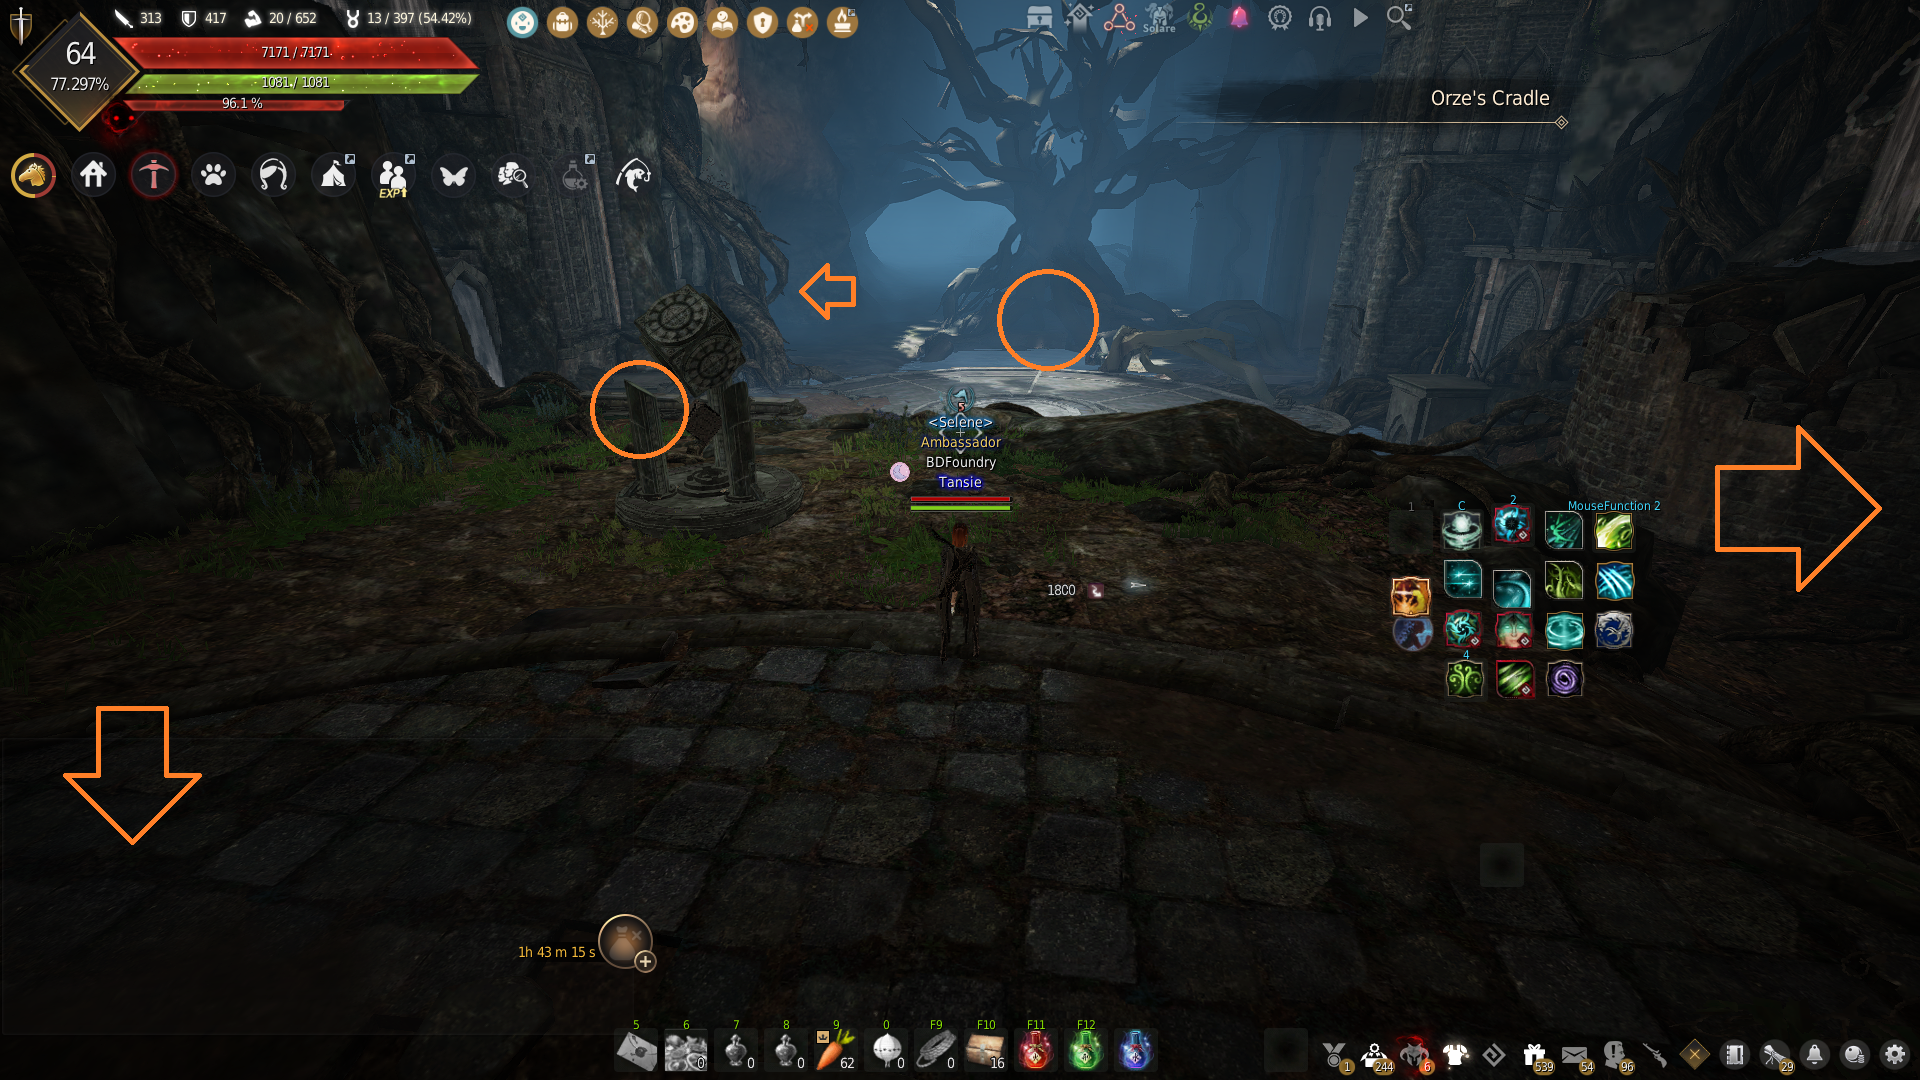
2nd Puzzle – Green, Yellow, Red
- There are 3 objects to interact with, called “First Phase”, “Second Phase”, and “Third Phase”
- Go to the “First Phase” object and interact with it, then choose the “Green” option
- For the “Second Phase” object, choose “Yellow”
- Finally, for the “Third Phase” object, choose “Red”
- There is an invisible object called “Ancient Ruins Device” that you can now interact with to complete the puzzle


Final Boss Mechanics
Phase 1
- At the start there are 2 purple portals and 2 purple pillars on the sides of the arena. In your split groups, send 2 players to one of the purple portals and the other 3 to the other portal. Monsters will appear and you must kill them at the portals.
- Once enough monsters have been killed a red notification will pop up: “Orze’s Bowl is nearly full of energy” and a sphere will appear at the portal location. You can hit the sphere to move it in the direction you are facing. Hit the sphere to move it into the purple pillar located nearby. If both of the spheres are not moved in time then the party will be wiped.
Phase 2
Root Prison: Persistent Mechanic
- When the message appears: “Stay still and your peaceful rest will come” one player will randomly be targeted and a tree will appear on top of them that will permanently root and stun anyone stuck inside. The tree prison that appears is quite large, so don’t stack on top of each other. You can free players from the tree prison by destroying the tree. You can also dodge the prison using movement abilites when you see the message appear.
Shield Mechanic: 70% HP
- When the boss is around 70% HP, the message appears: “This was my only choice. Her embrace awaited the foolish child”. The boss will then disappear and a tree will appear in the middle of the arena.
- Start destroying the tree and the message will appear “Can a mortal body stand against the divine tree imbued with the goddess’s power?”
- When this message pops up, 4 white circles will appear on the floor around the tree. When the tree is destroyed, it will explode with a purple effect, and will grant a purple shield around one of the players hit by the effect.
- The player who obtains the shield should stay in the middle, while the other 4 players go and stand in the white circles (1 player per circle – if more than 1 player enters the same circle both players instantly die). You must react quickly because there is not much time to move into the circles after the explosion.
- When you stand in the white circle, will be put into a tree prison, but will gain a shield for the upcoming 1 shot attack.
- Once Orze slams the ground for the 1 shot attack, you can safely free the other players by destroying the tree prisons.
- If you do not have a shield due to messing up the mechanic, you can still i-frame the 1 shot ability if you time your skills correctly.
Pillar Mechanic: 50% and 30% HP (Elvia Difficulty Only)
- When the boss is at around 50% and 30% HP, the message appears “You dare withstand the goddess’ might?”
- 2 purple pillars will spawn on opposite sides of the arena. A white cone shaped AOE will appear on the floor.
- One player must stand in each of the AOE attacks and use a forward guard to block the attack. If the attack is not blocked, the pillar will do a stronger attack across the entire arena and will 1 shot the entire party.
- Once you successfully block 5 attacks from the pillar, it will disappear.
- While 2 players are blocking the pillars, the other 3 players can continue to attack the boss.
Phase 3
Falling Meteors: Persistent Mechanic
- Meteors will fall all over the map and a sphere will appear at the location where the meteor fell.
- If the sphere will explode after a certain amount of time and deal an AOE attack. They will also explode if it touches a player or a wall.
- You can move the spheres away and to the edge of the arena by hitting them and they will move in the direction you are facing.
Chasing Spheres: 90% HP
- The mechanic starts when the message appears “I will break all illusions beyong my reach and advance to the true world”
- The boss will teleport to the middle of the arena and 5 purple squares will appear on the ground around the edge of the arena. A purple sphere will then appear at the locations of the 5 squares.
- The spheres will start to move towards the closest player and chase them. It is very important that you don’t touch the sphere, as they will explode and wipe the party if they touch you. (It is fine if the spheres touch each other, just not a player).
- Carefully guide all of the spheres into the boss in the middle to stun the boss and complete the mechanic.
- Tip: If 1 player stays in the middle of the arena, while the other 4 move outside the arena, then the spheres will all chase 1 player and make it much easier to complete.
White Circles: 80% and 40% HP (Elvia Difficulty Only)
- When the boss reaches 80% HP, the message appears “If the desire to descent into ruin together, just because I cannot possess, is considered love…”
- The boss will disappear and teleport to the front of the giant tree in the arena.
- All players should move to the water at the giant tree and wait for a white circle to appear on the floor.
- Stand inside the white circle and 1 player will be stunned for the rest of the mechanic and receive a shield.
- Another circle will appear nearby, and everyone (4 players) should stand in the circle again.
- Each time, 1 player will be stunned and will obtain a shield. So there should be 5 players in the first circle > 4 players in the second circle > 3 players > 2 players > 1 player.
- Be careful that you walk to each circle and do not use skills because you can i-frame the attack and not get a shield. If no one enters the circle at all then a 1 shot ability will be cast.
Air Attack: 60% HP
- This mechanic starts at 60% HP when the message appears “Everything will return to oblivion. A dark future where nothing is foreseeable..”
- The boss will go into the air and begin casting AOE attacks on the ground several times. You must dodge each attack.
- Once they land the message appears “I too once dreamed in this stronghold. But the downfall was Her will…”
- 3 AOE red circles appear on the floor and if you get hit by one of the attacks, you will go into the air and crash down, which will deal an AOE attack around you.
- I-frames do not work against the AOE during this mechanic
Enraged Mechanic: 20% HP (Elvia Difficulty Only)
- Once the boss reaches 20% HP, they become enraged and obtain a DP buff.
- The message will appear “Everything will eventually return to the primordial root”.
- Firstly, one of the chasing spheres will appear and must be moved to the boss before it explodes and deals a 1 shot AOE.
- The exploding spheres (from falling meteors) that you can move by hitting them will appear at the same time. You can tell them apart because the exploding spheres have a golden border, while the chasing sphere is bigger and has a purple border.
- There will also be lots of AOE to dodge, as all of the mechanics and attacks from phase 3 will happen at the same time.
- This phase continues until the boss is defeated. Just focus on moving the chasing sphere into the boss, dealing damage inbetween, and dodging the AOE.
Quests and Rewards
Main Story Completion Reward
- Complete Atoraxxion: Orzekea for the first time to claim the following rewards, available once per Family.
| Quest | Objective | Rewards |
|---|---|---|
| [Atoraxxion] Orze’s Time Capsule | Talk to the Black Spirit |
1,000 Contribution EXP
Advice of Valks (+150) [Event] Ancient Weapon of Atoraxxion |

Once per Family Challenge Reward
- Each challenge can be completed once per Family.
- Defeat the final boss in Atoraxxion: Orzekea, gain knowledge, and when you reconnect your character, the challenge will be complete, allowing you to claim your rewards.
| Challenge | How to complete | Reward |
|---|---|---|
|
On the Holy Devotee’s Dagger |
Defeat Orze, the final boss of Orzekea (Normal Difficulty) |
Orzekea: Kahelena Chest x2 Press RMB to obtain all of the following: You can also obtain the following according to a set probability: |
|
Infested Orzekea |
Defeat Orze, the final boss of Orzekea (Elvia Difficulty) |
Orzekea: Void Chest x2 Press RMB to obtain all of the following: You can also obtain the following according to a set probability: |


Weekly Quest Reward
- There are weekly quests available which are obtained in the final room after you defeat the final boss
- You can complete the weekly quests as long as you have the
 Key of the Desolate Dawn which is looted from the final boss.
 - You can complete up to 2 quests a week
- Weekly quests reset every Thursday (00:00 UTC).


Dehkima: Token of the Oath Exchange
Dehkima: Token of the Oath tokens can be exchanged through the Manage Currency UI.
- Click the Manage Currency icon
 on the top right of the screen (next to your mini-map).
 - Or open the UI by going to the ESC Menu – Rewards (F3) – Manage Currency Menu

| Required Item | Exchange Item | ||
|---|---|---|---|
 Dehkima: Token of the Oath x1 |
 Memory Fragment x2 |
||
Dehkima: Token of the Oath x1 |
 Mass of Pure Magic x2 |
||
Dehkima: Token of the Oath x5 |
 Advice of Valks (+40) x1 |
||
Dehkima: Token of the Oath x10 |
 Advice of Valks (+50) x1 |
||
Dehkima: Token of the Oath x10 |
    Black Magic Crystal – Harphia/Cobelinus/Viper/Hystria/Carmae/Addis |
||
Dehkima: Token of the Oath x1,000 |
   3 Weapon Exchange Coupons |
||
New Earring – Vaha’s Dawn
Vaha’s Dawn is a new earring that arrived with Atoraxxion. The stats of the earring are the same as Black Distortion Earrings but can be crafted using Processing > Heating.
The crafting recipe is:
- Magical Shard x50 – obtained by heating yellow-grade black magic crystal
- Yona’s Fragments x10 – obtained by heating yellow-grade accessories, rare drop from monsters or from the Orze’s Rare Chest reward box when completing Atoraxxion quests
- Melody of the Stars x10 – obtained by melting enhanced blue grade accessories (PRI = 1, DUO = 5, TRI = 25)
- Golden Tears of the Desert x1 – obtained by chance from Orze’s Rare Chest reward box when completing Atoraxxion quests
| Icon | Item Name | Stats |
|---|---|---|
| Vaha’s Dawn | AP: 6 Accuracy: 6 |
|
| PRI Vaha’s Dawn | AP: 9 Accuracy: 8 Damage Reduction: -1 |
|
| DUO Vaha’s Dawn | AP: 12 Accuracy: 10 Damage Reduction: -2 |
|
| TRI Vaha’s Dawn | AP: 15 Accuracy: 12 Damage Reduction: -3 |
|
| TET Vaha’s Dawn | AP: 18 Accuracy: 14 Damage Reduction: -4 |
|
| PEN Vaha’s Dawn | AP: 21 Accuracy: 16 Damage Reduction: -5 |
Gem of Void (Void Crystals)
Gem of Void is obtainable through the weekly chest rewards and as a drop from defeating monsters on the Elvia realm difficulty. With the Gem of Void, you can craft a Crystal of Void – Ah’krad or a Crystal of Void Destruction using the recipe below.
|
Item |
Crafting Recipe |
|---|---|
| Crystal of Void – Ah’krad |
Simple Alchemy (L)
Glorious Crystal of Gallantry – Ah’krad x1 Gem of Void x30 Magical Lightstone Crystal x300 Black Stone x500 |
| Crystal of Void Destruction |
Simple Alchemy (L)
Crystal of Precise Destruction x1 Gem of Void x30 Magical Lightstone Crystal x300 Black Stone x500 |


Titles
- The titles you can earn while adventuring in Atoraxxion: Orzekea are as follows.
| Title | How to Obtain |
|---|---|
| Sinner of the Stronghold | Complete Orzekea Suggested Questline |
| The First Savior | Complete Orzekea Suggested Questline |
- Defeat monsters in Atoraxxion: Orzekea to earn the following titles.
| Title | How to Obtain |
|---|---|
| Orze’s Plaything | Defeat 5,000 Orzekea Ancient Weapons |
| Thorn in Your Side | Defeat 10,000 Orzekea Ancient Weapons |
| Failure, the M-Orze-r of Success | Defeat 20,000 Orzekea Ancient Weapons |
| Alketa Job Done | Defeat Alketa once |
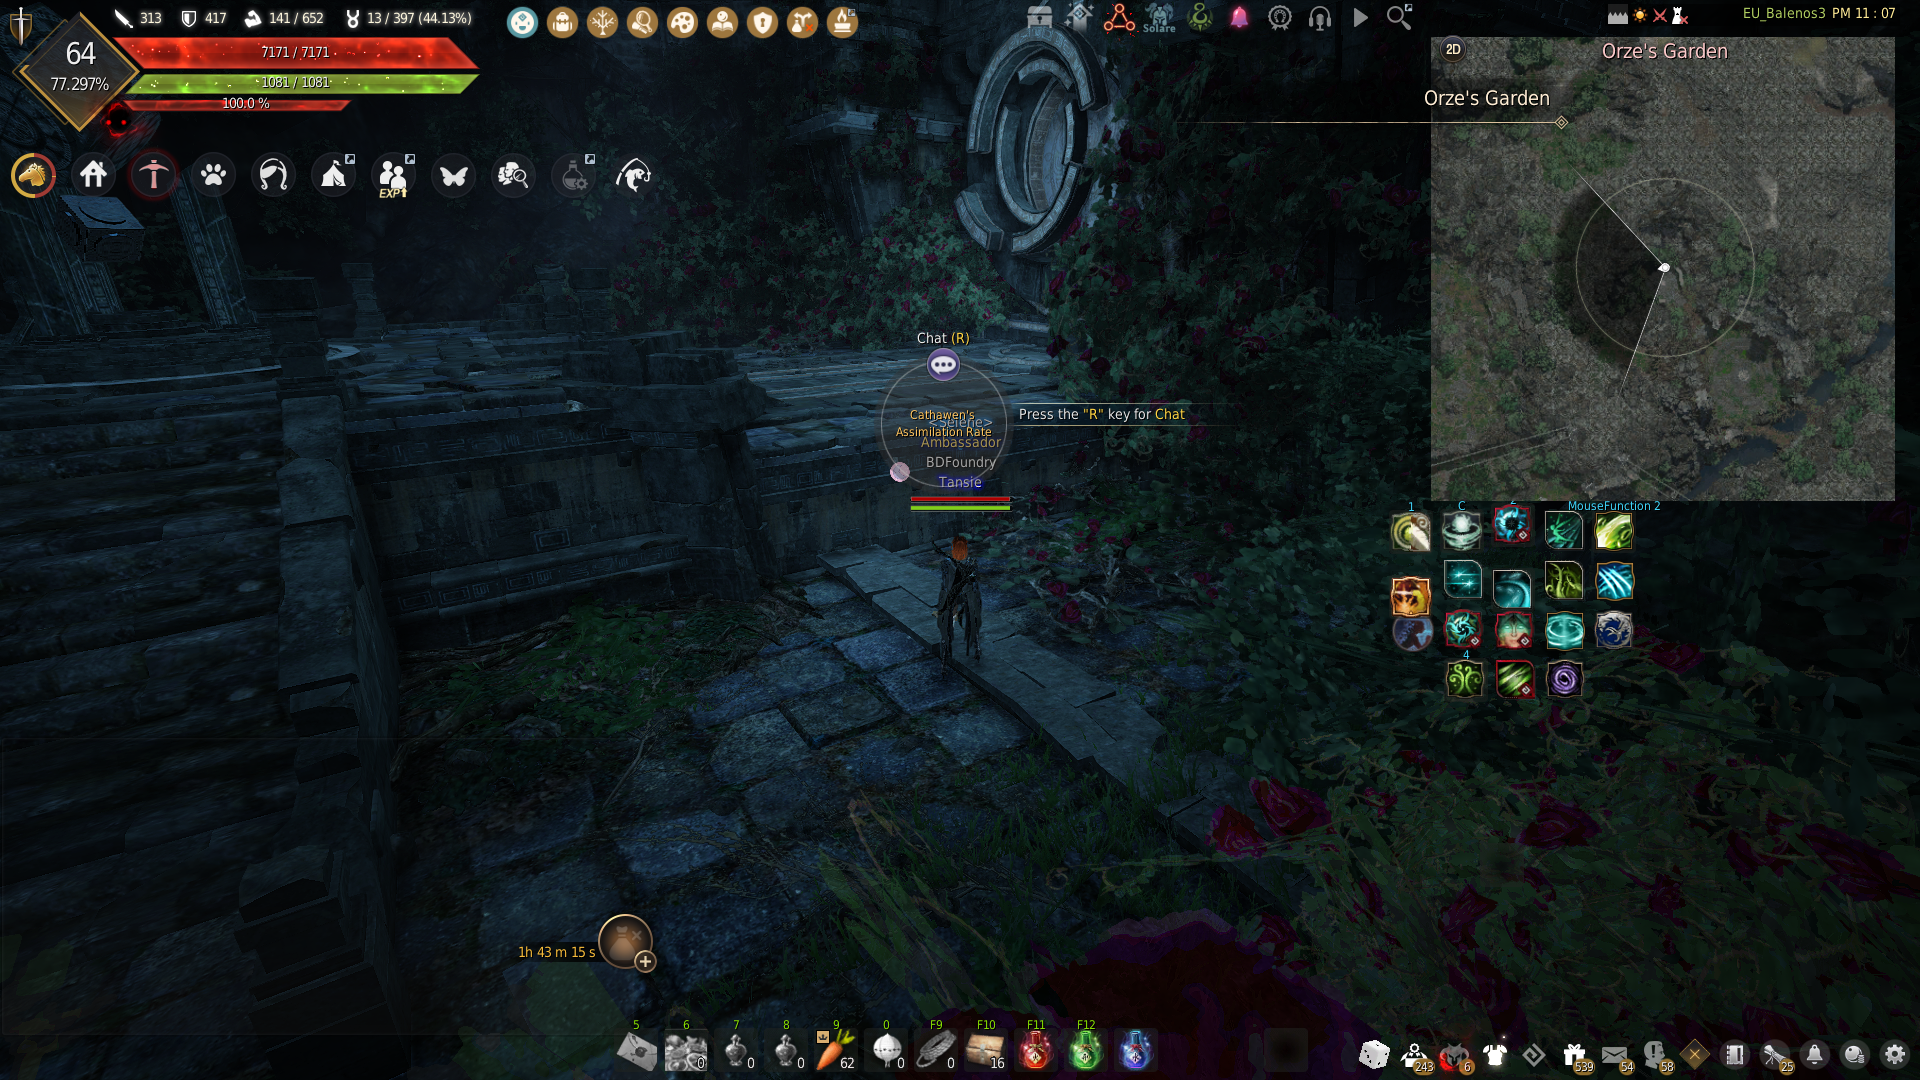
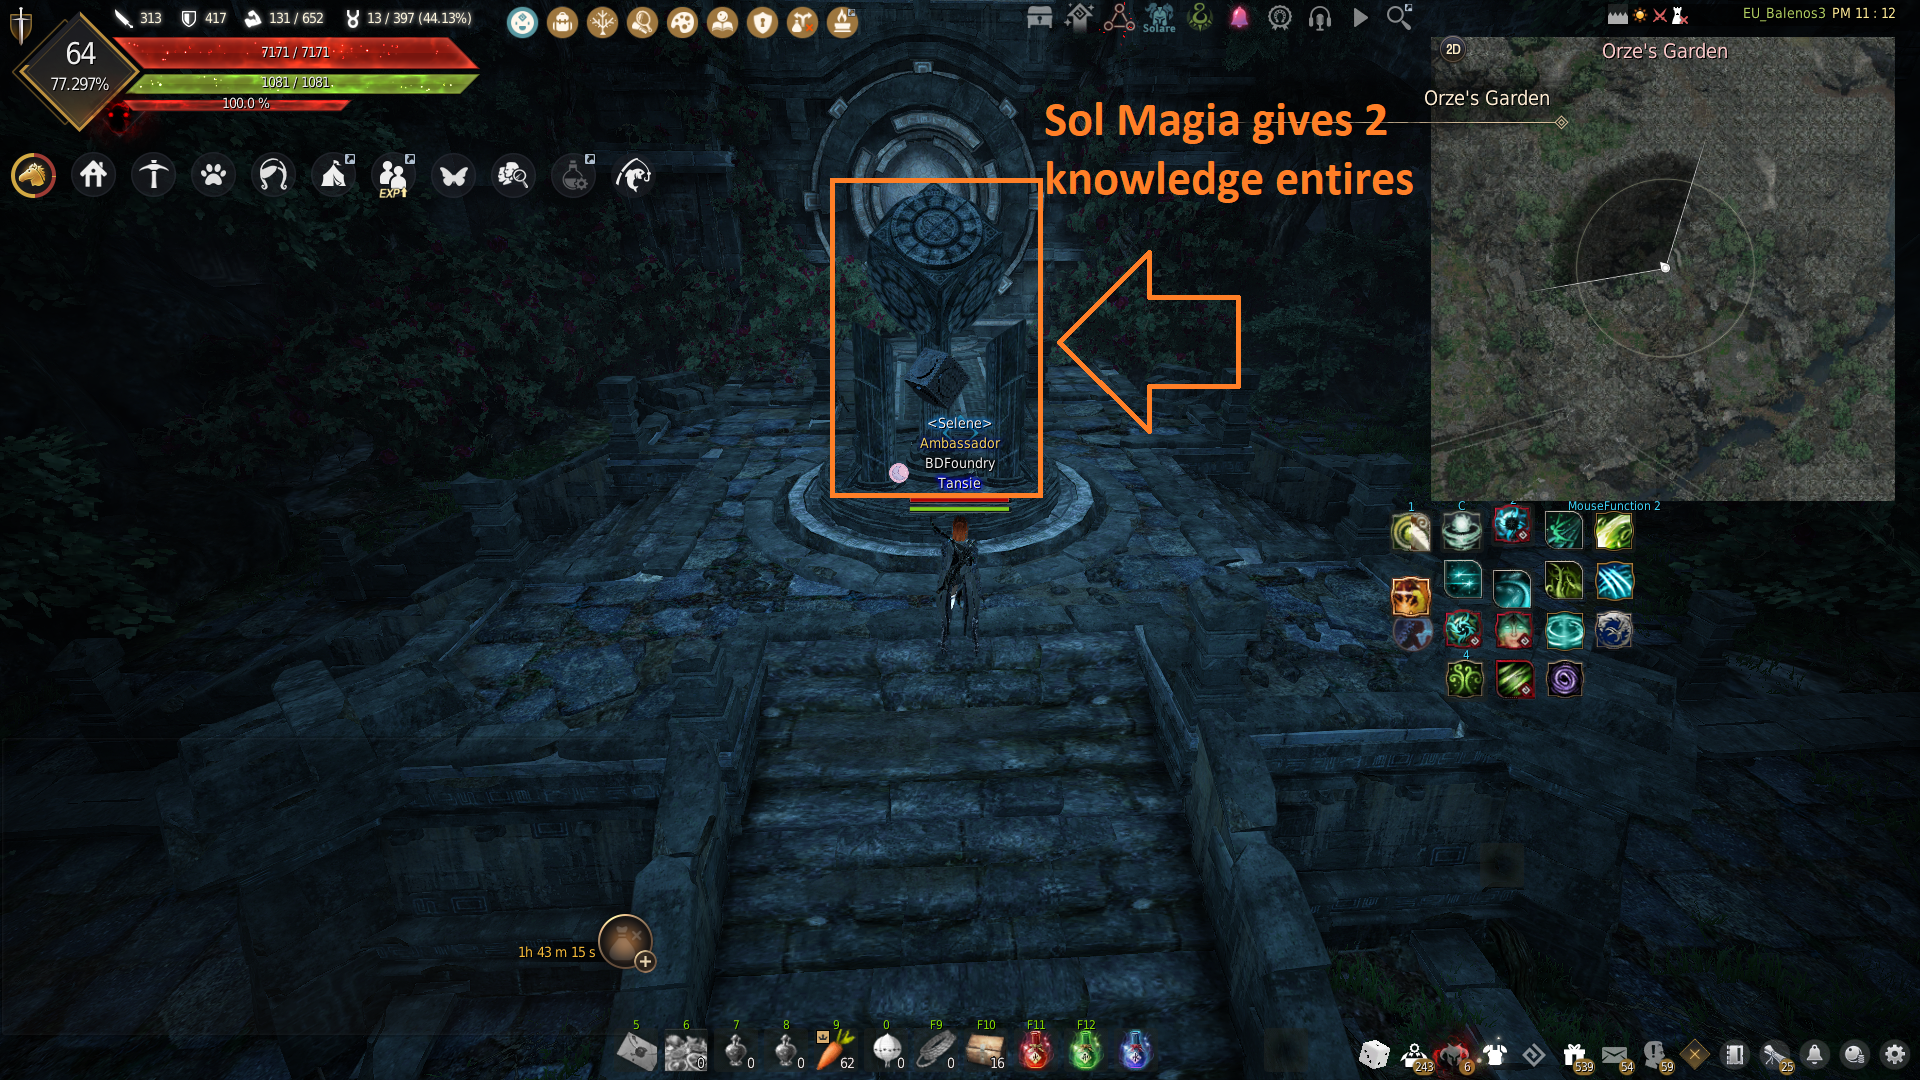
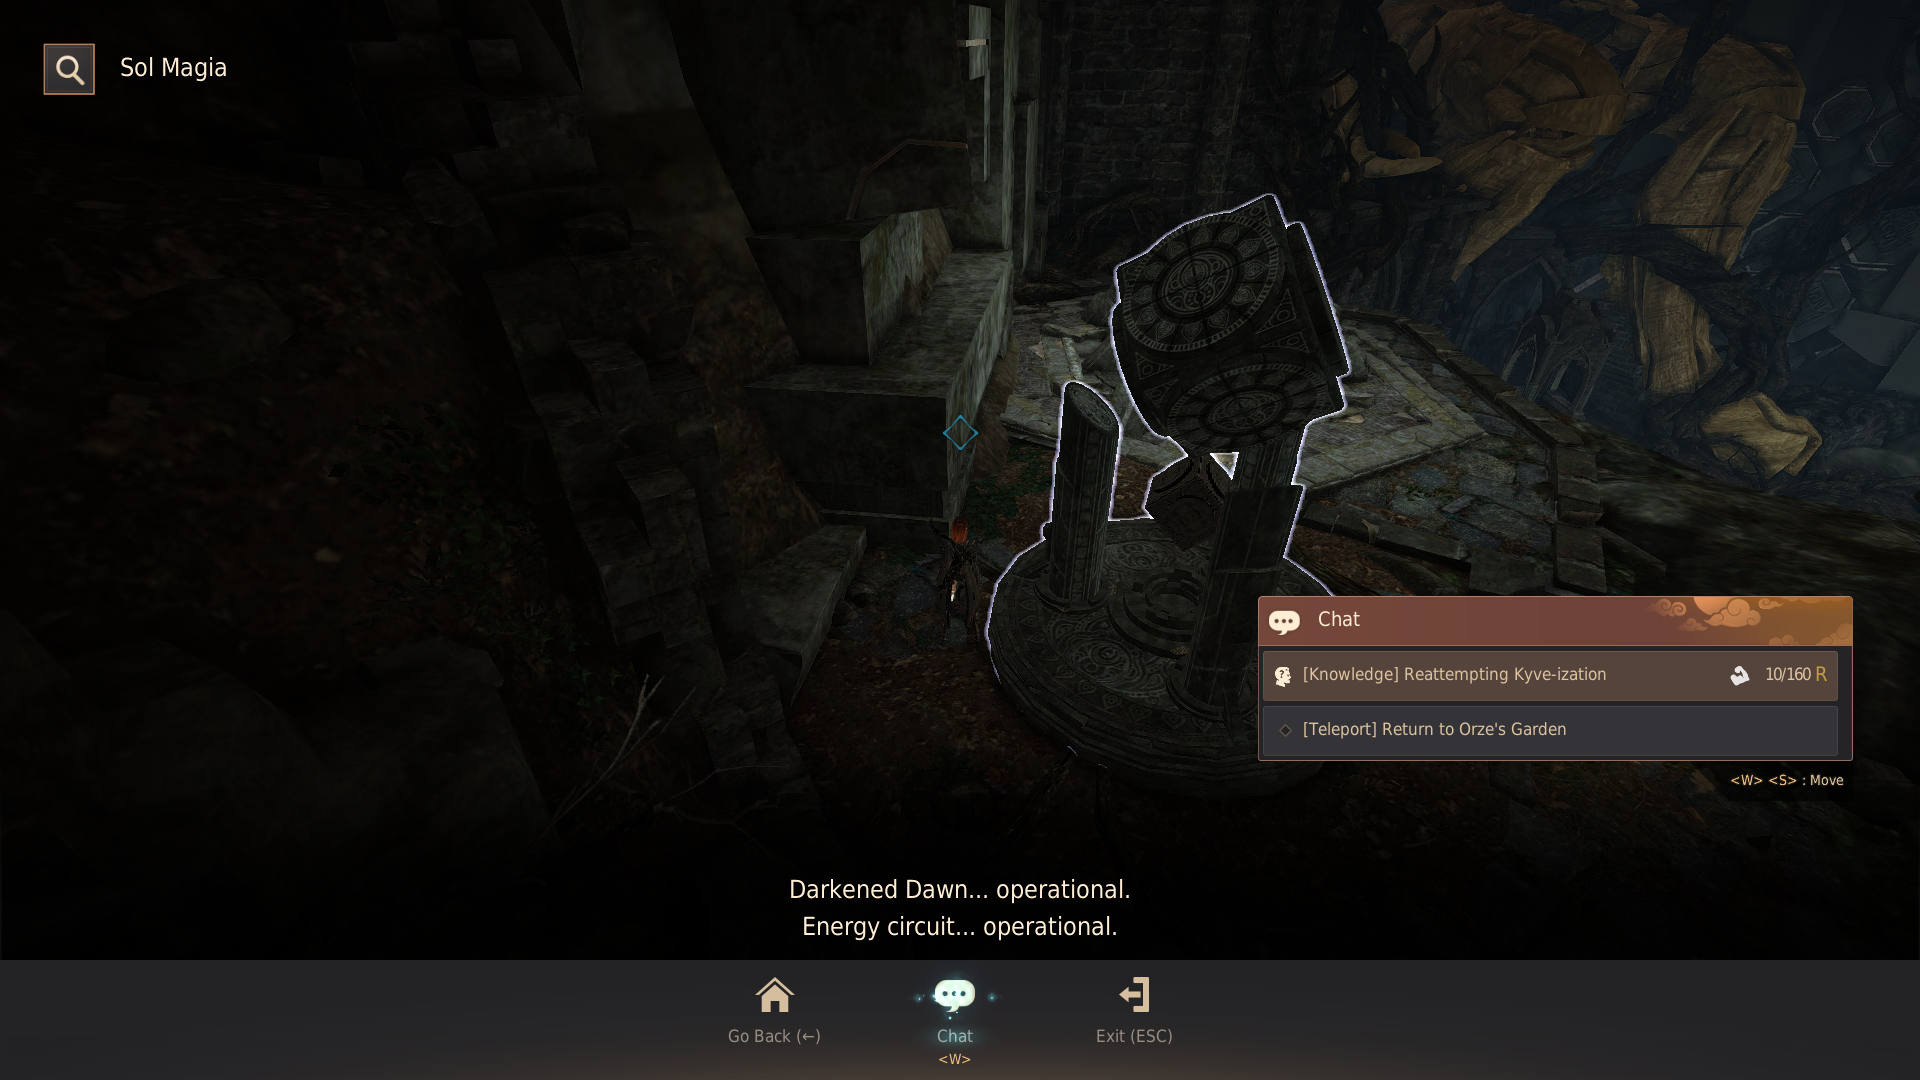
Knowledge
There is a total of 140 knowledge entries to collect from the dungeon and 2 quests you can obtain from the NPC inside Atoraxxion which will give a once-per-family quest to collect 50 knowledge entries and 130 knowledge entries. Both these quests will reward you with the new Vaha’s Dawn earring and an Enchanted Scroll.
| Quests | NPC | Objectives | Rewards |
|---|---|---|---|
| [Atoraxxion] Recover the Knowledge of Orzekea I | Exchange Sol Magia | Learn 50 or more Knowledge entries related to Orzekea |
|
| [Atoraxxion] Recover the Knowledge of Orzekea II | Exchange Sol Magia | Learn 130 or more Knowledge entries related to Orzekea |
|
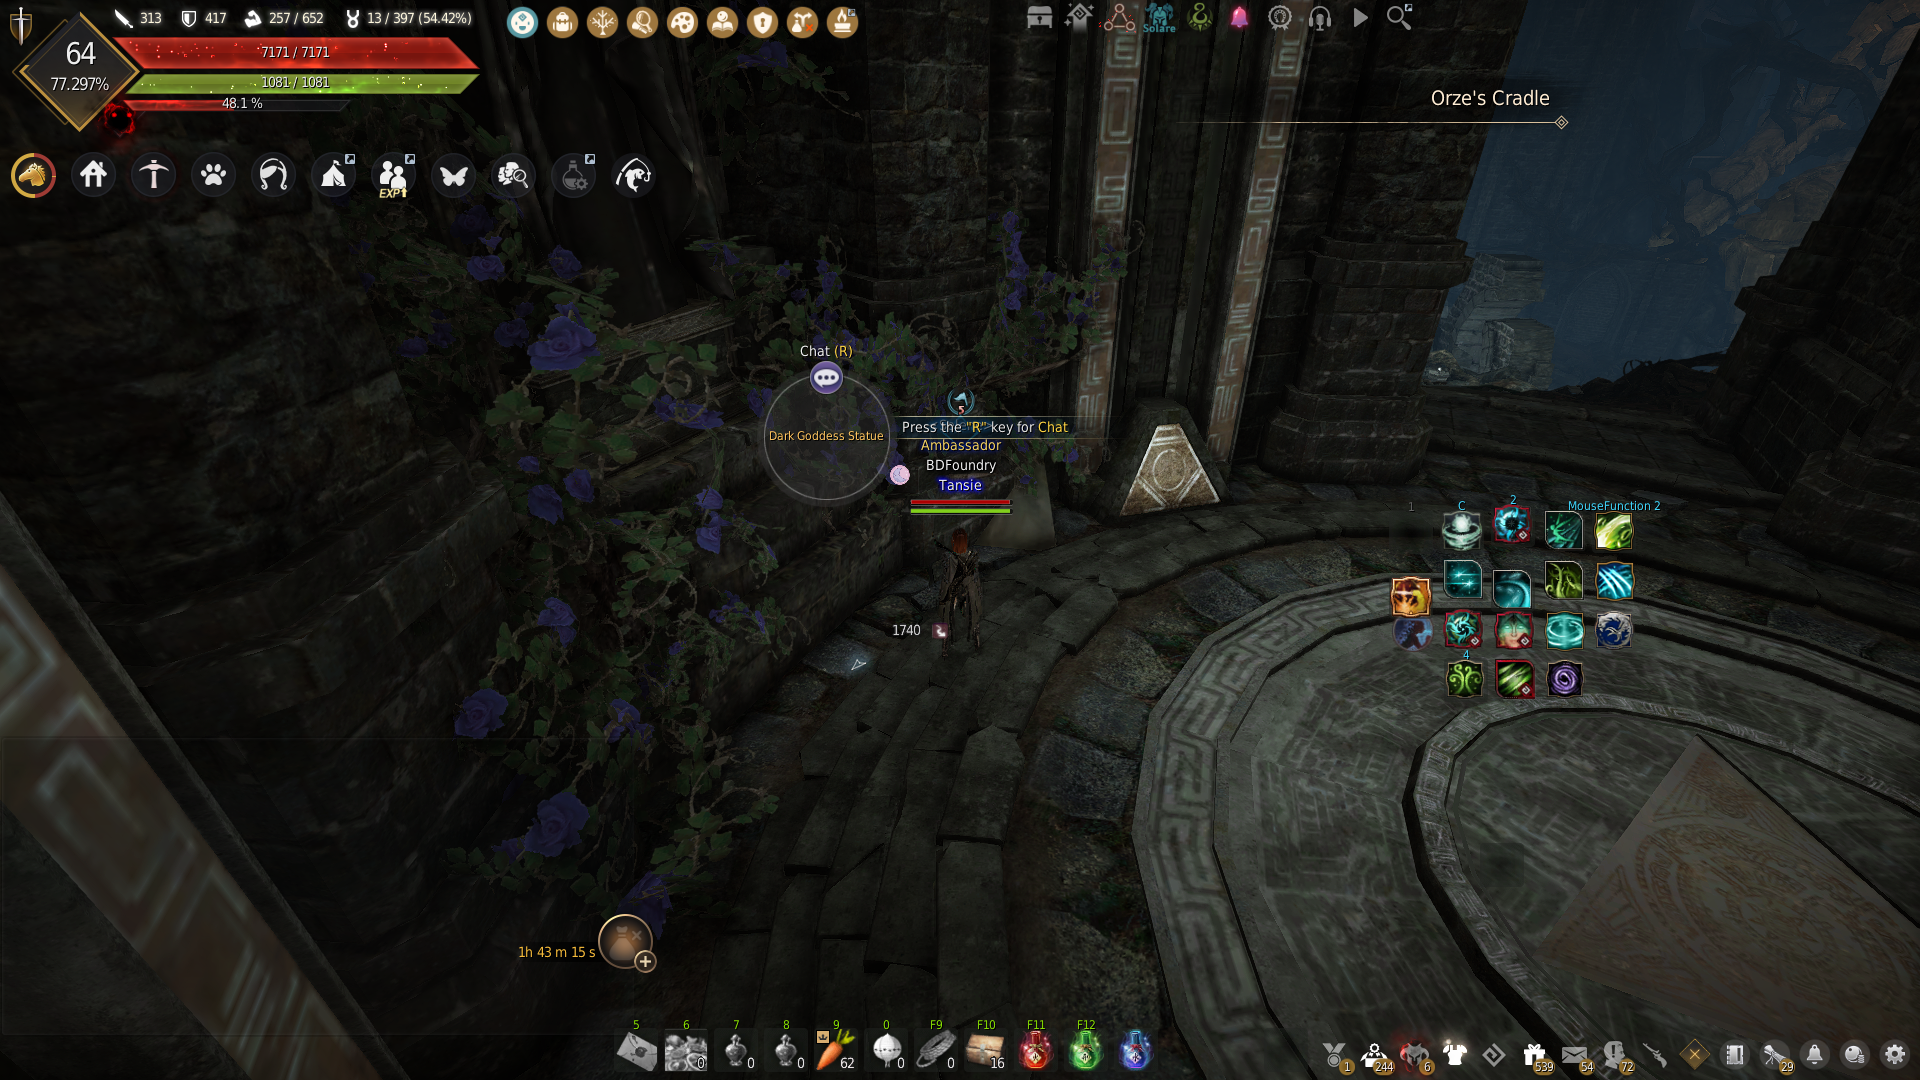
To collect all of the knowledge you will need to do multiple runs through the dungeon for monster knowledge. You will also need to complete the main story questline for Atoraxxion and solve all of the puzzles, including the hidden puzzles.
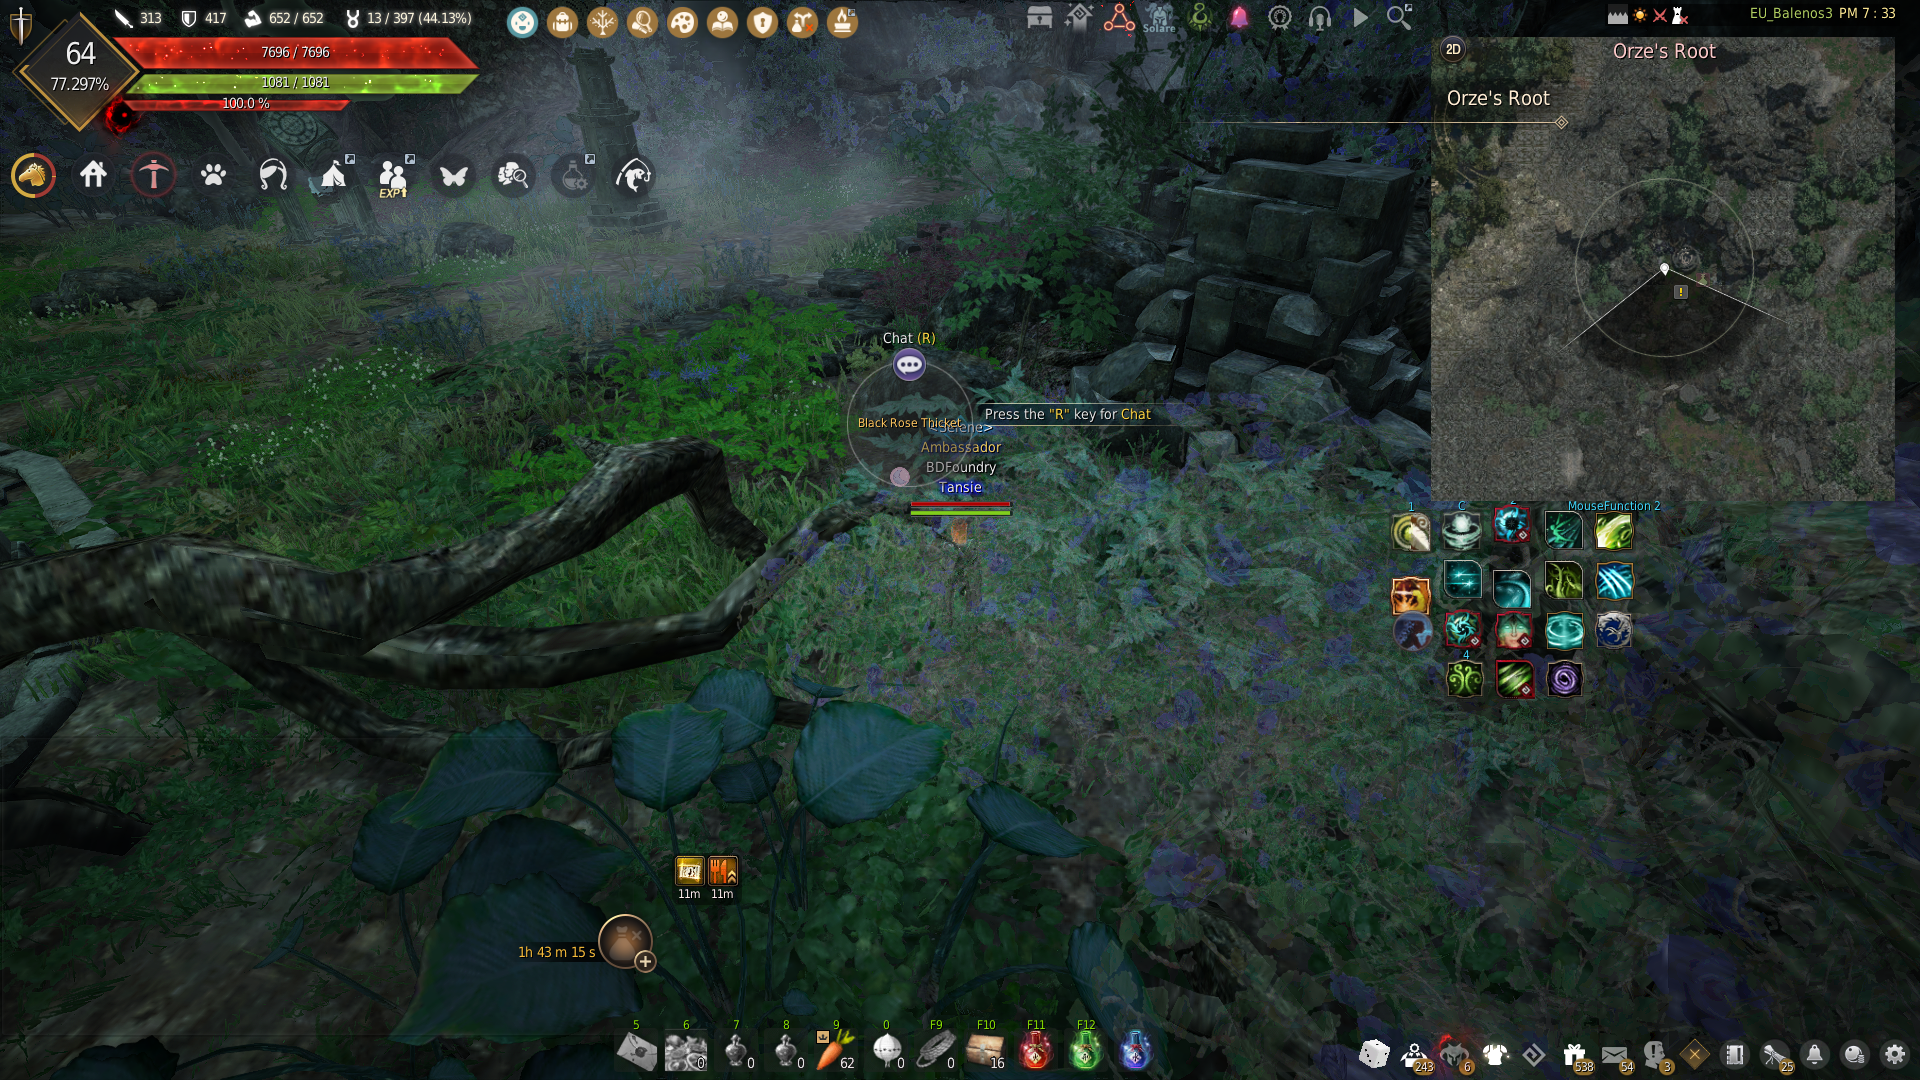
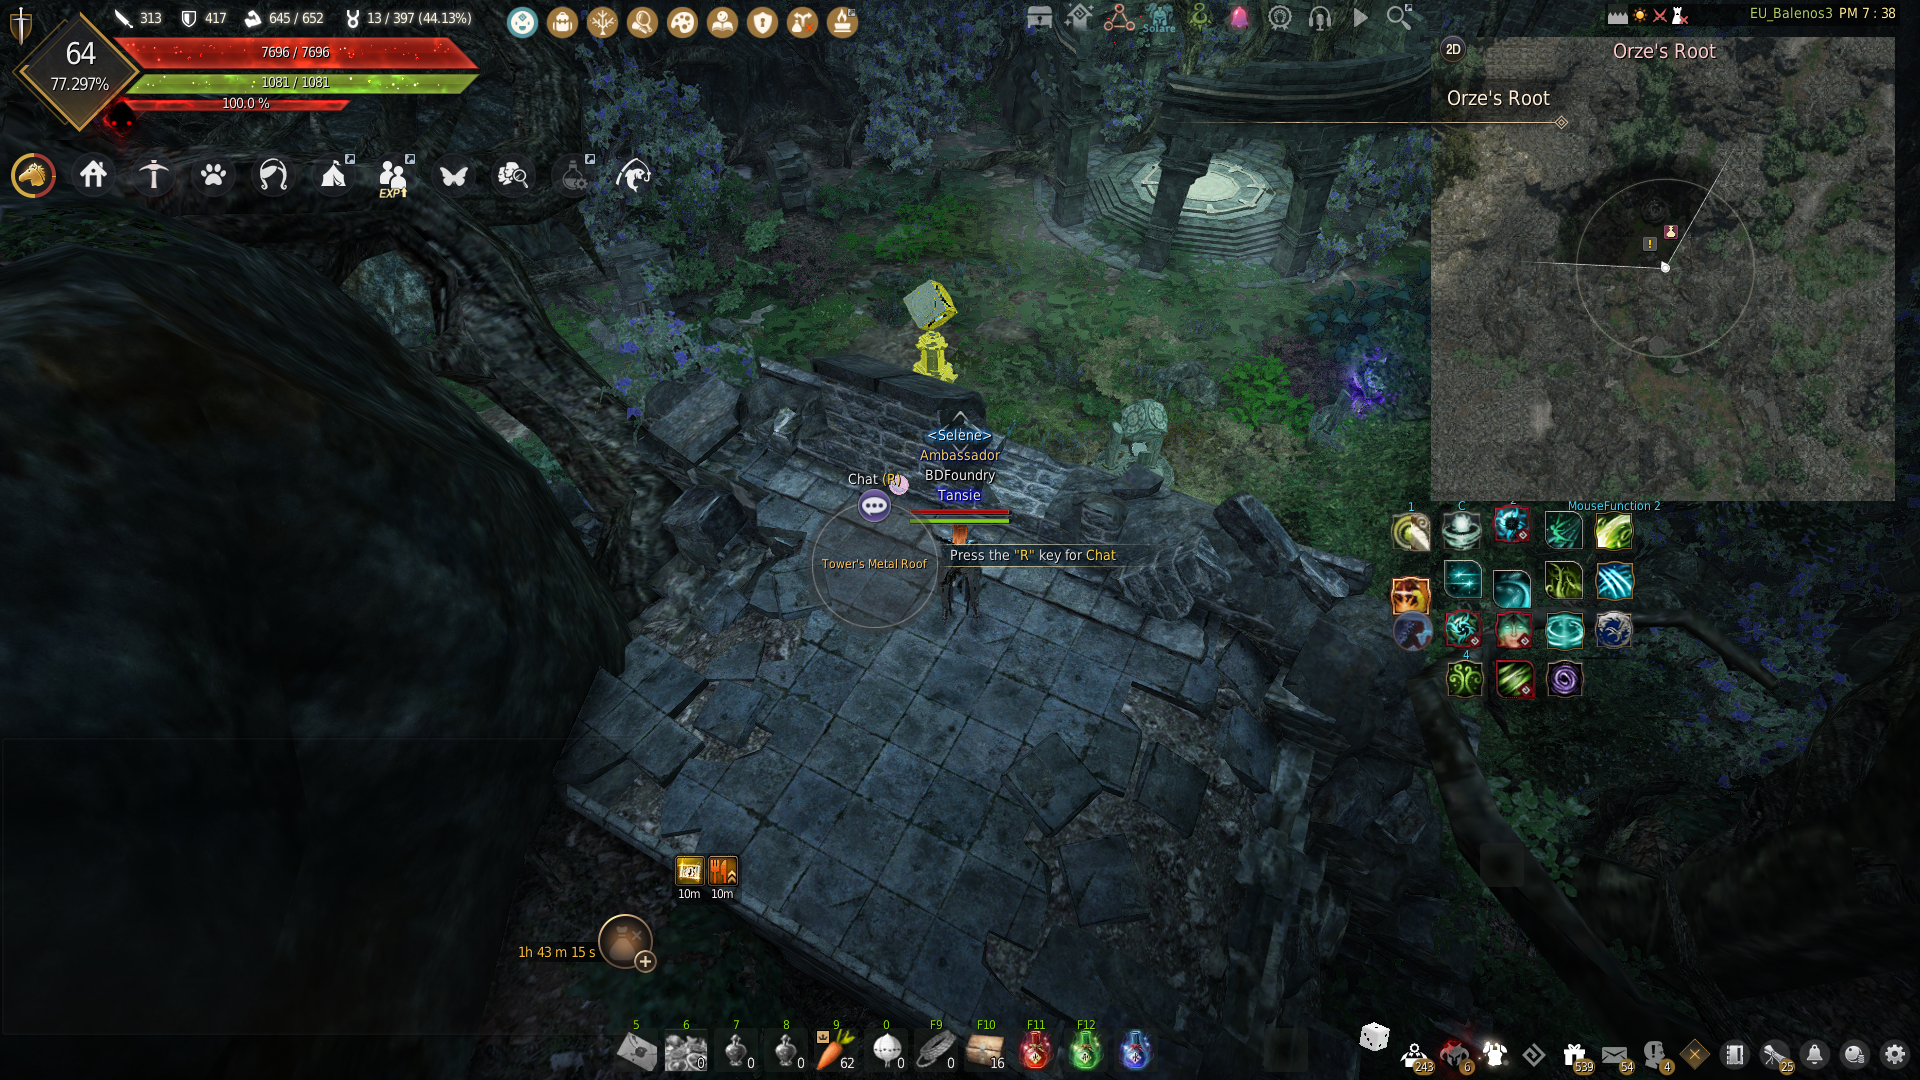
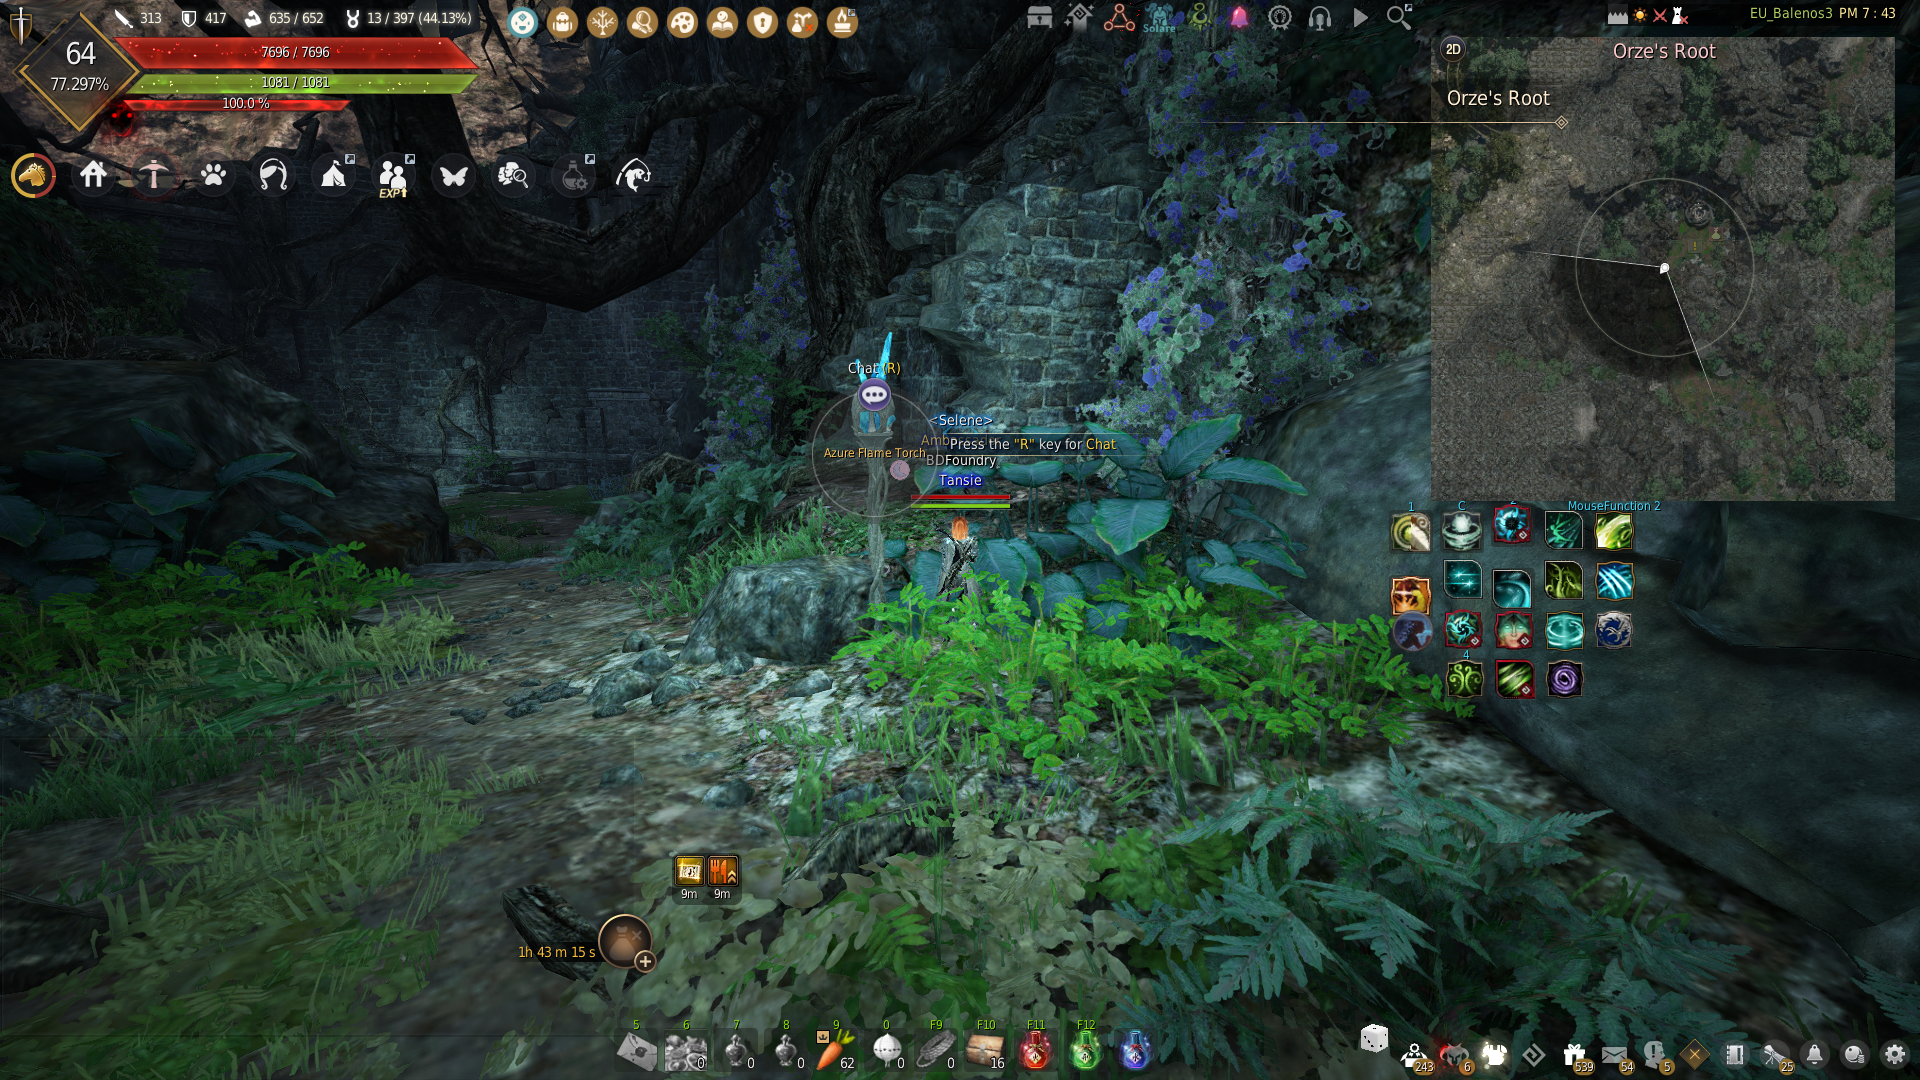
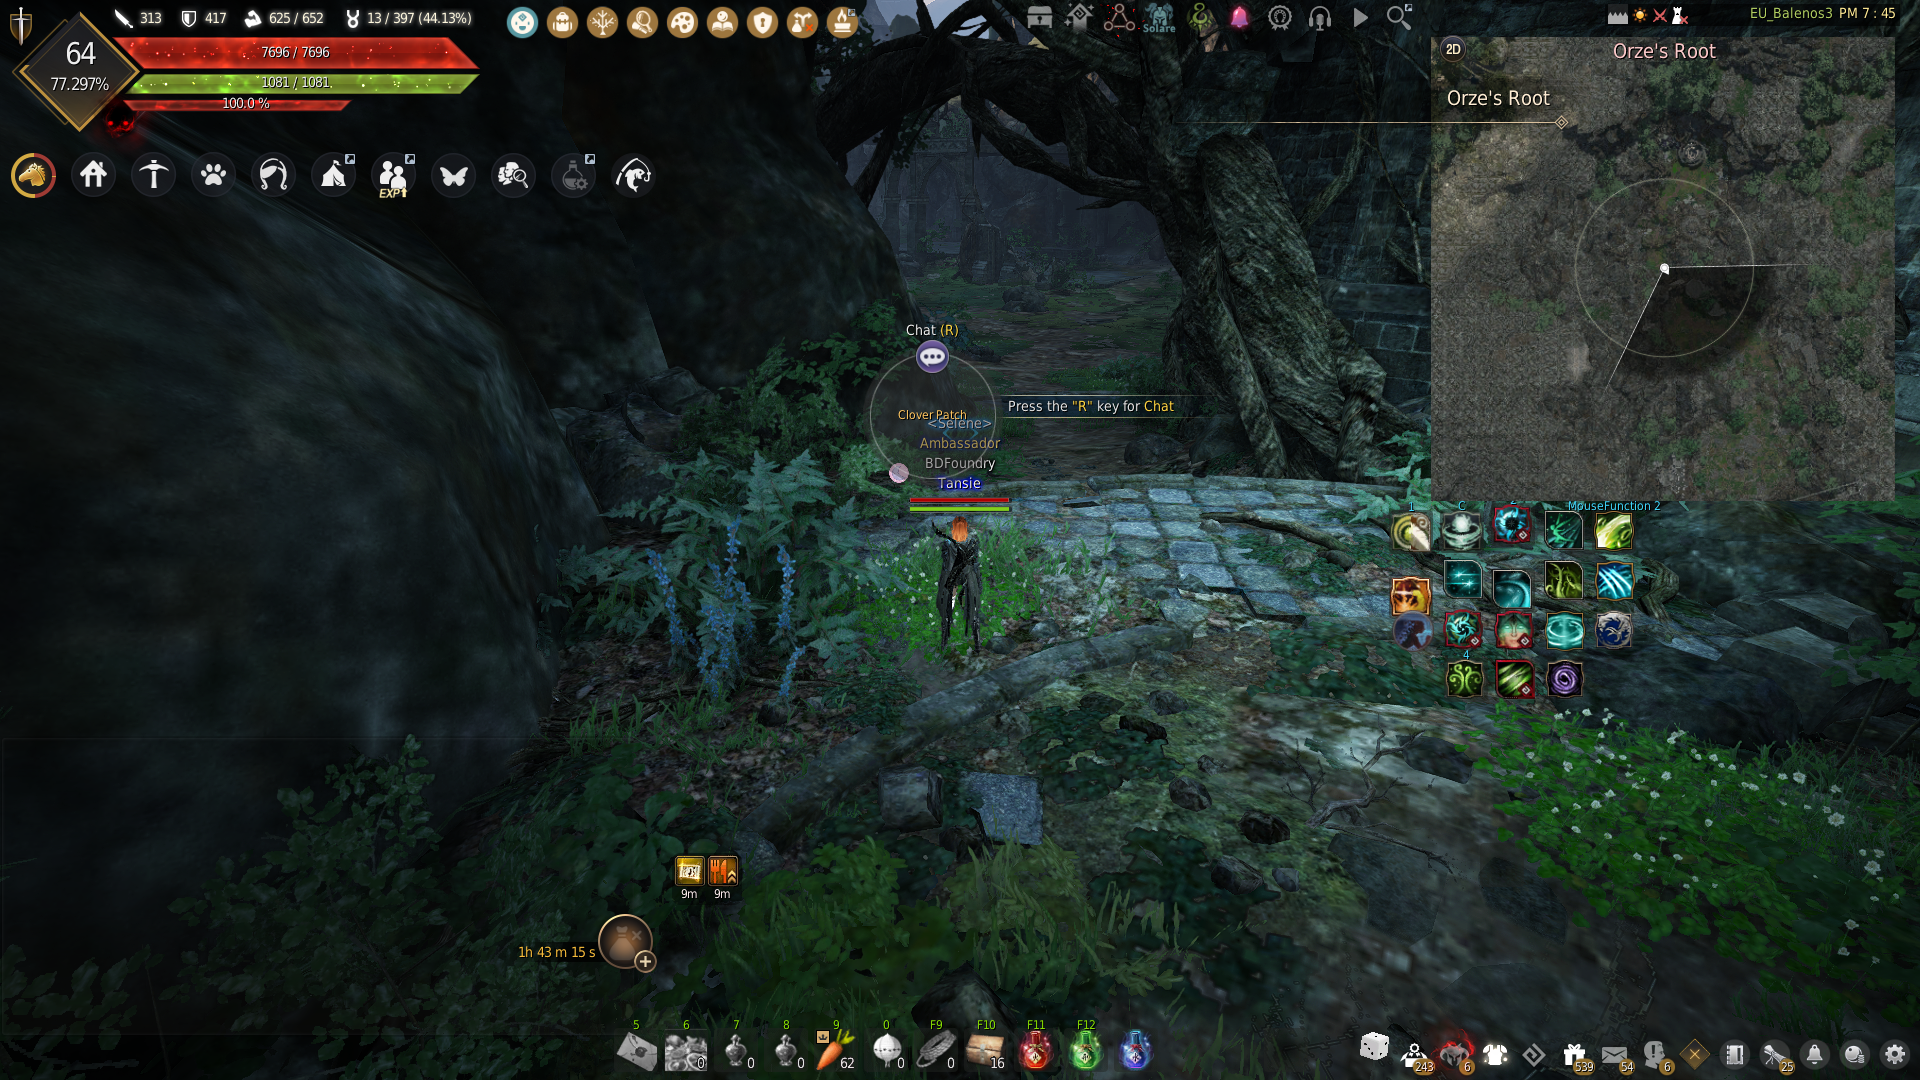
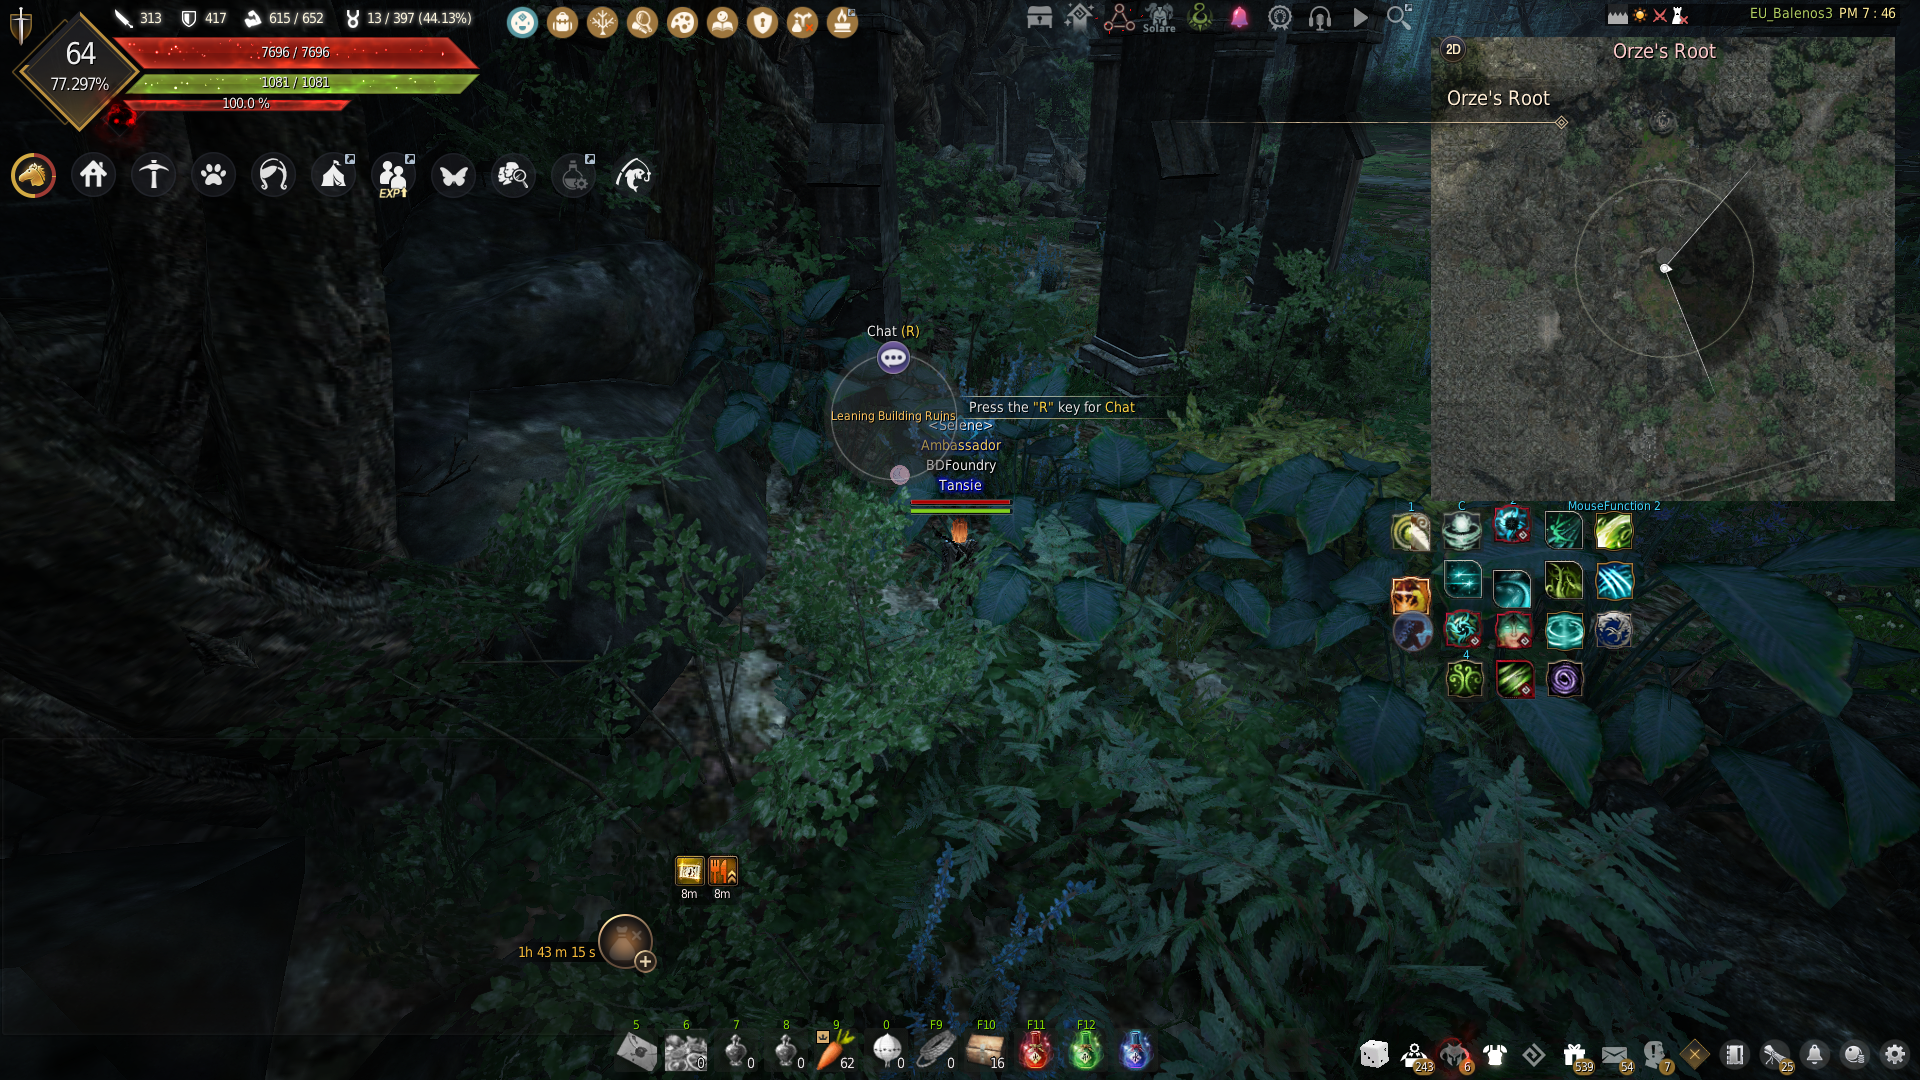
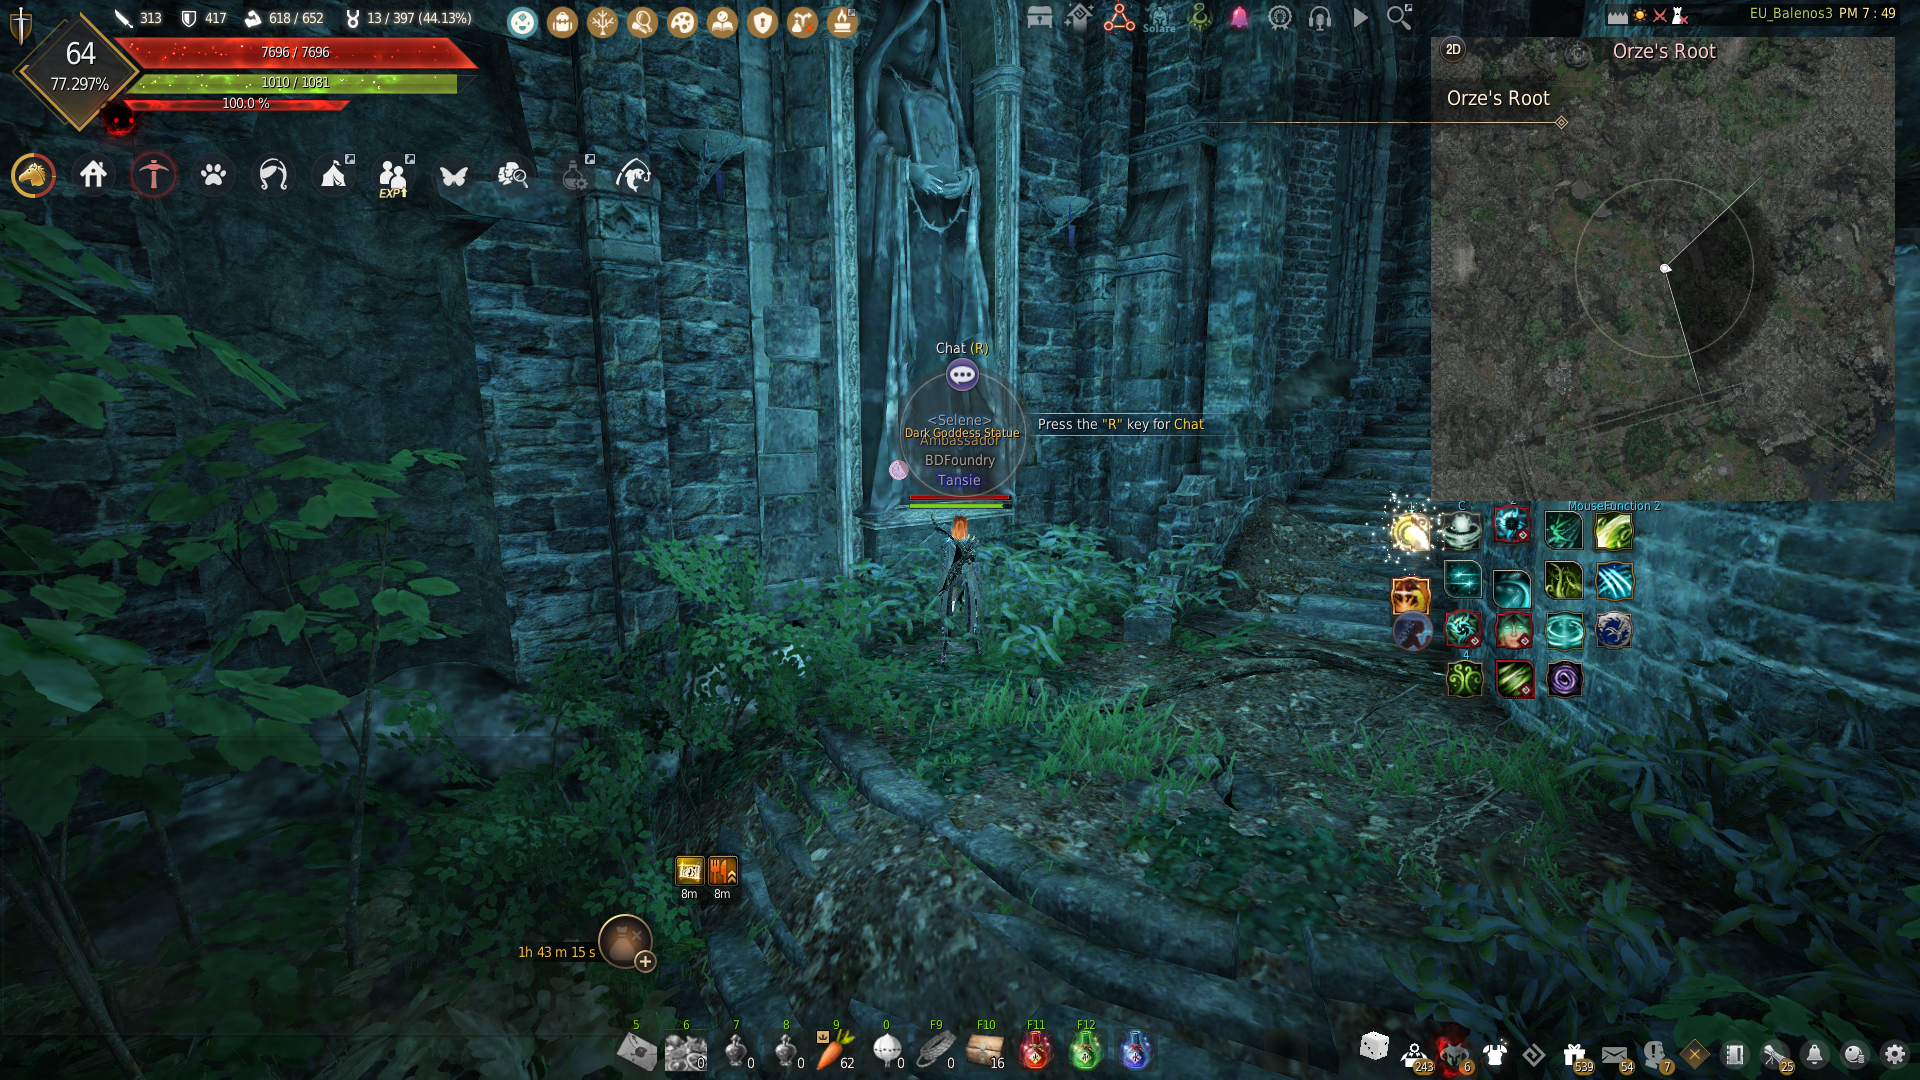
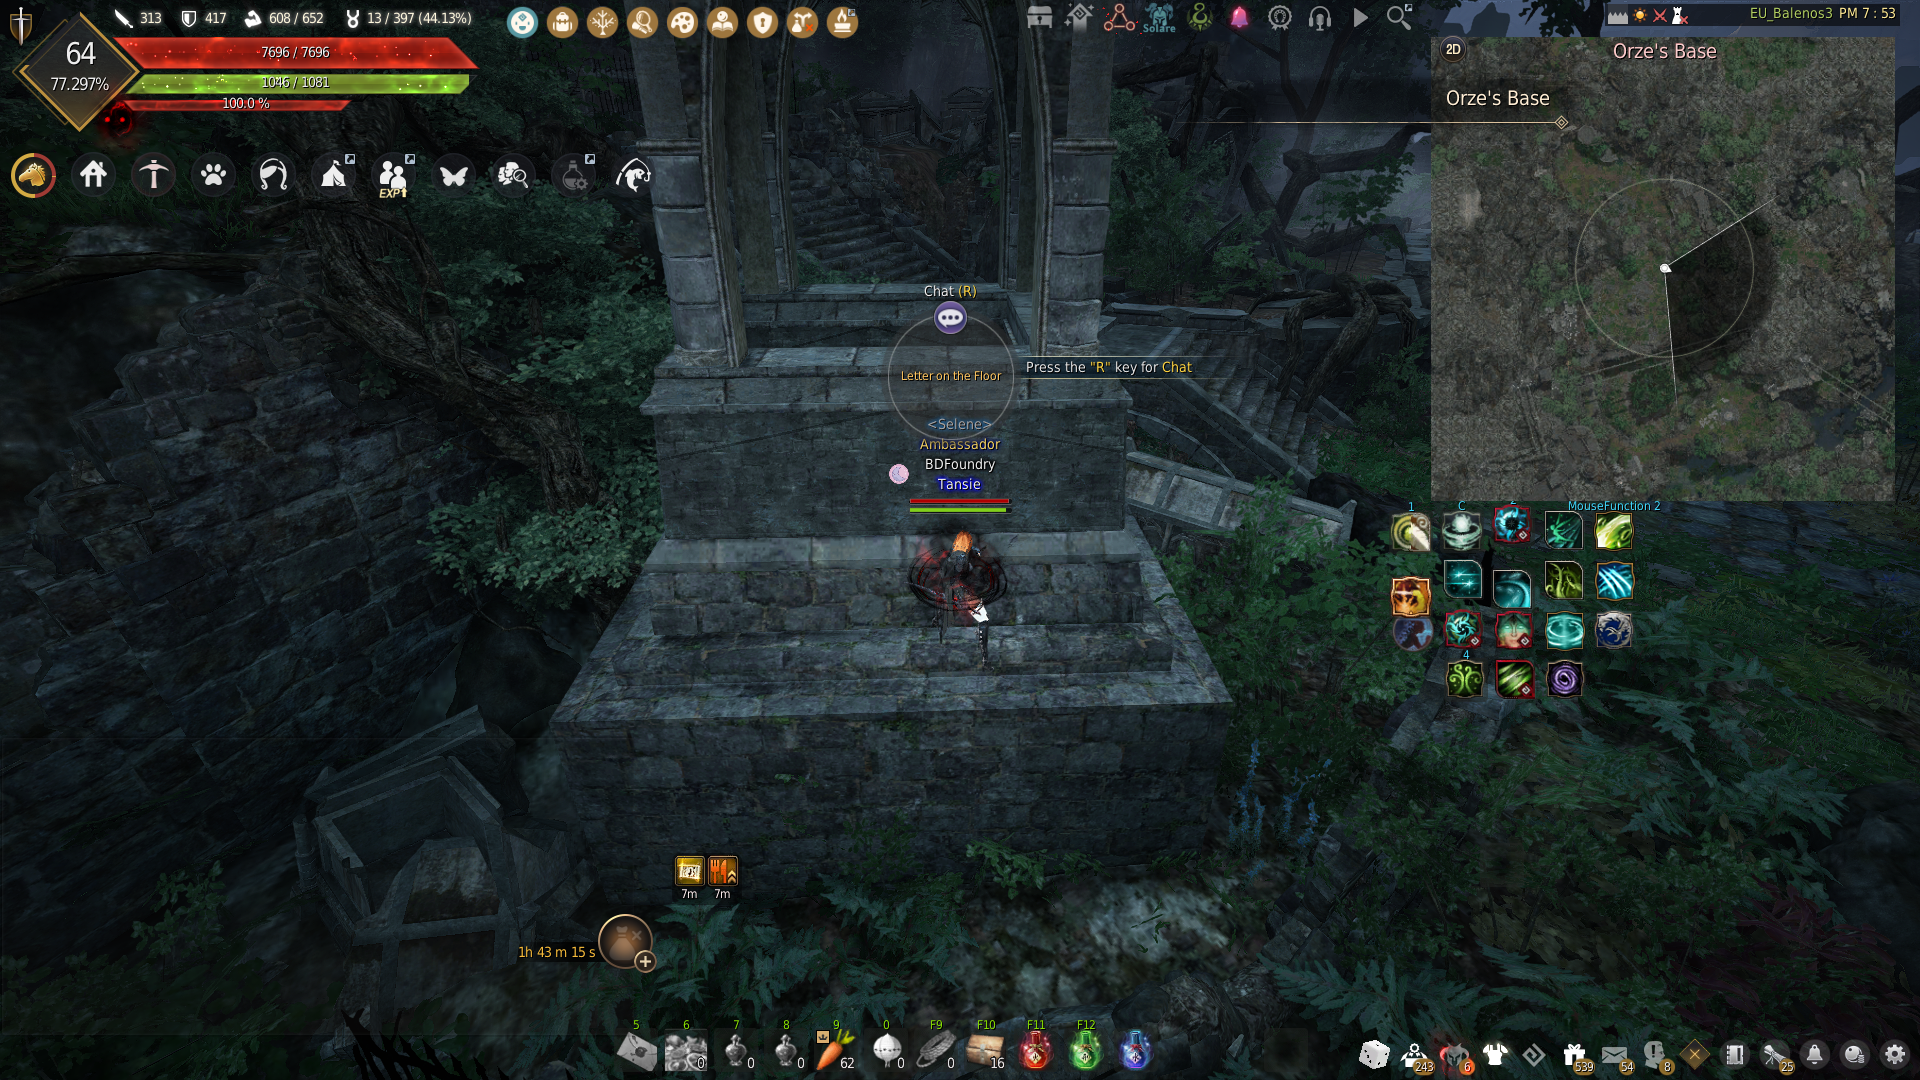
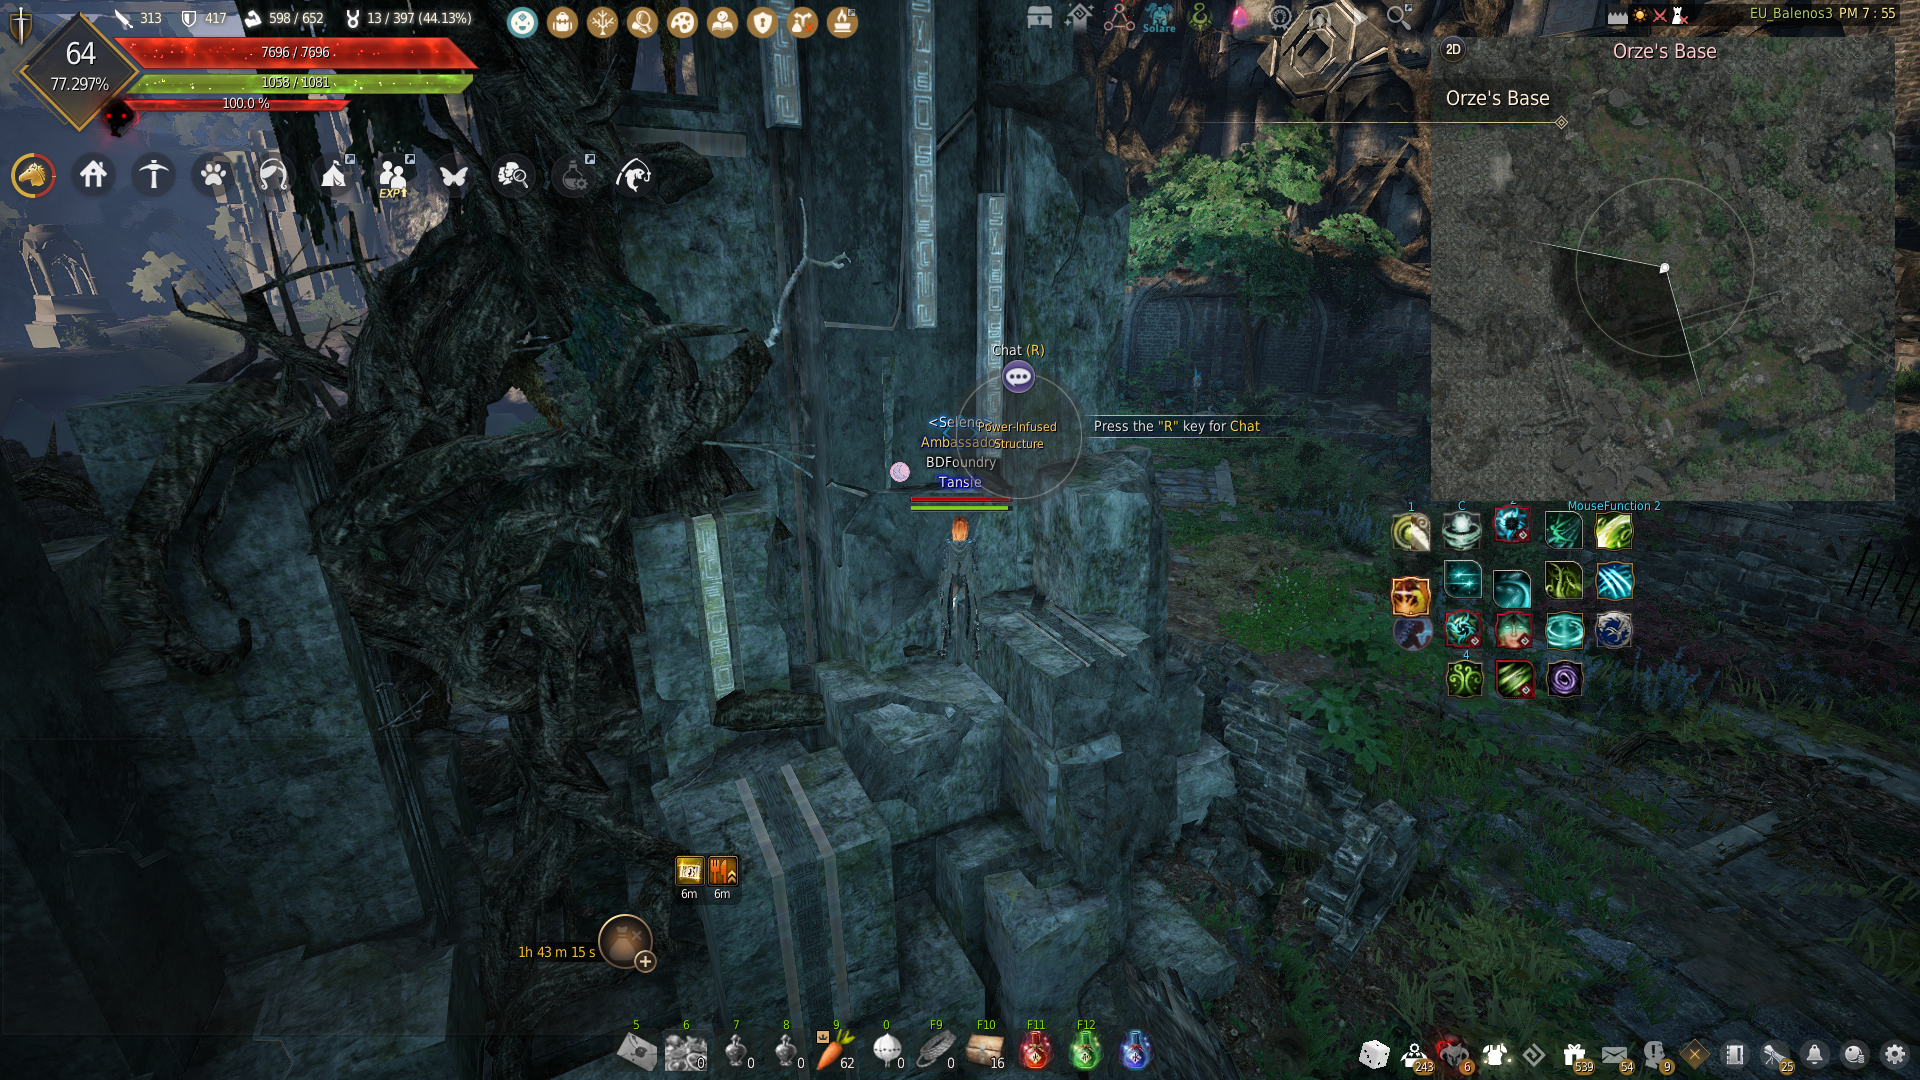
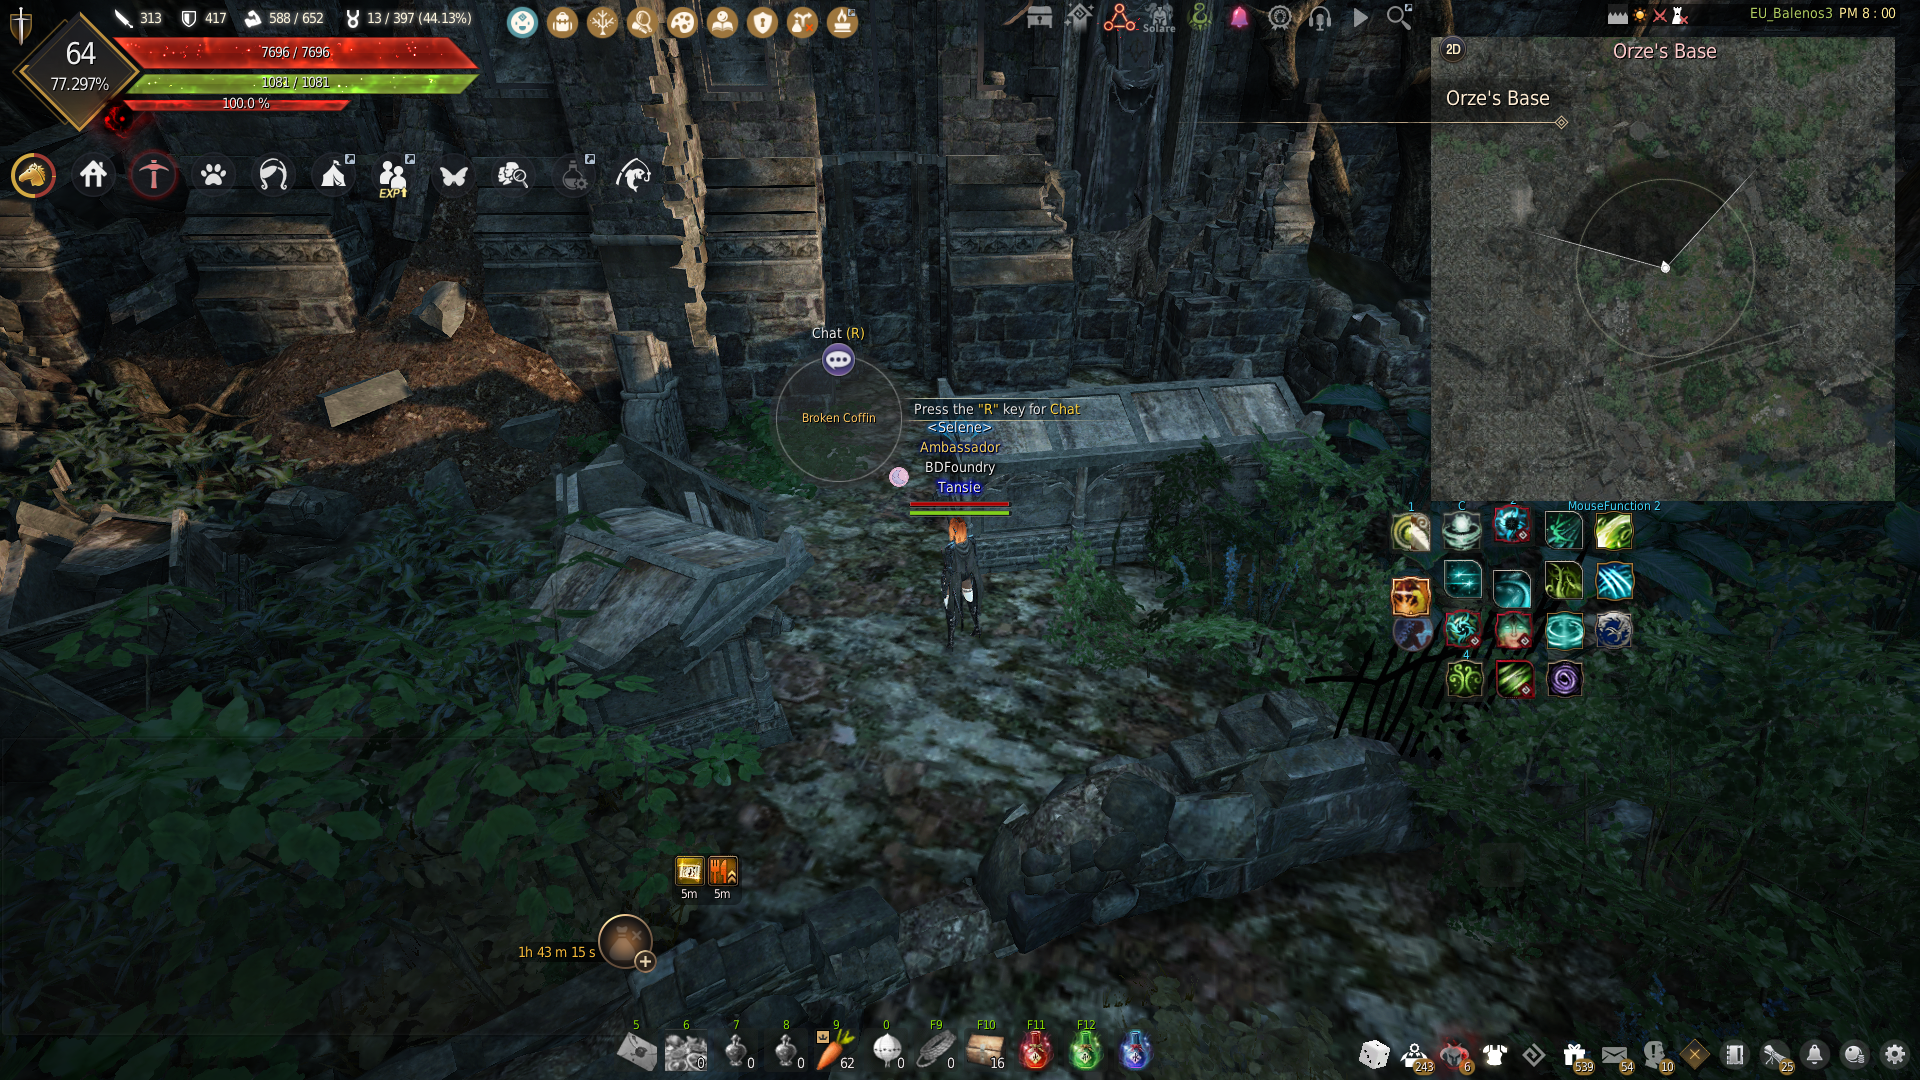
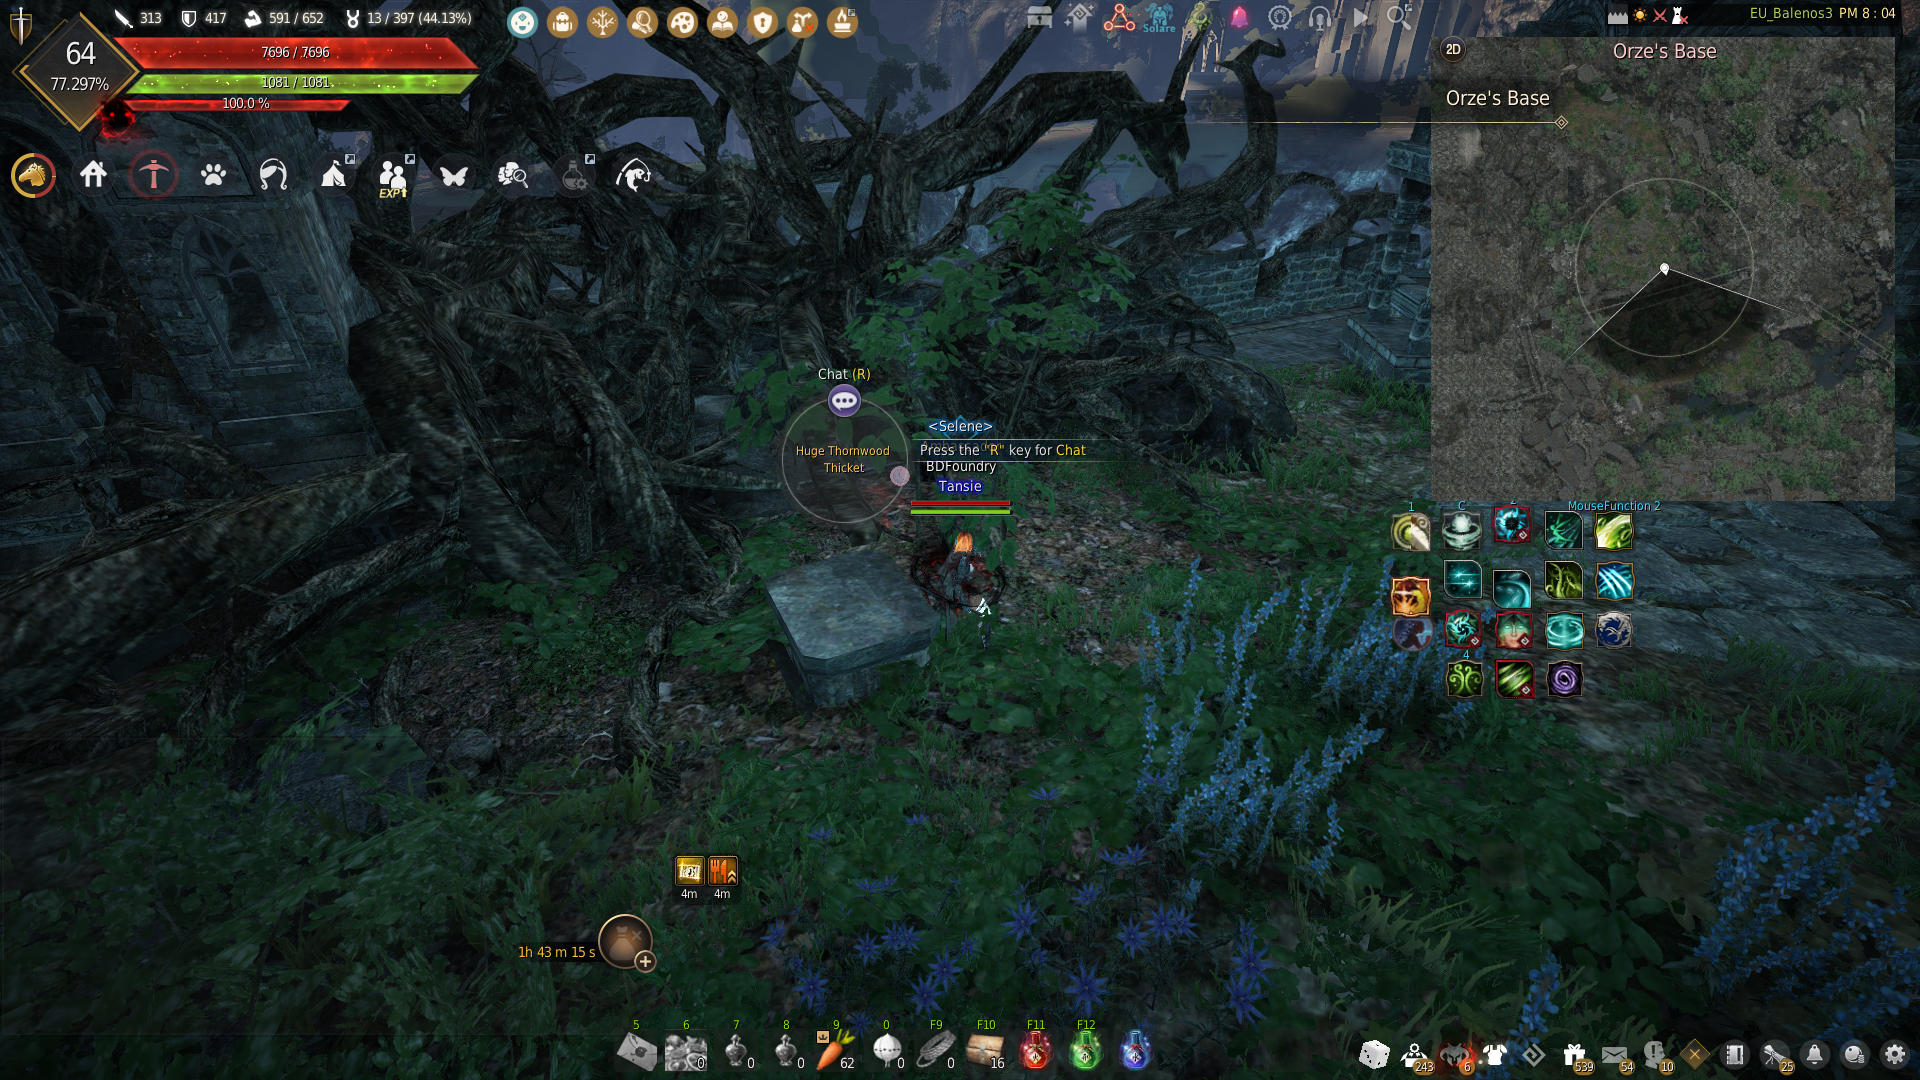
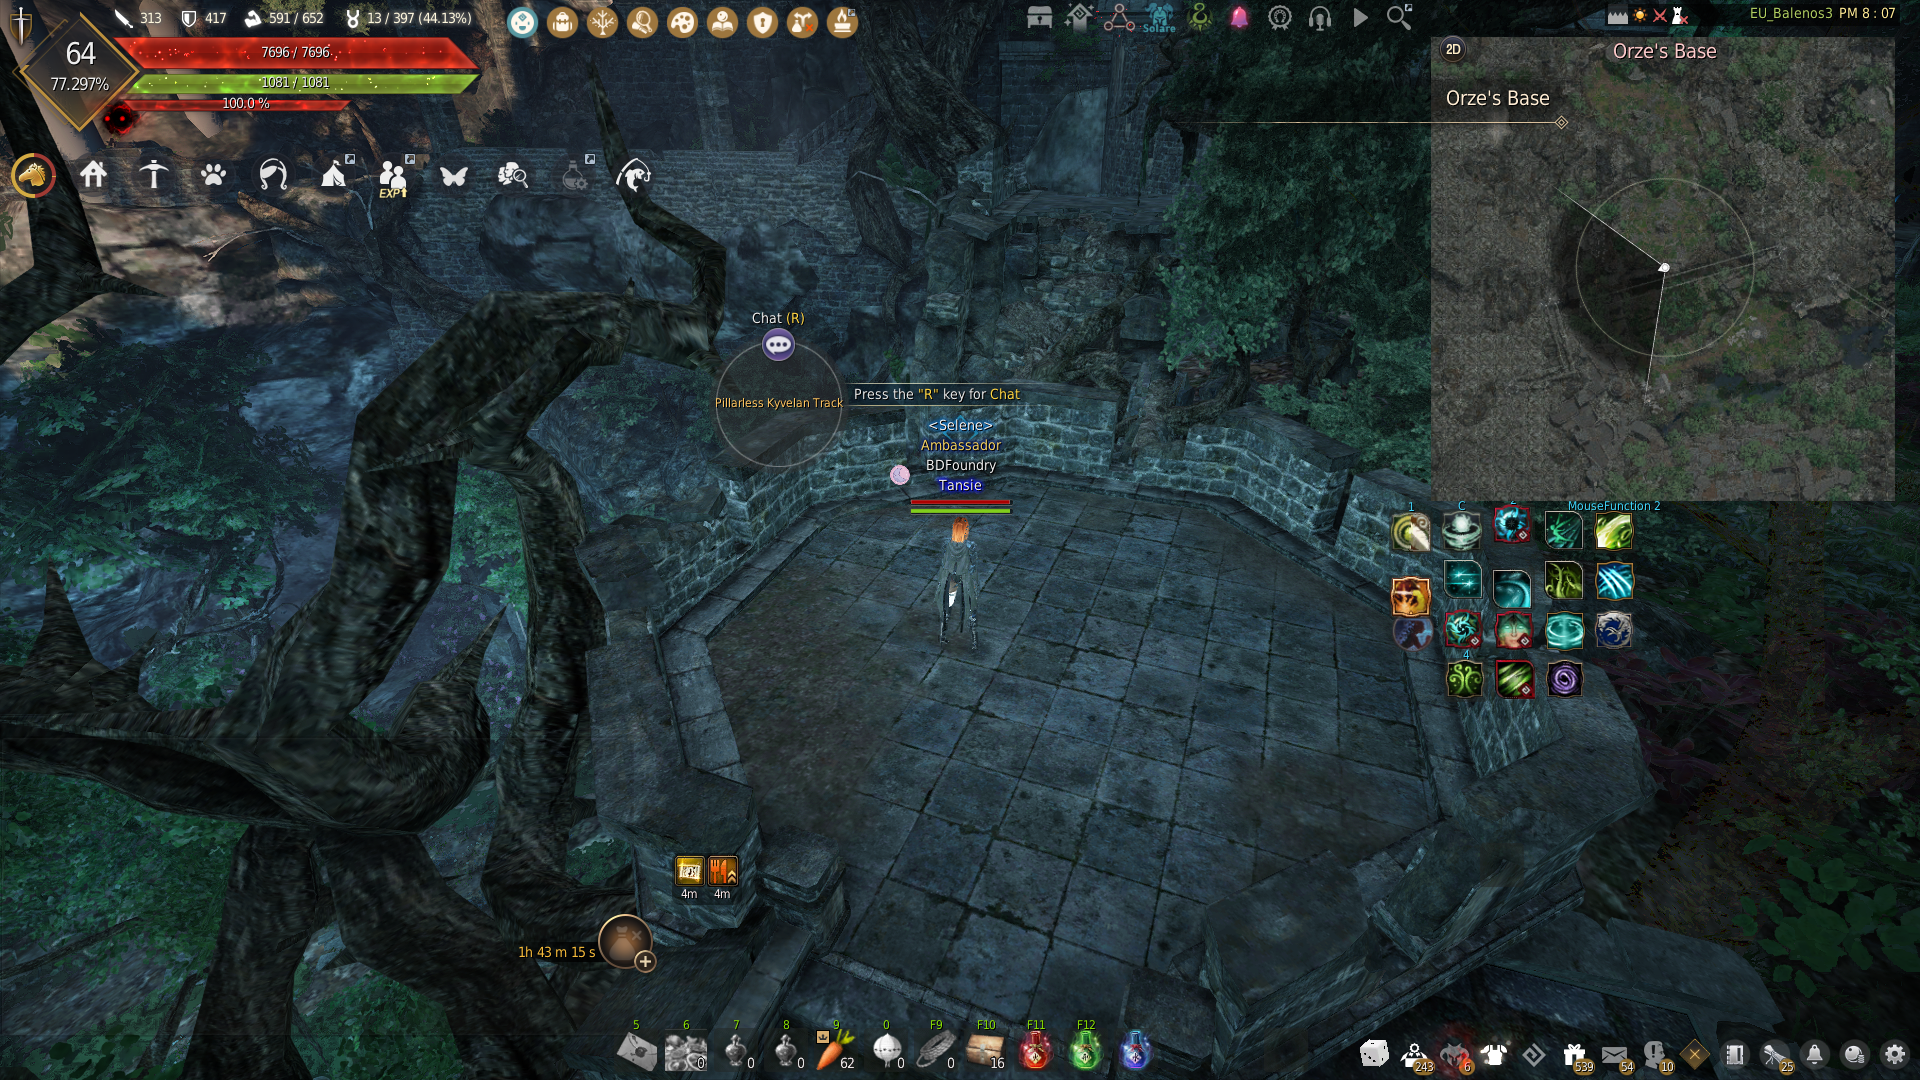
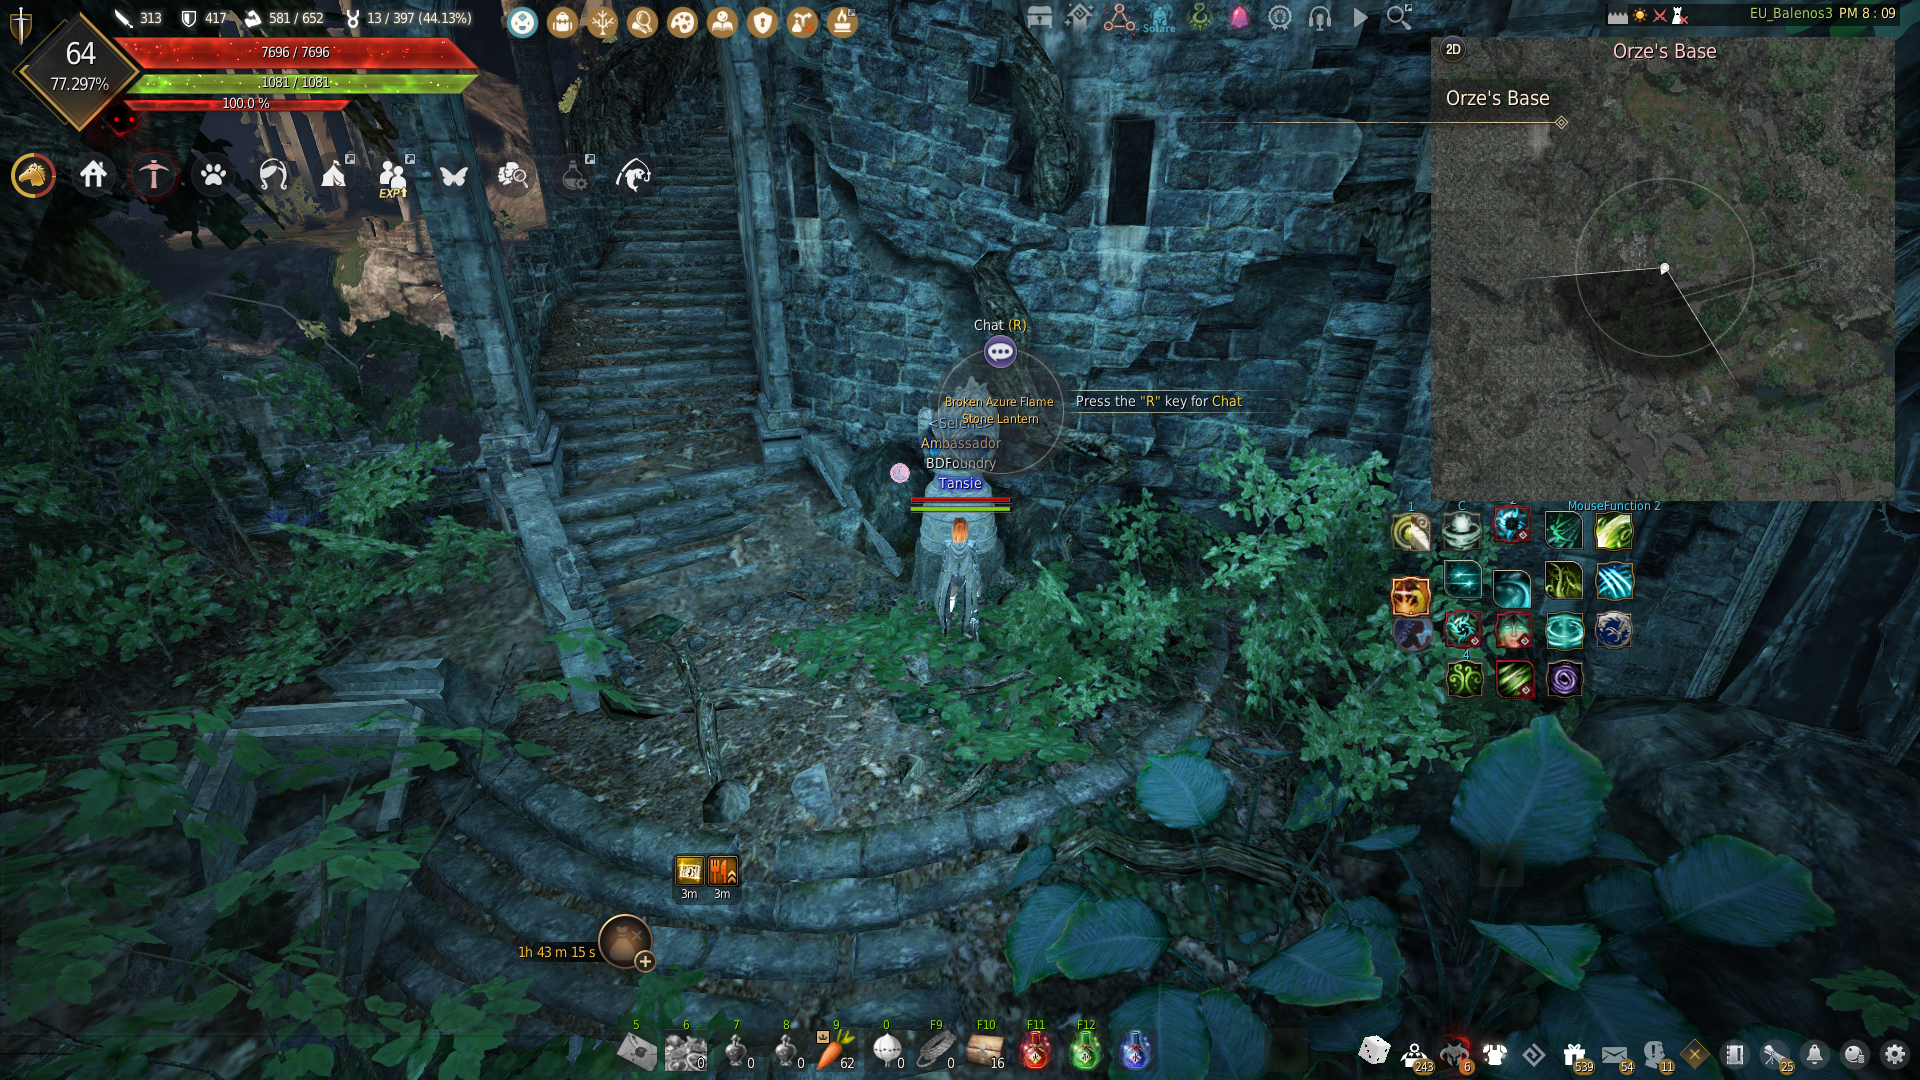
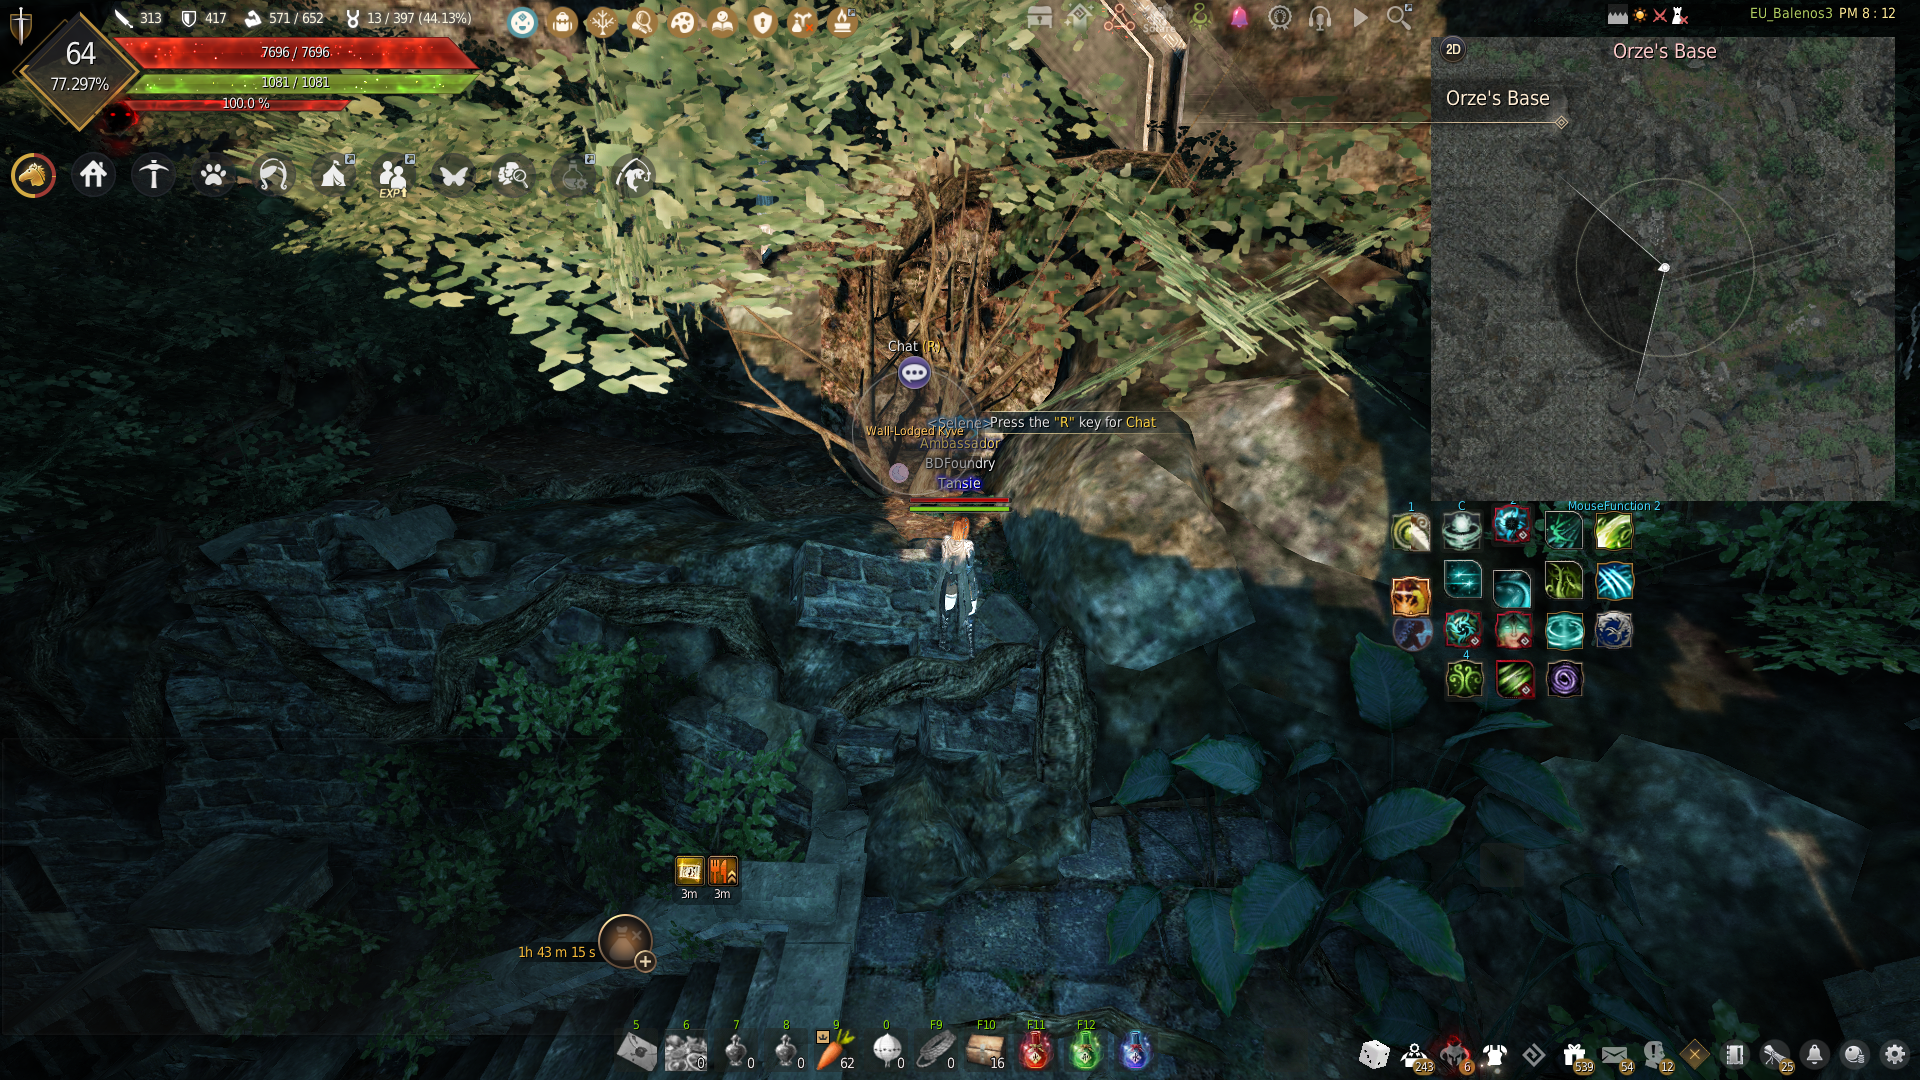
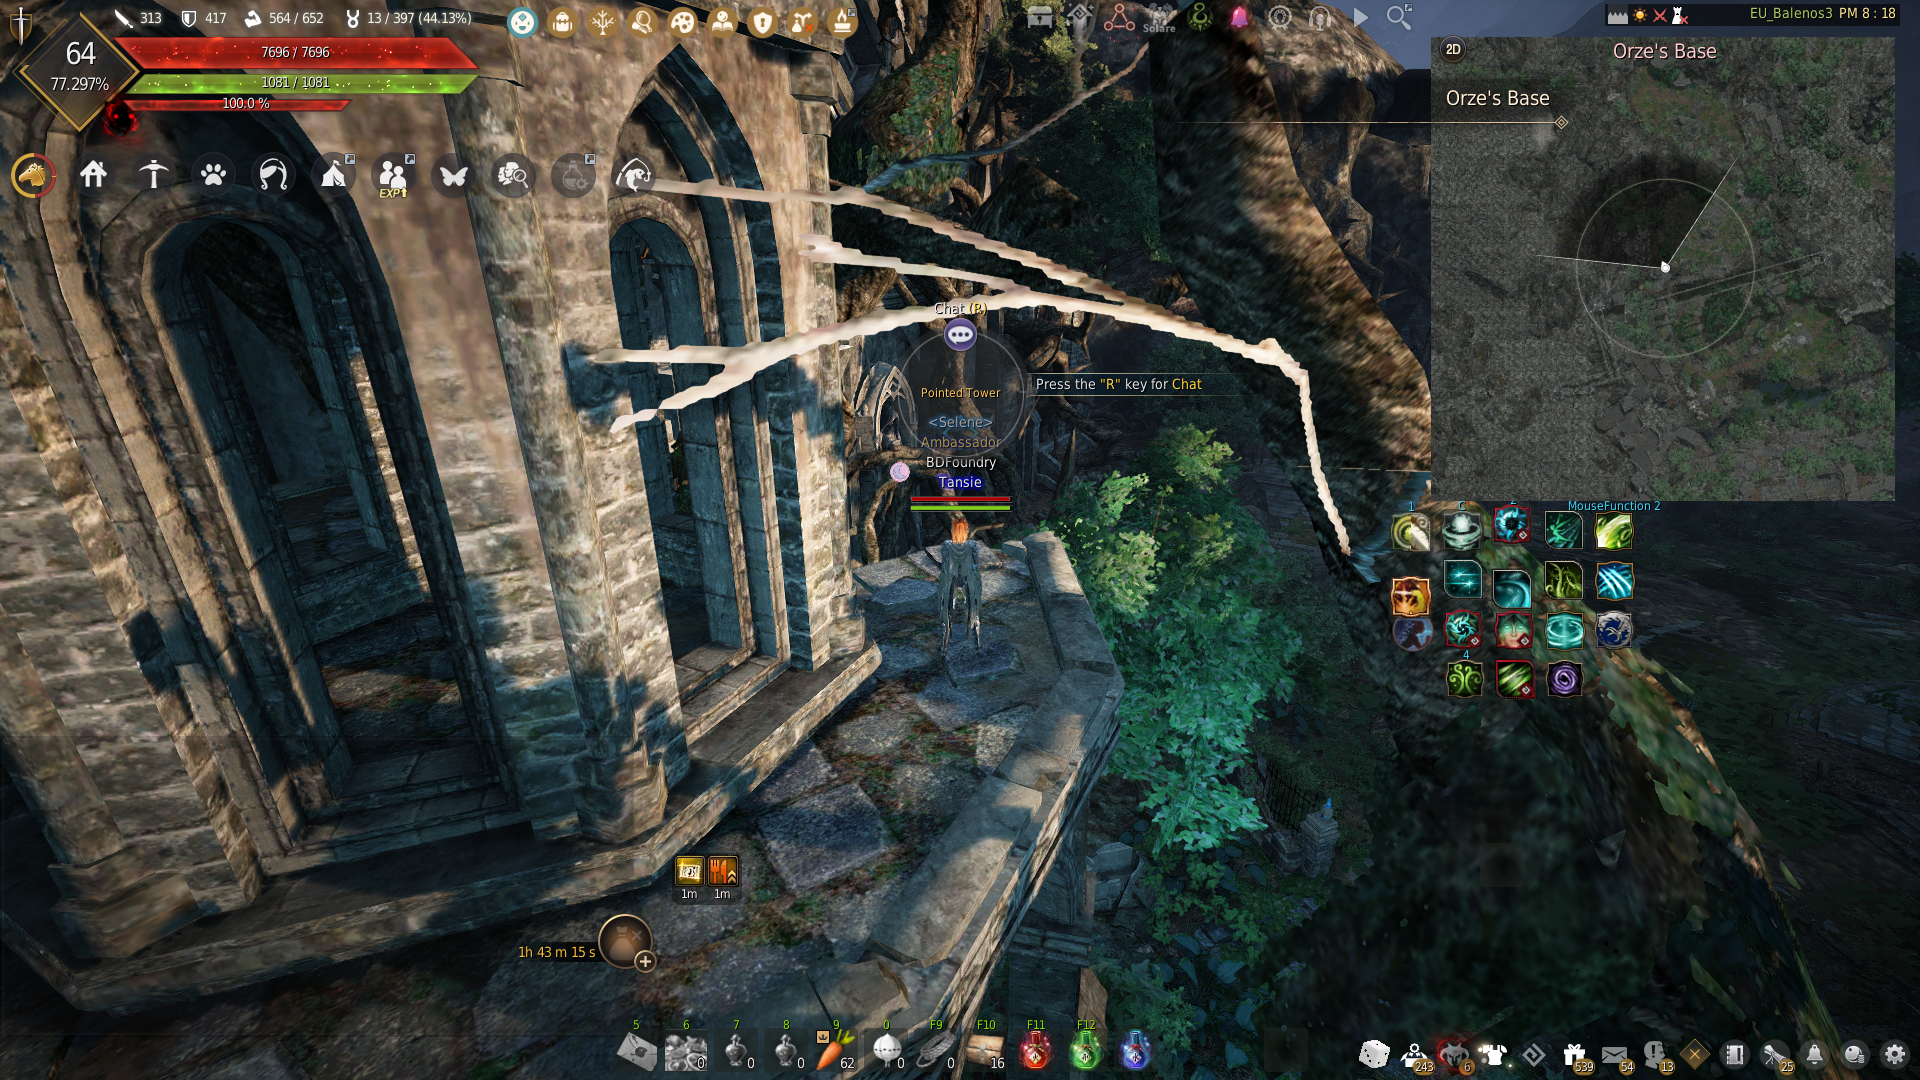
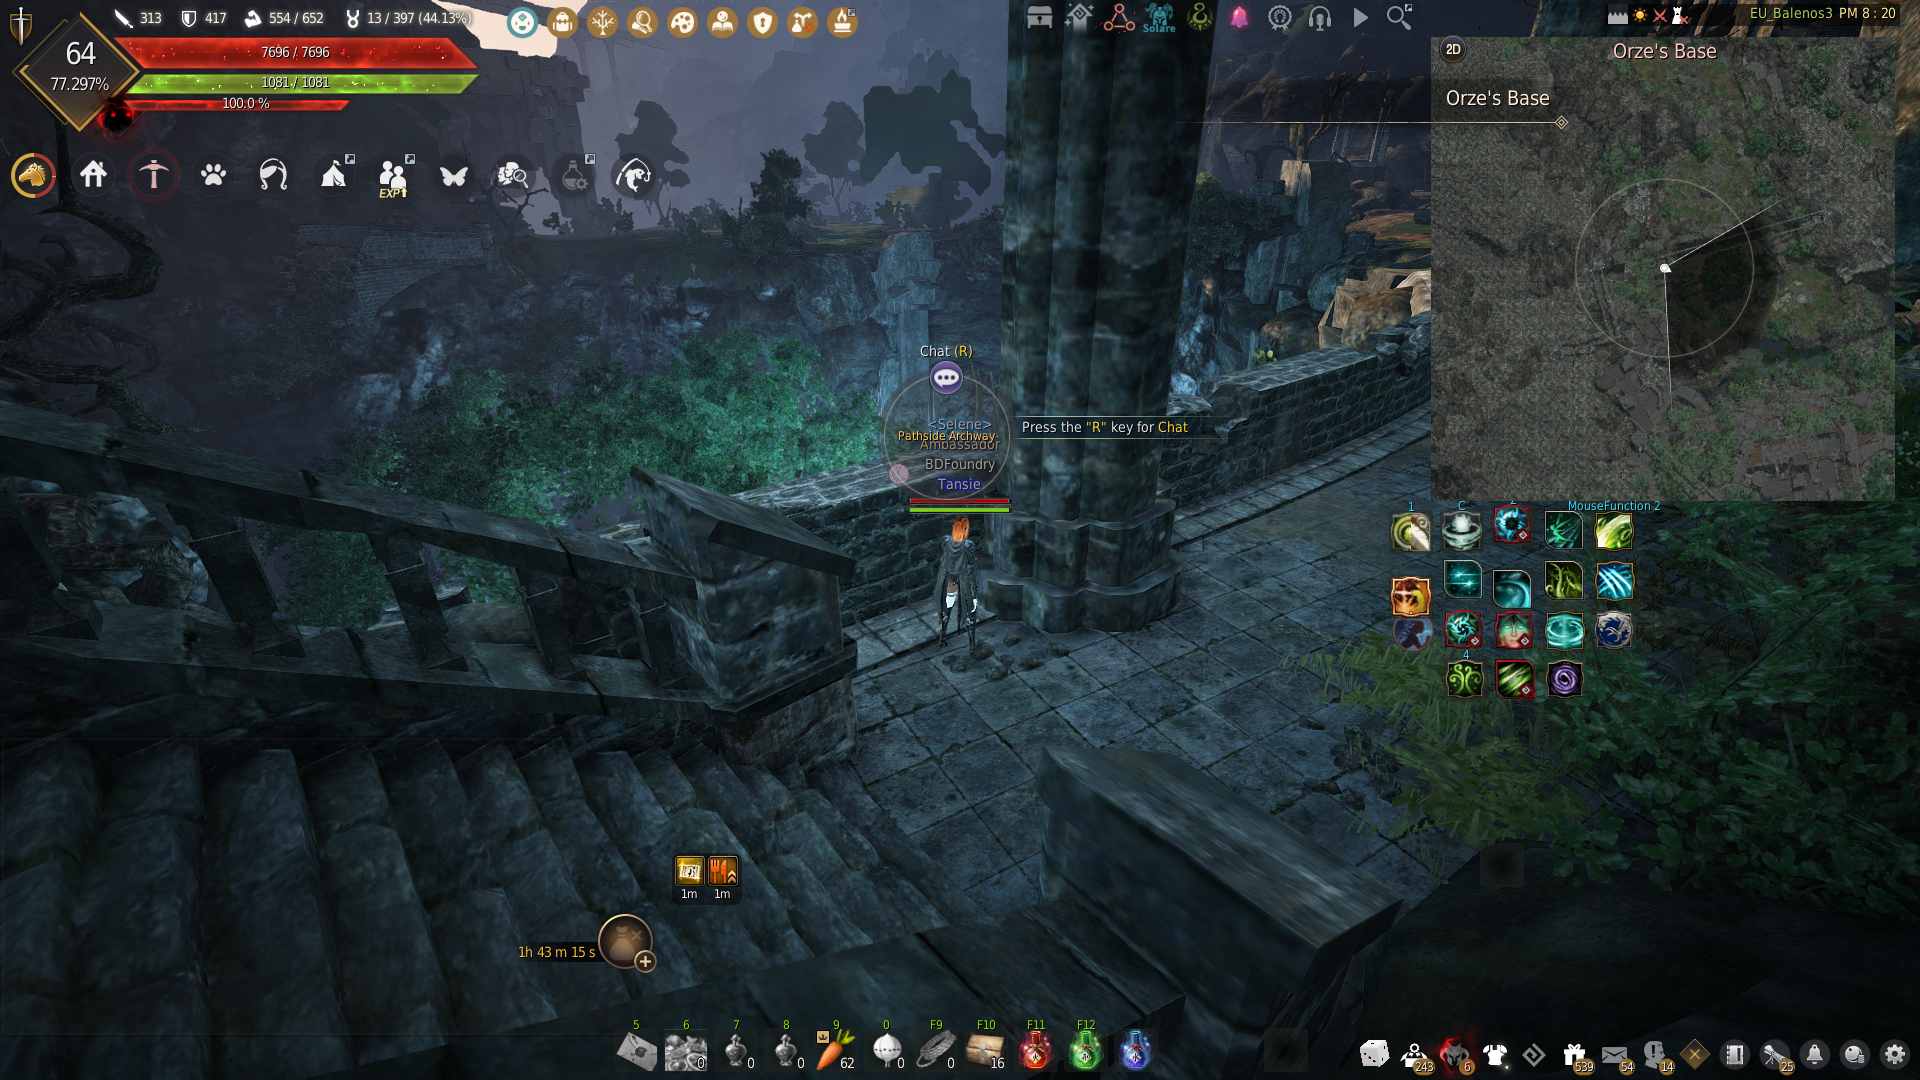
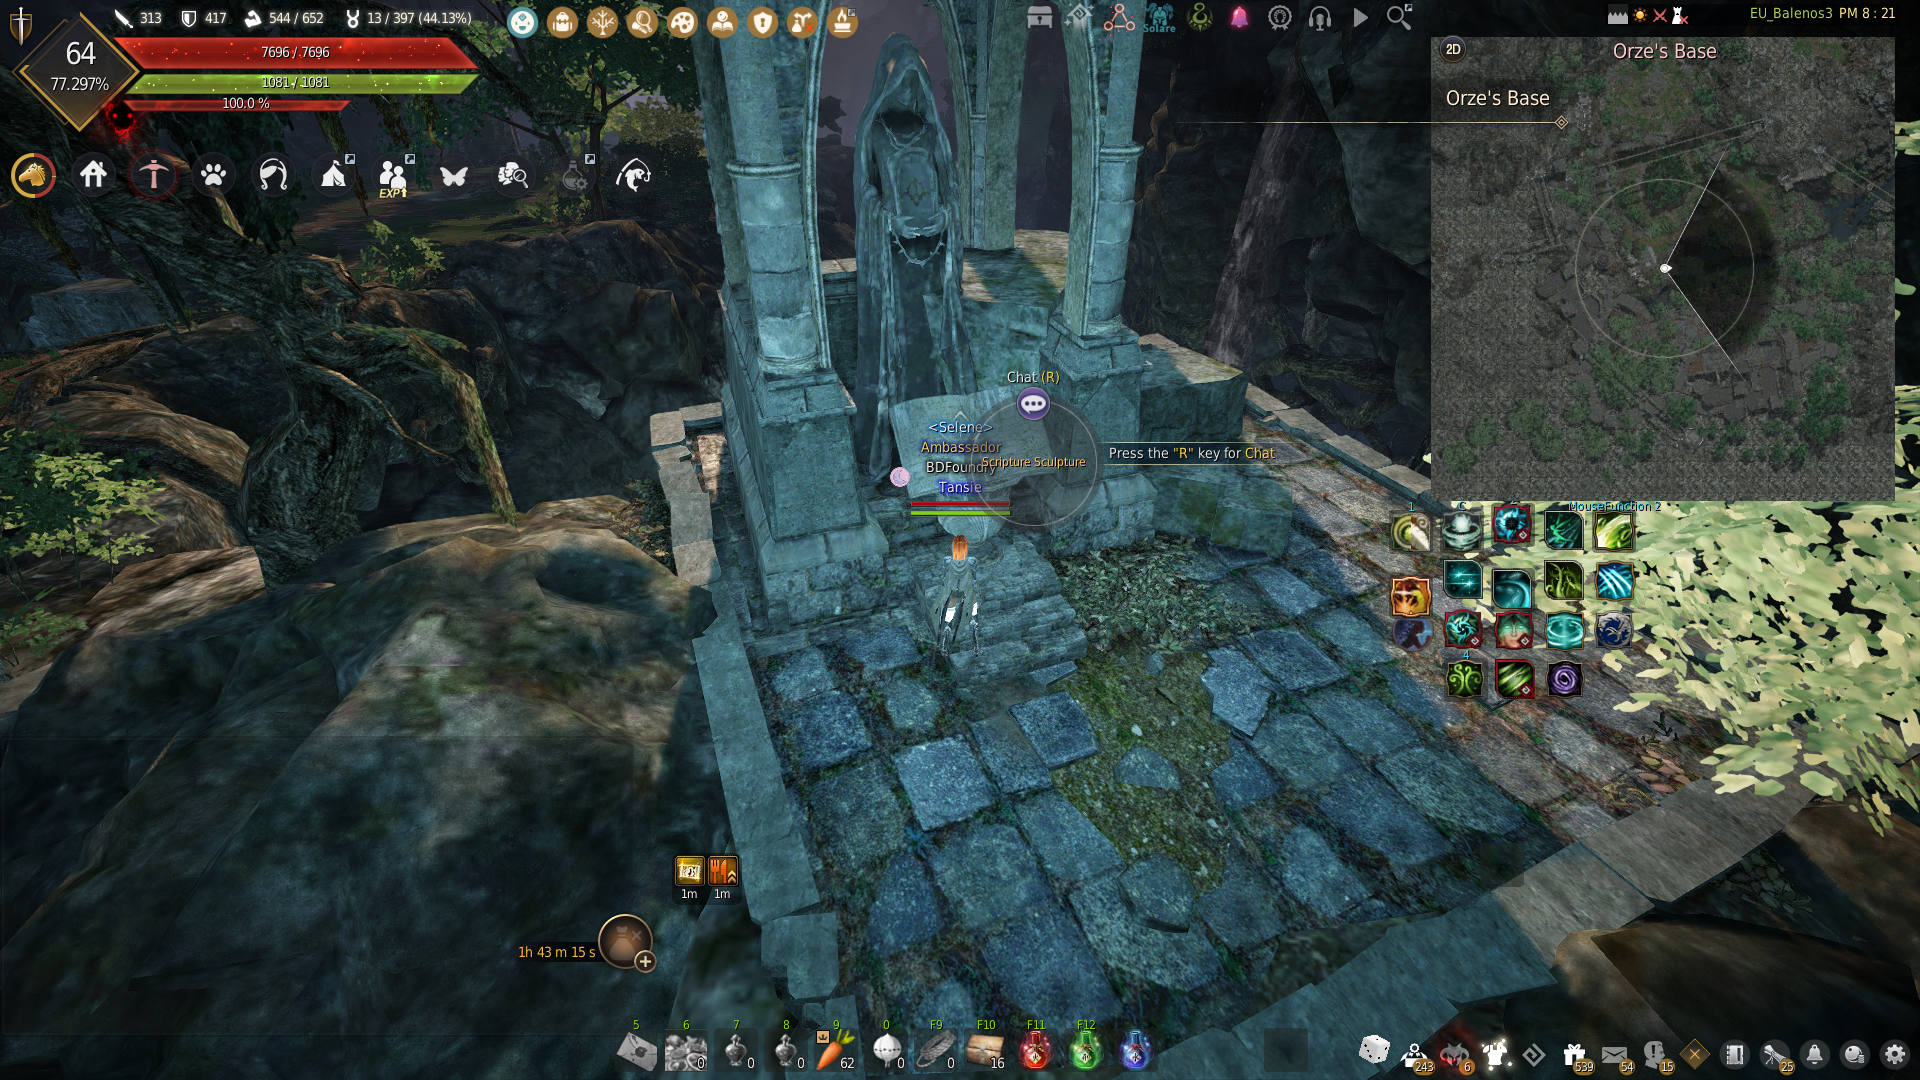
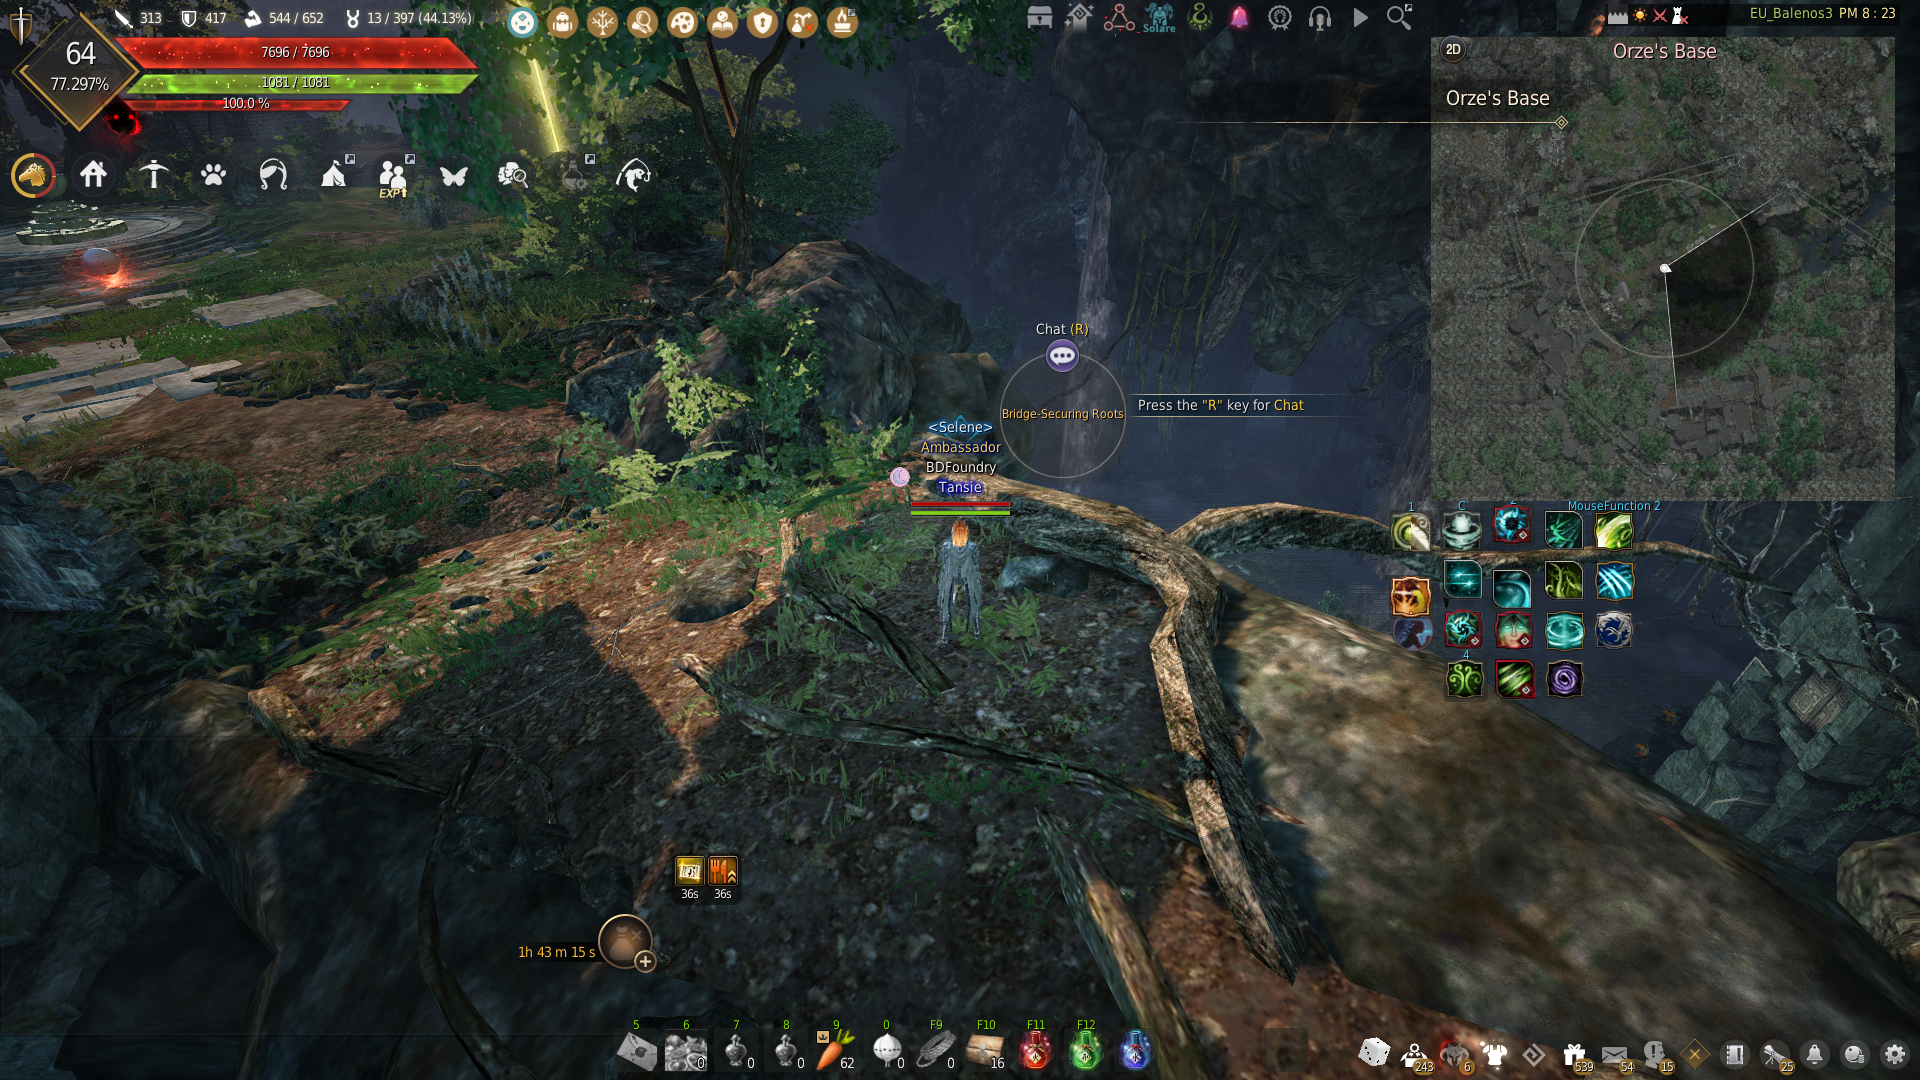
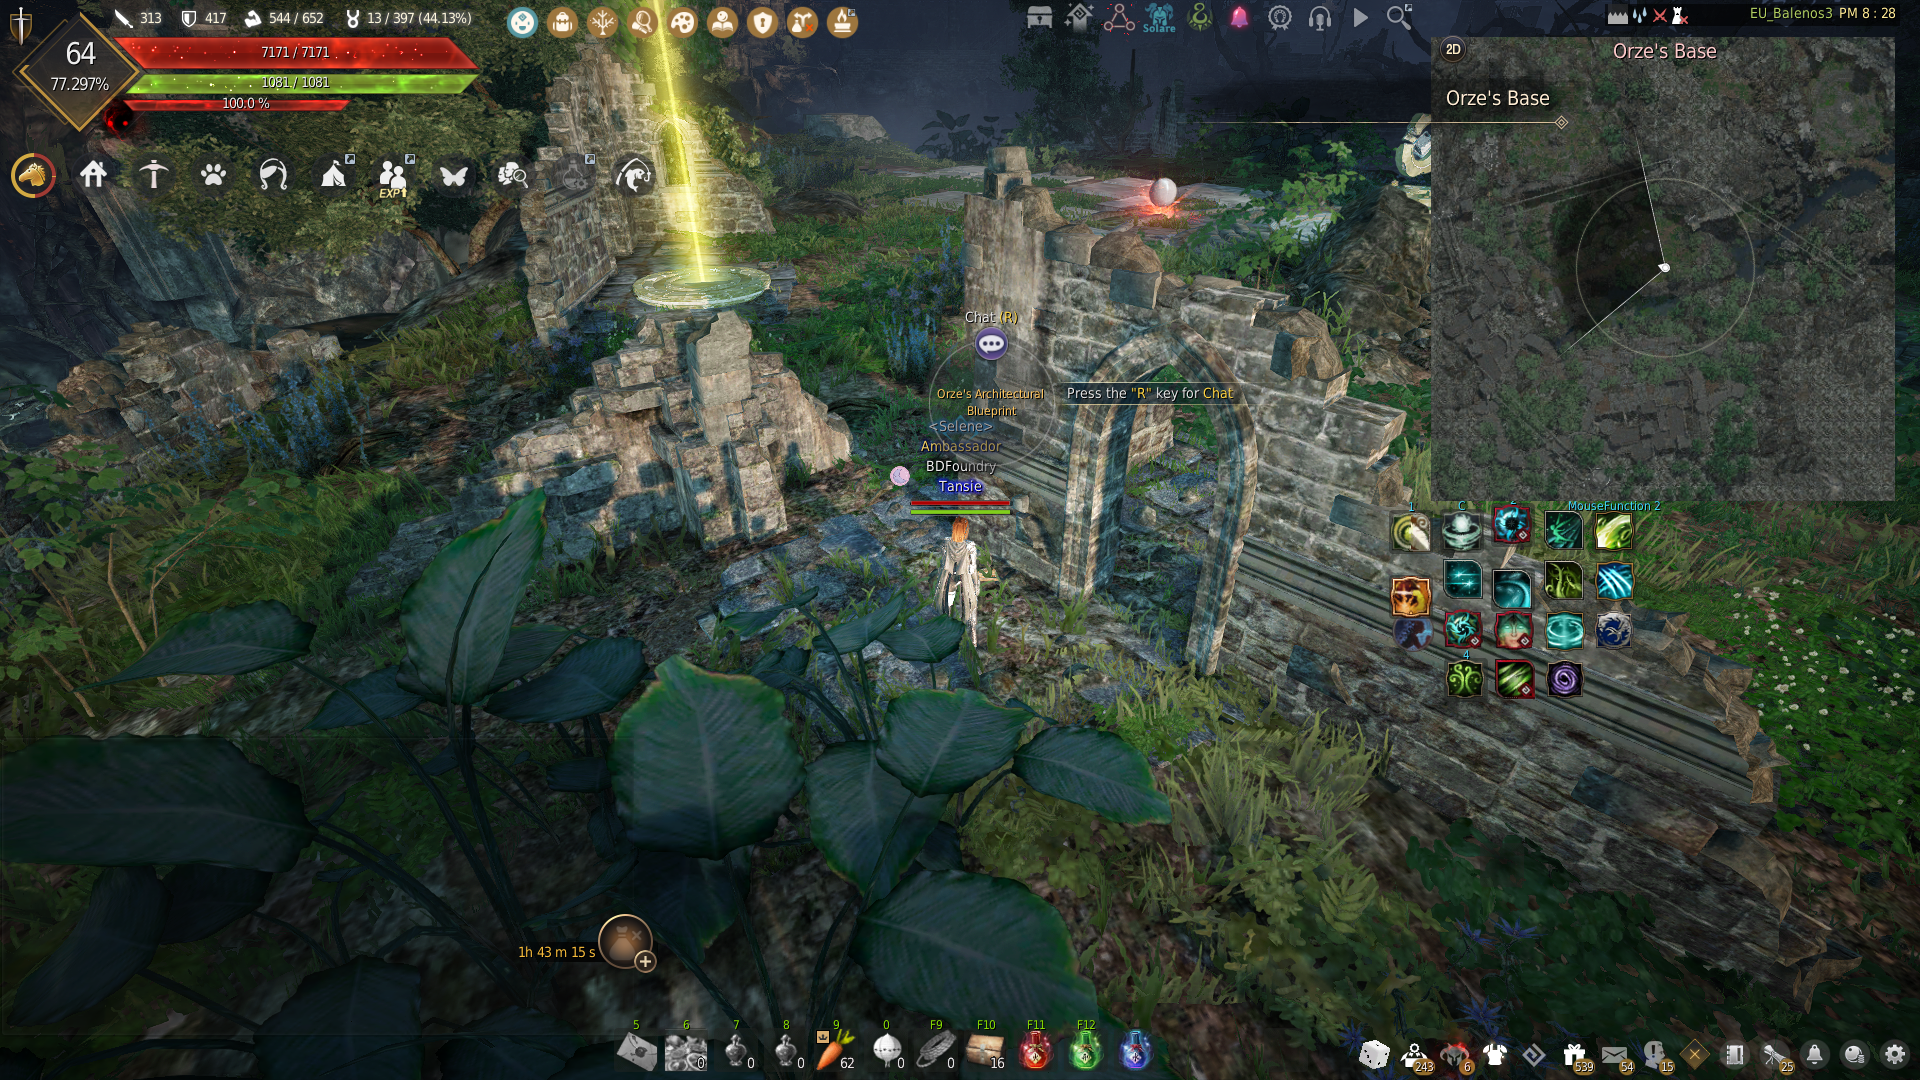
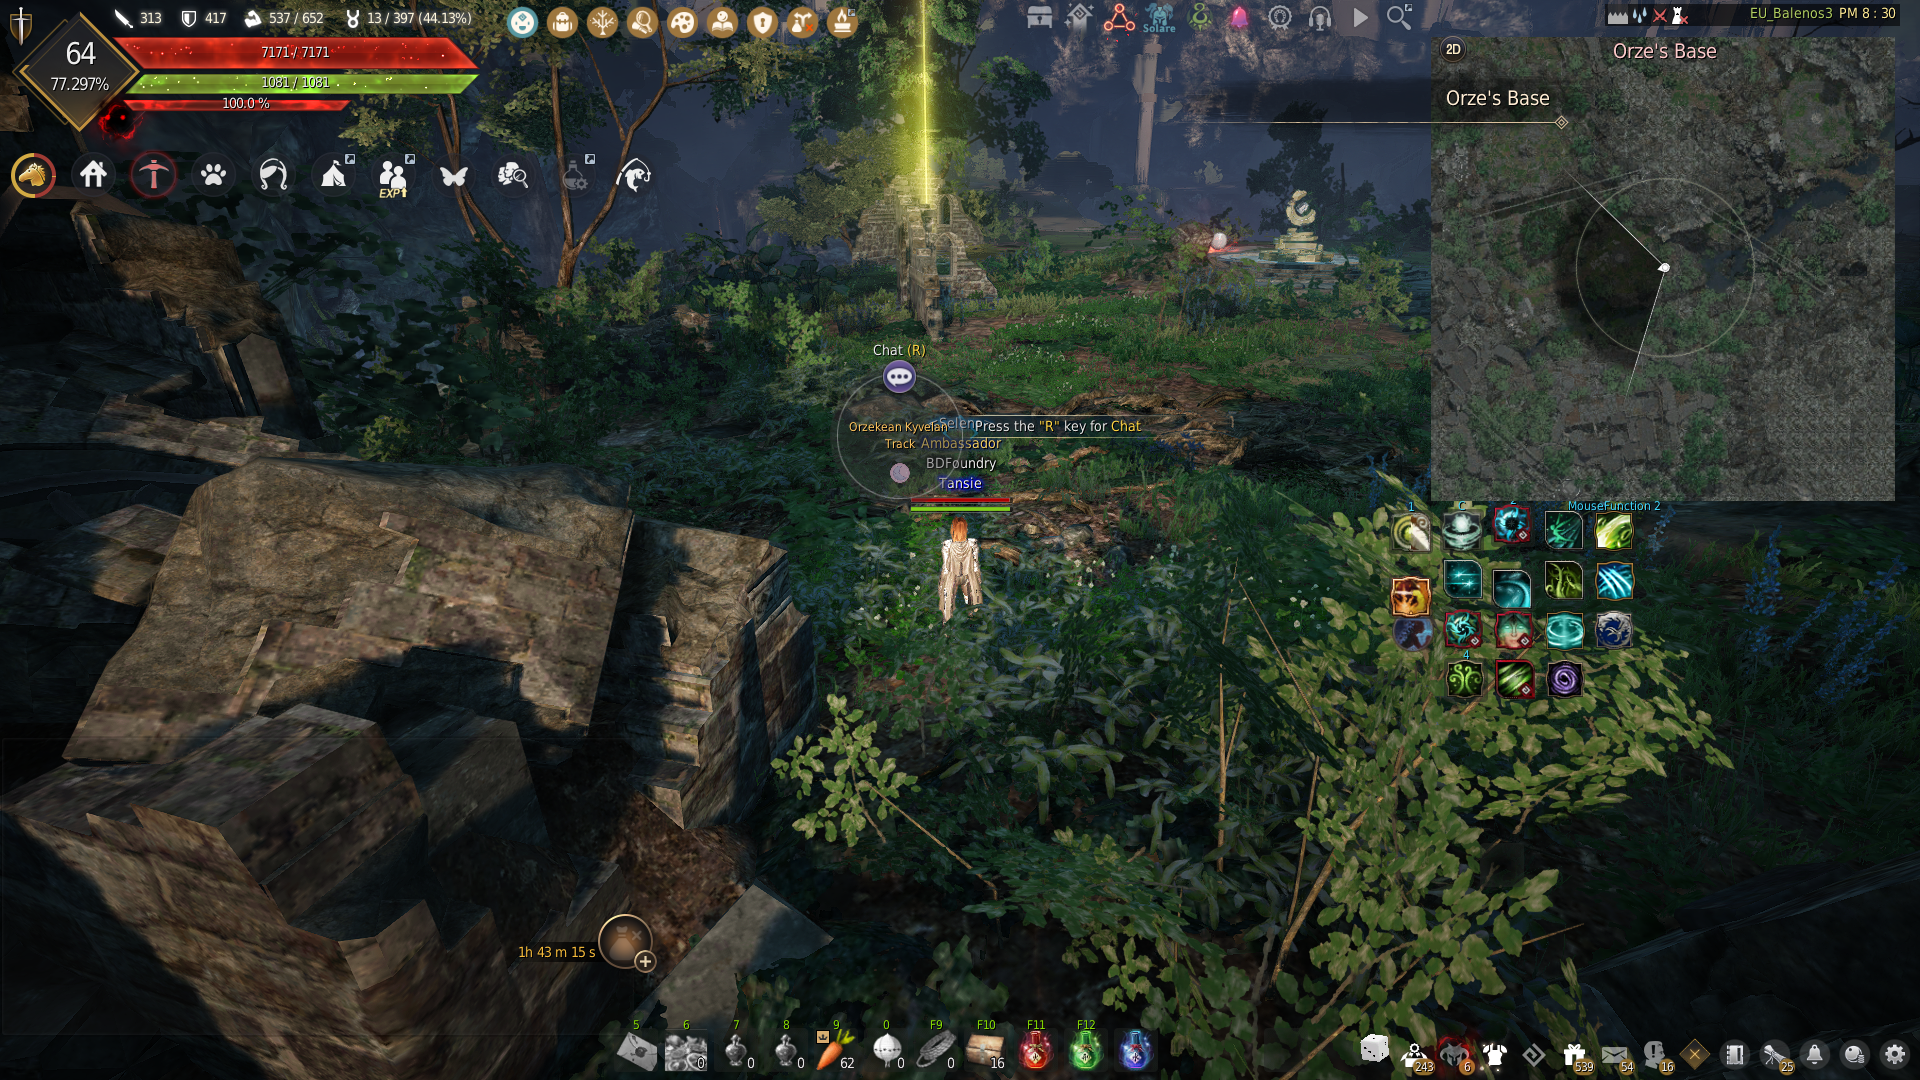
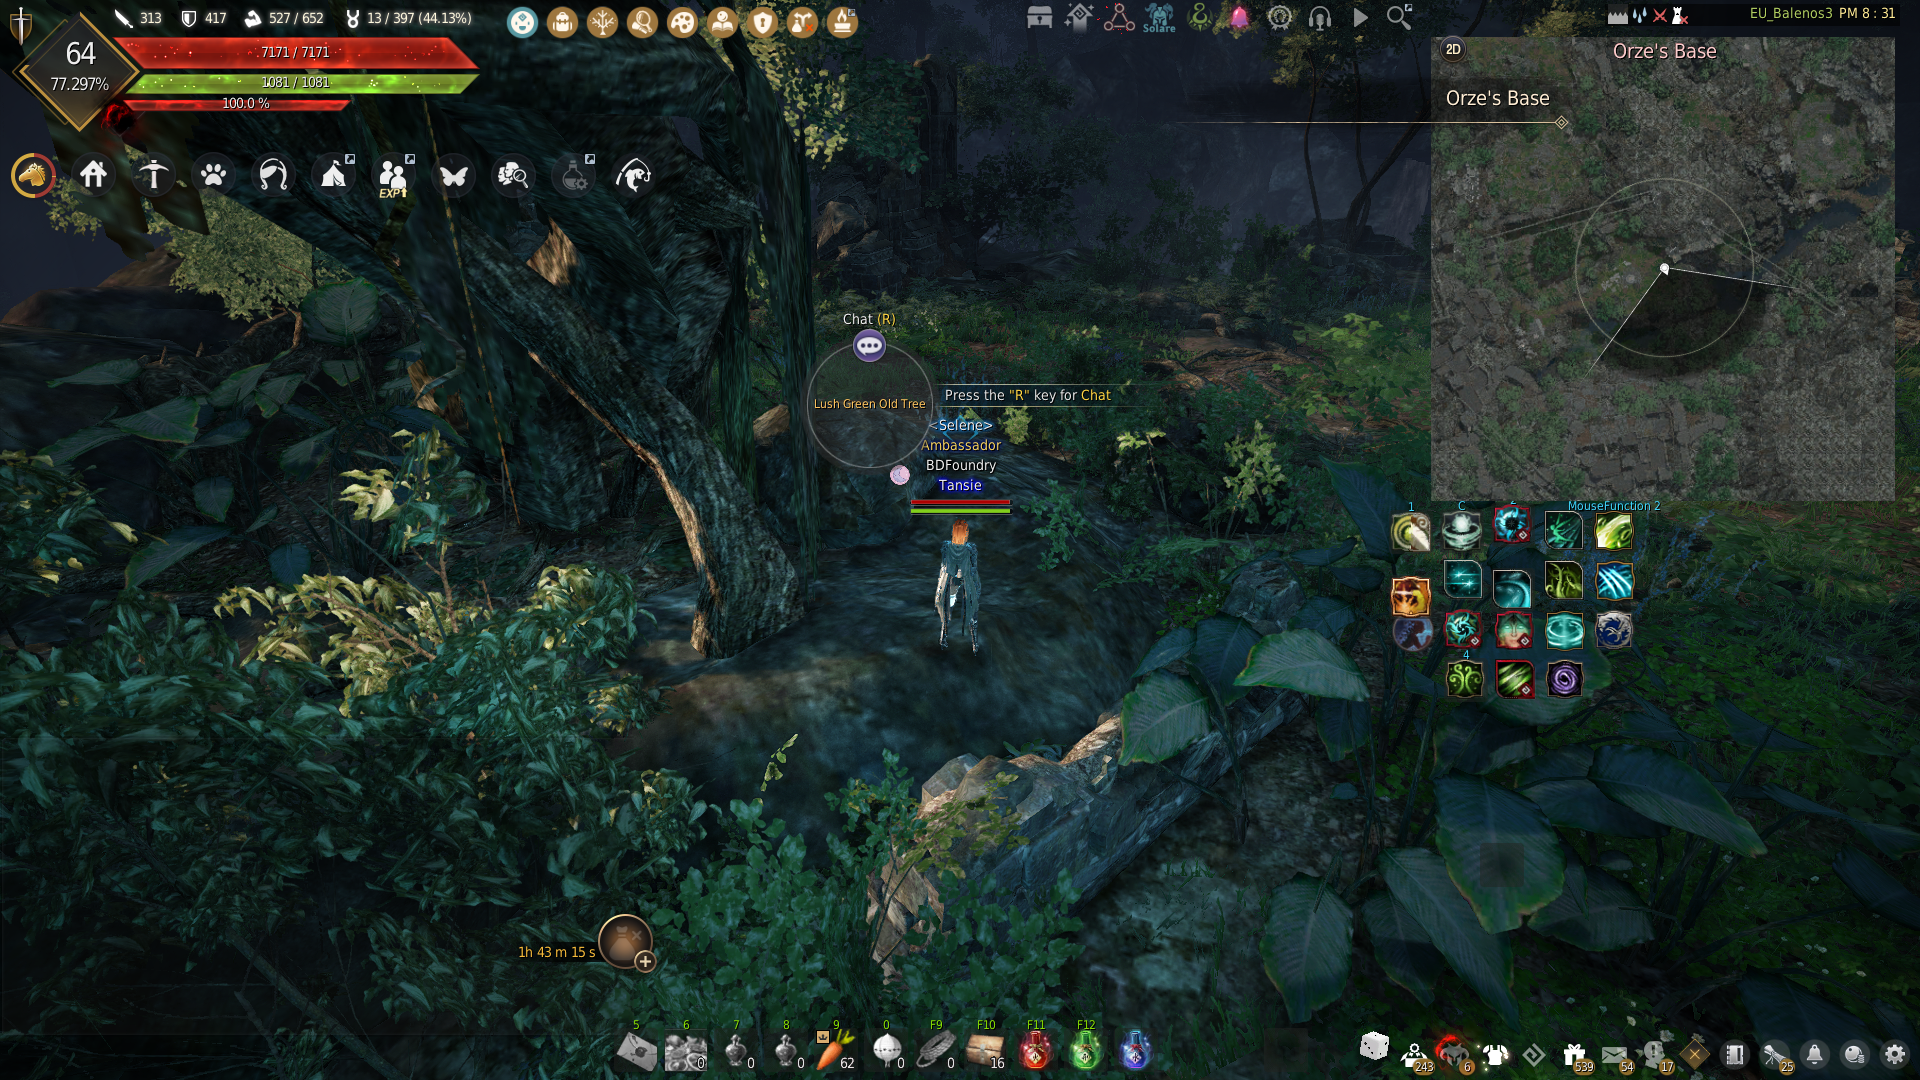
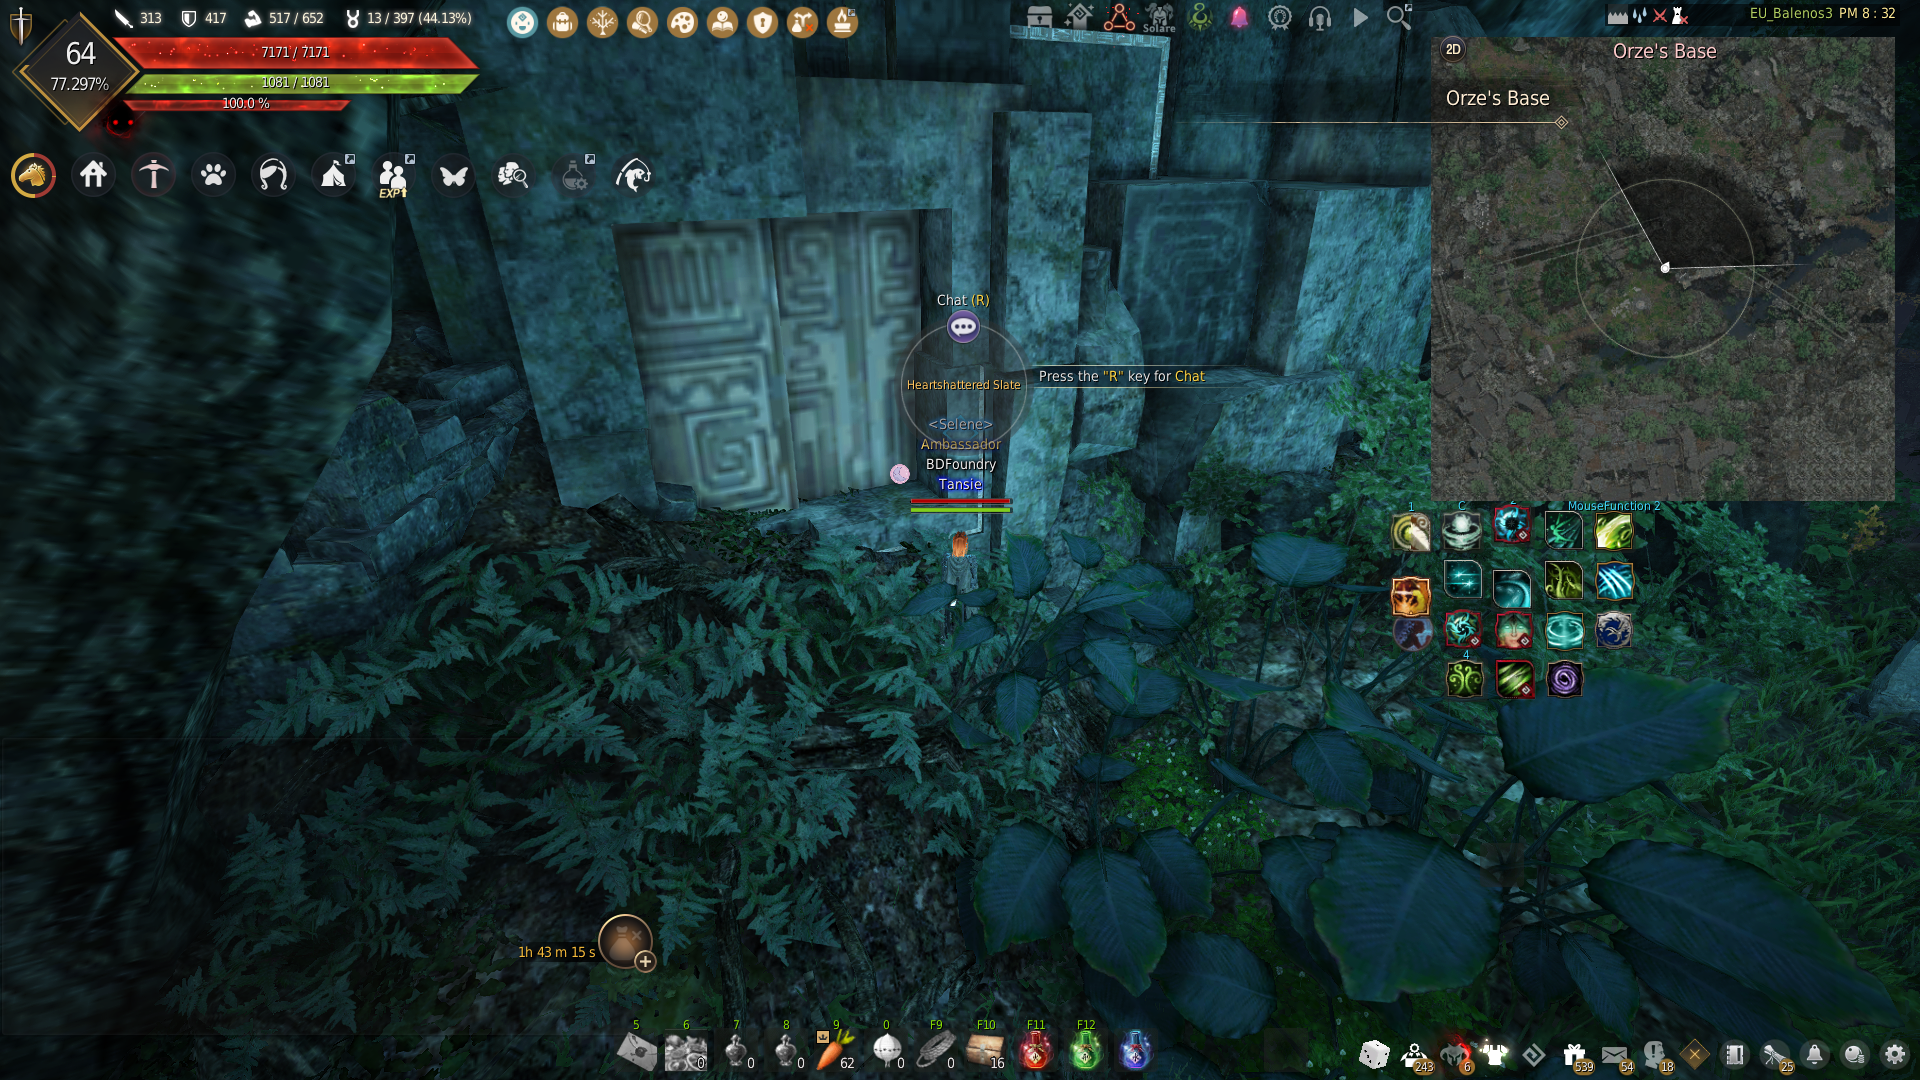
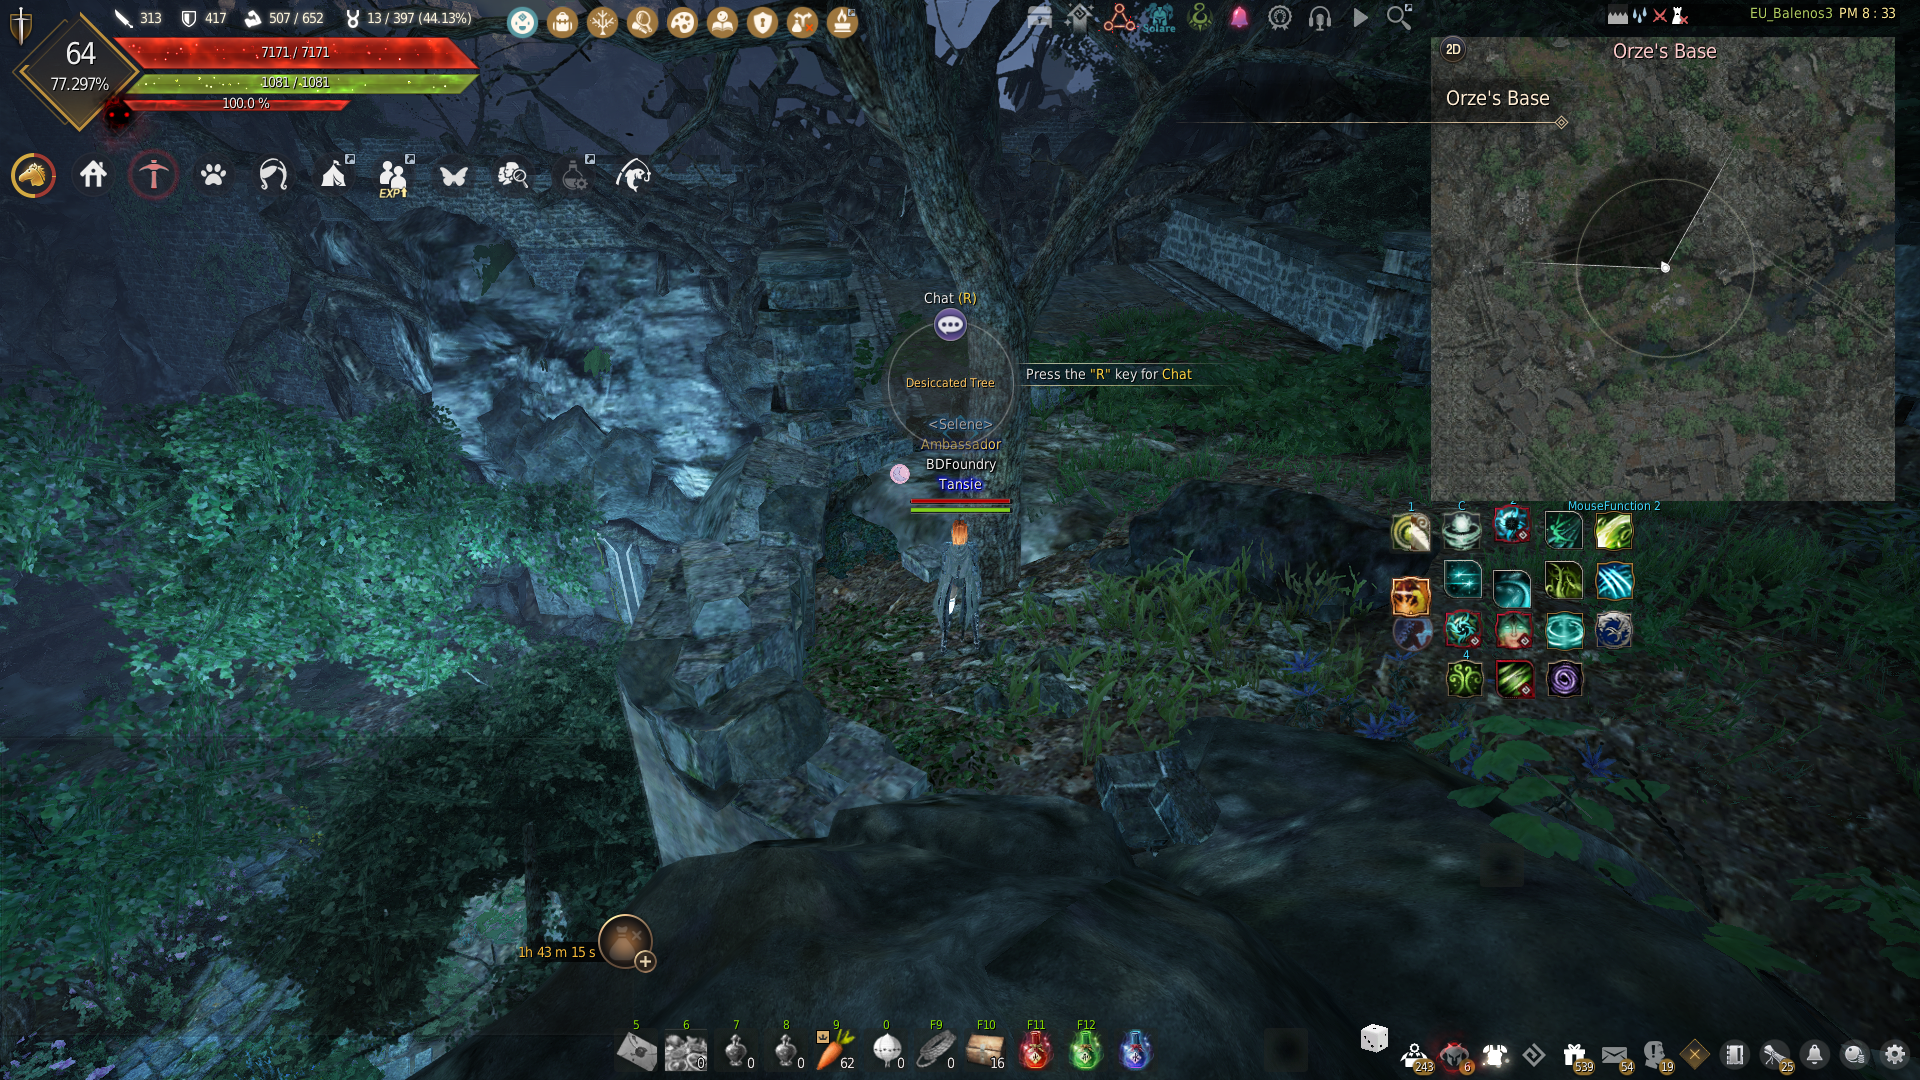
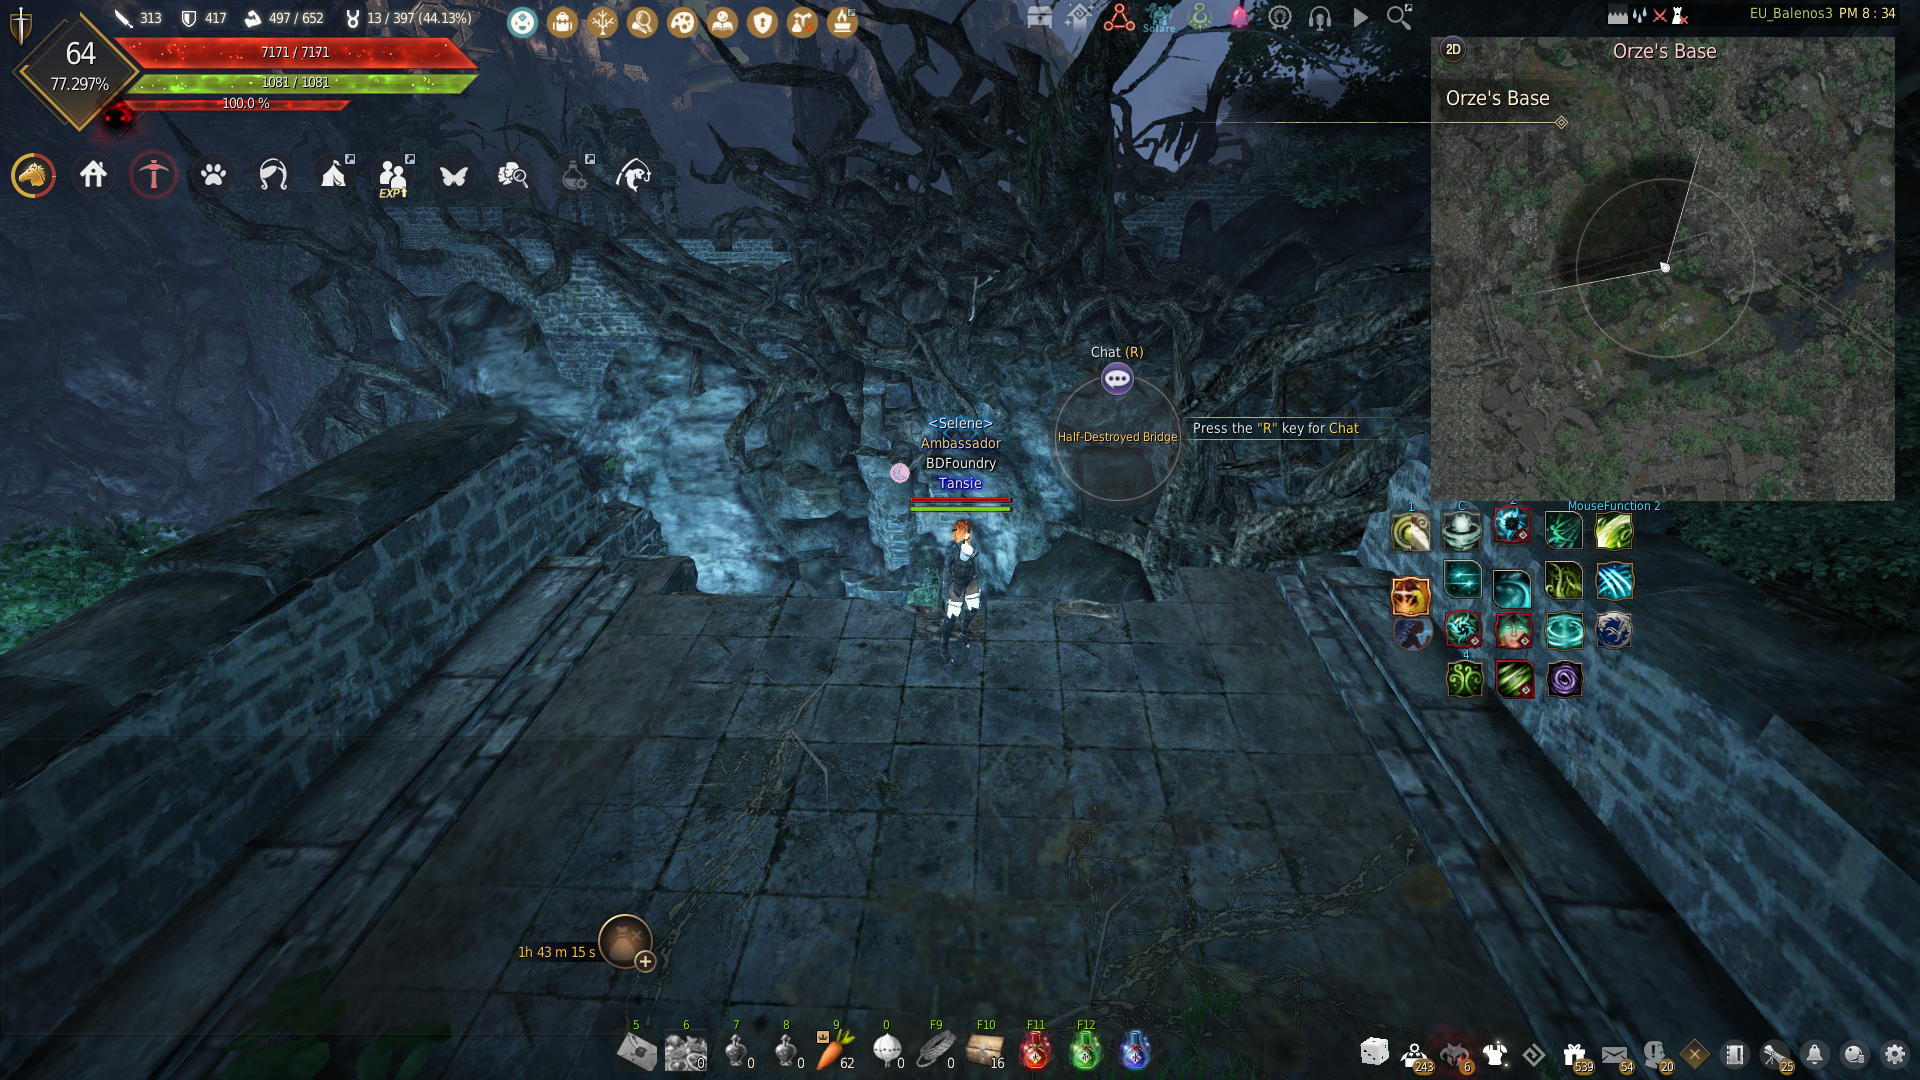
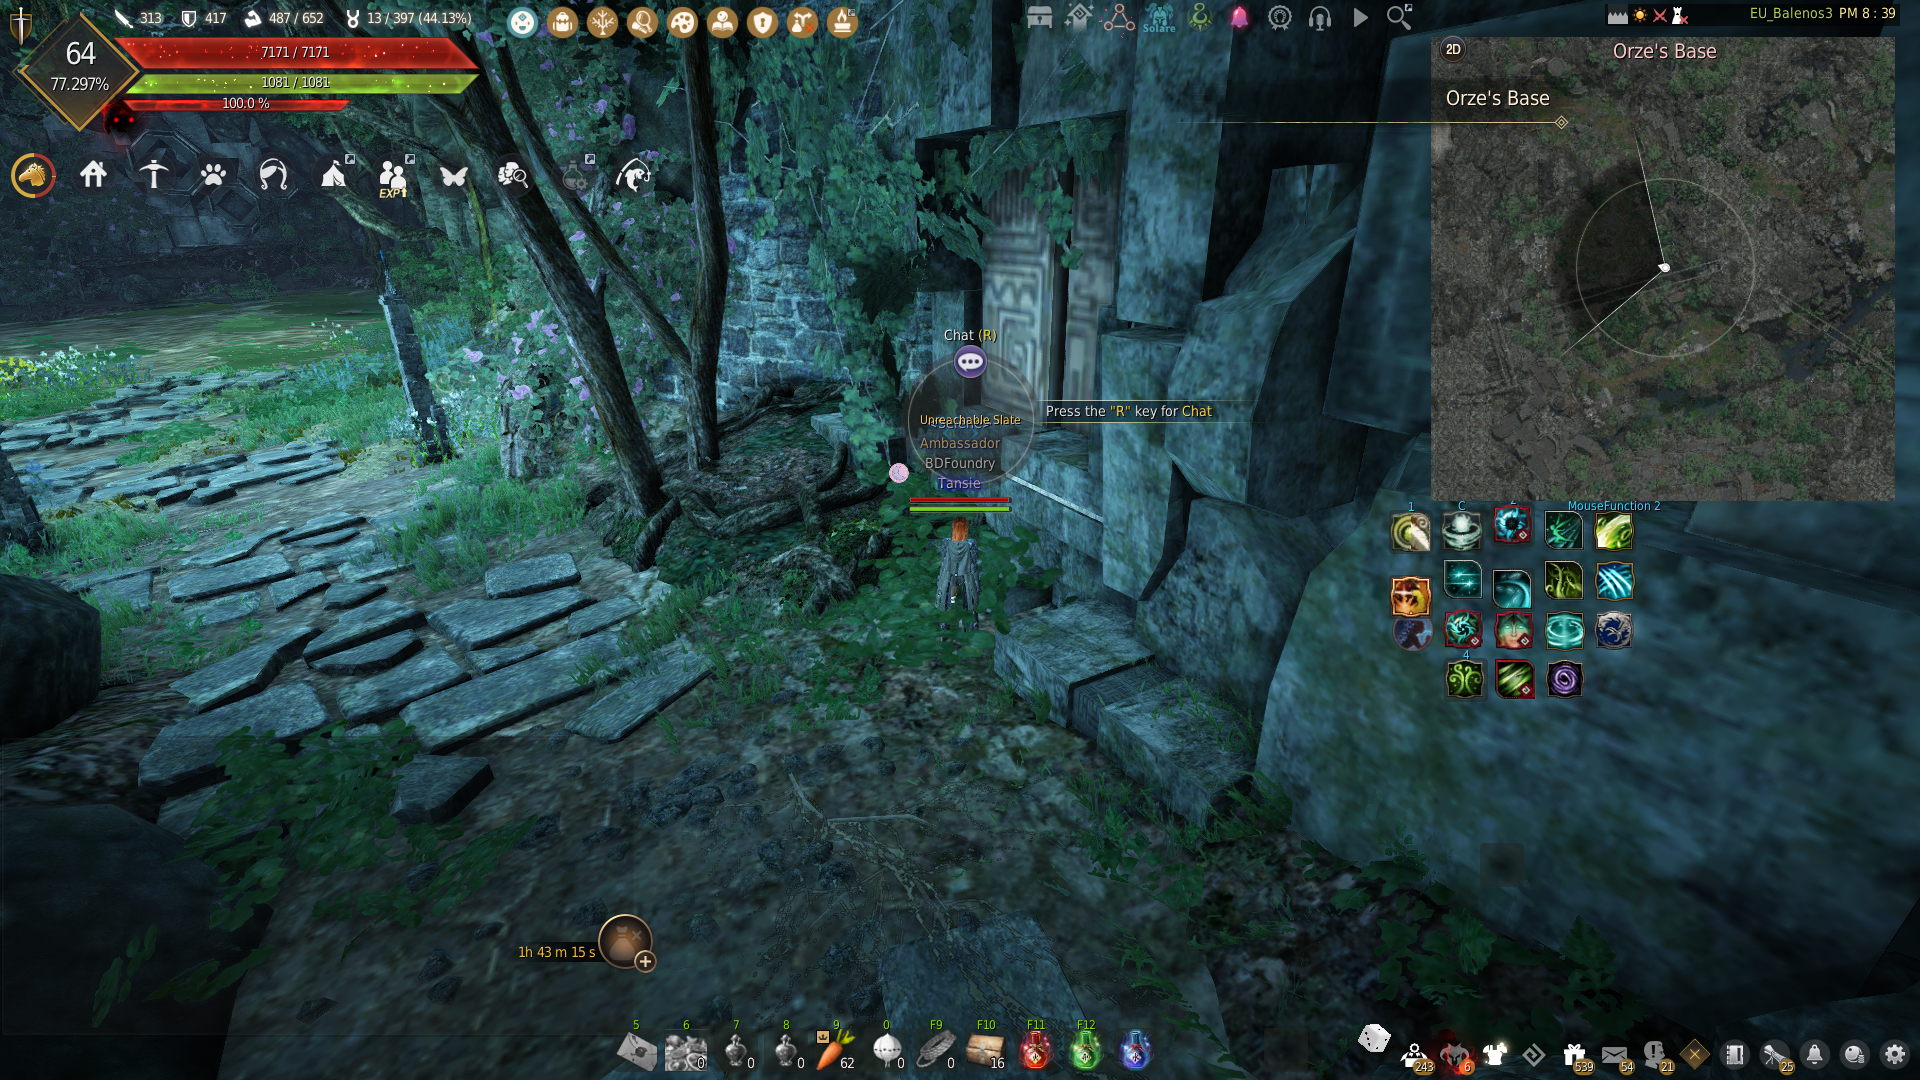
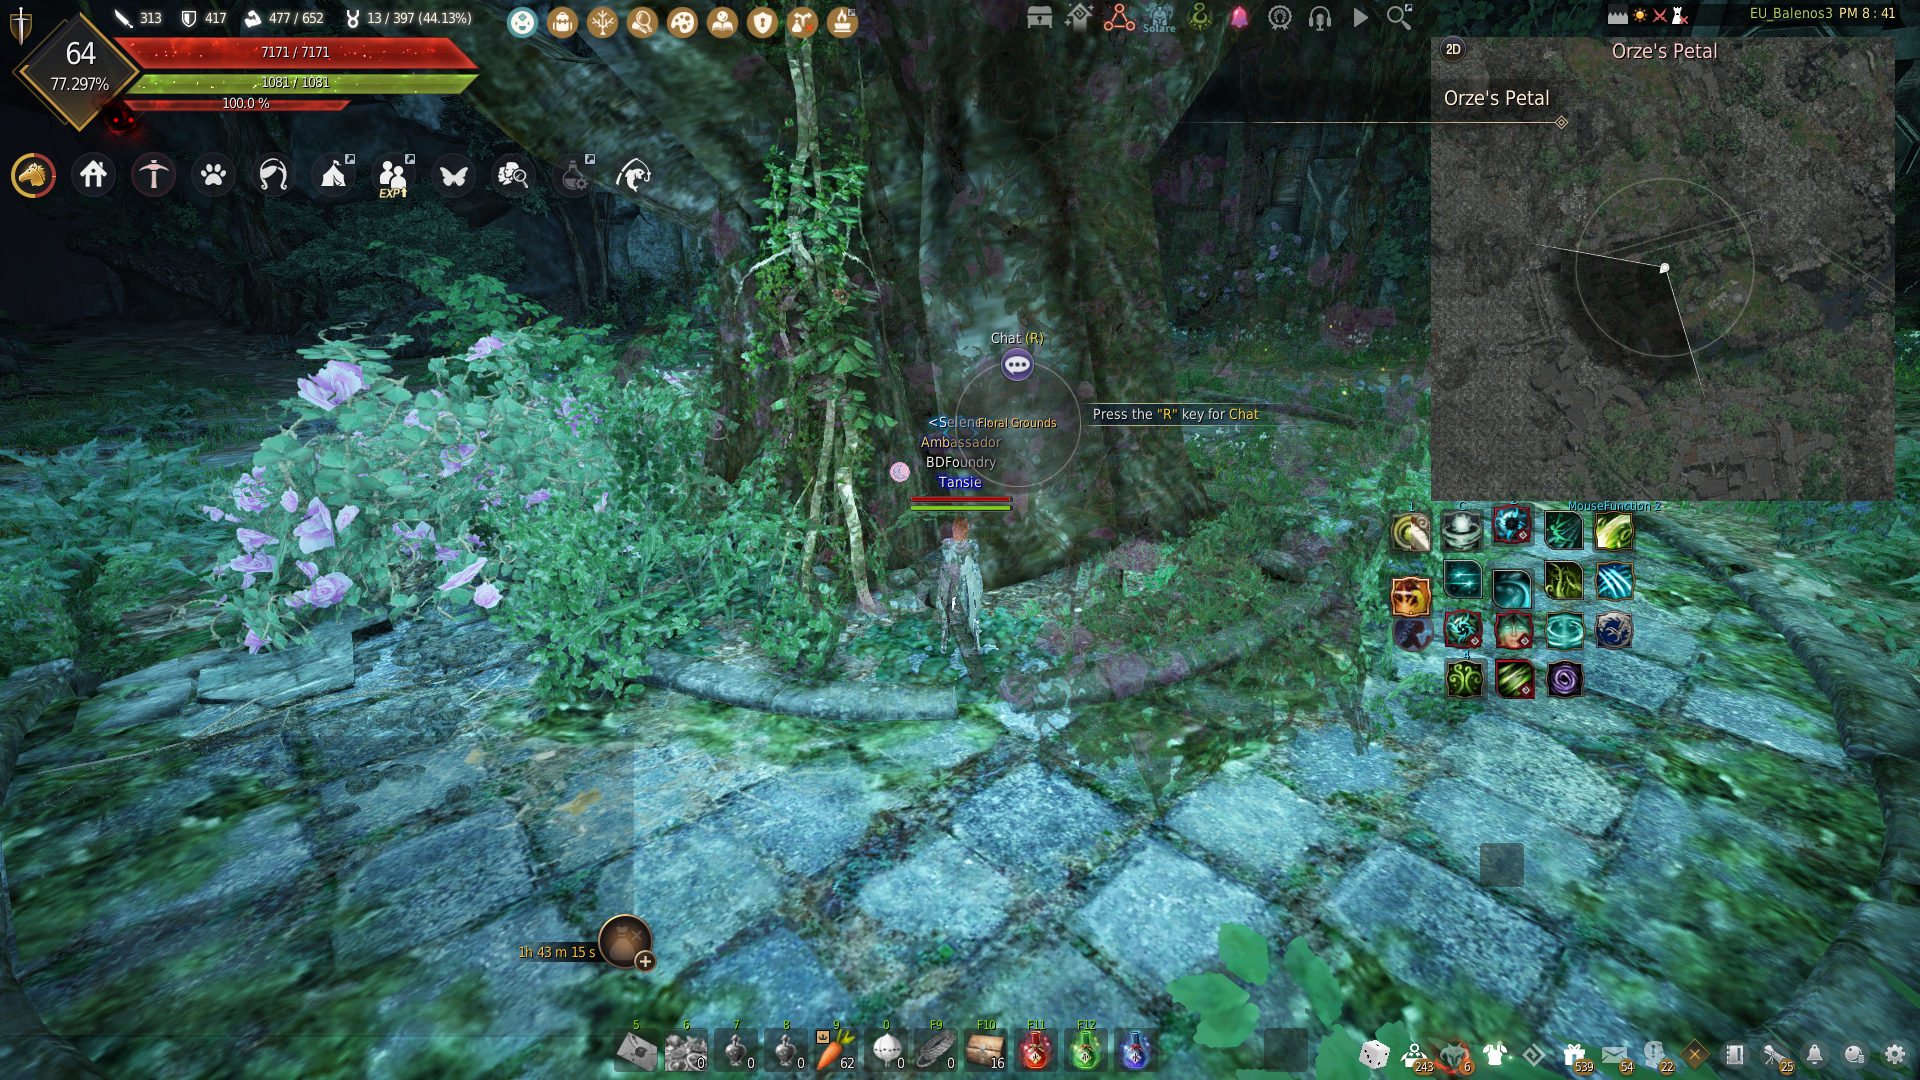
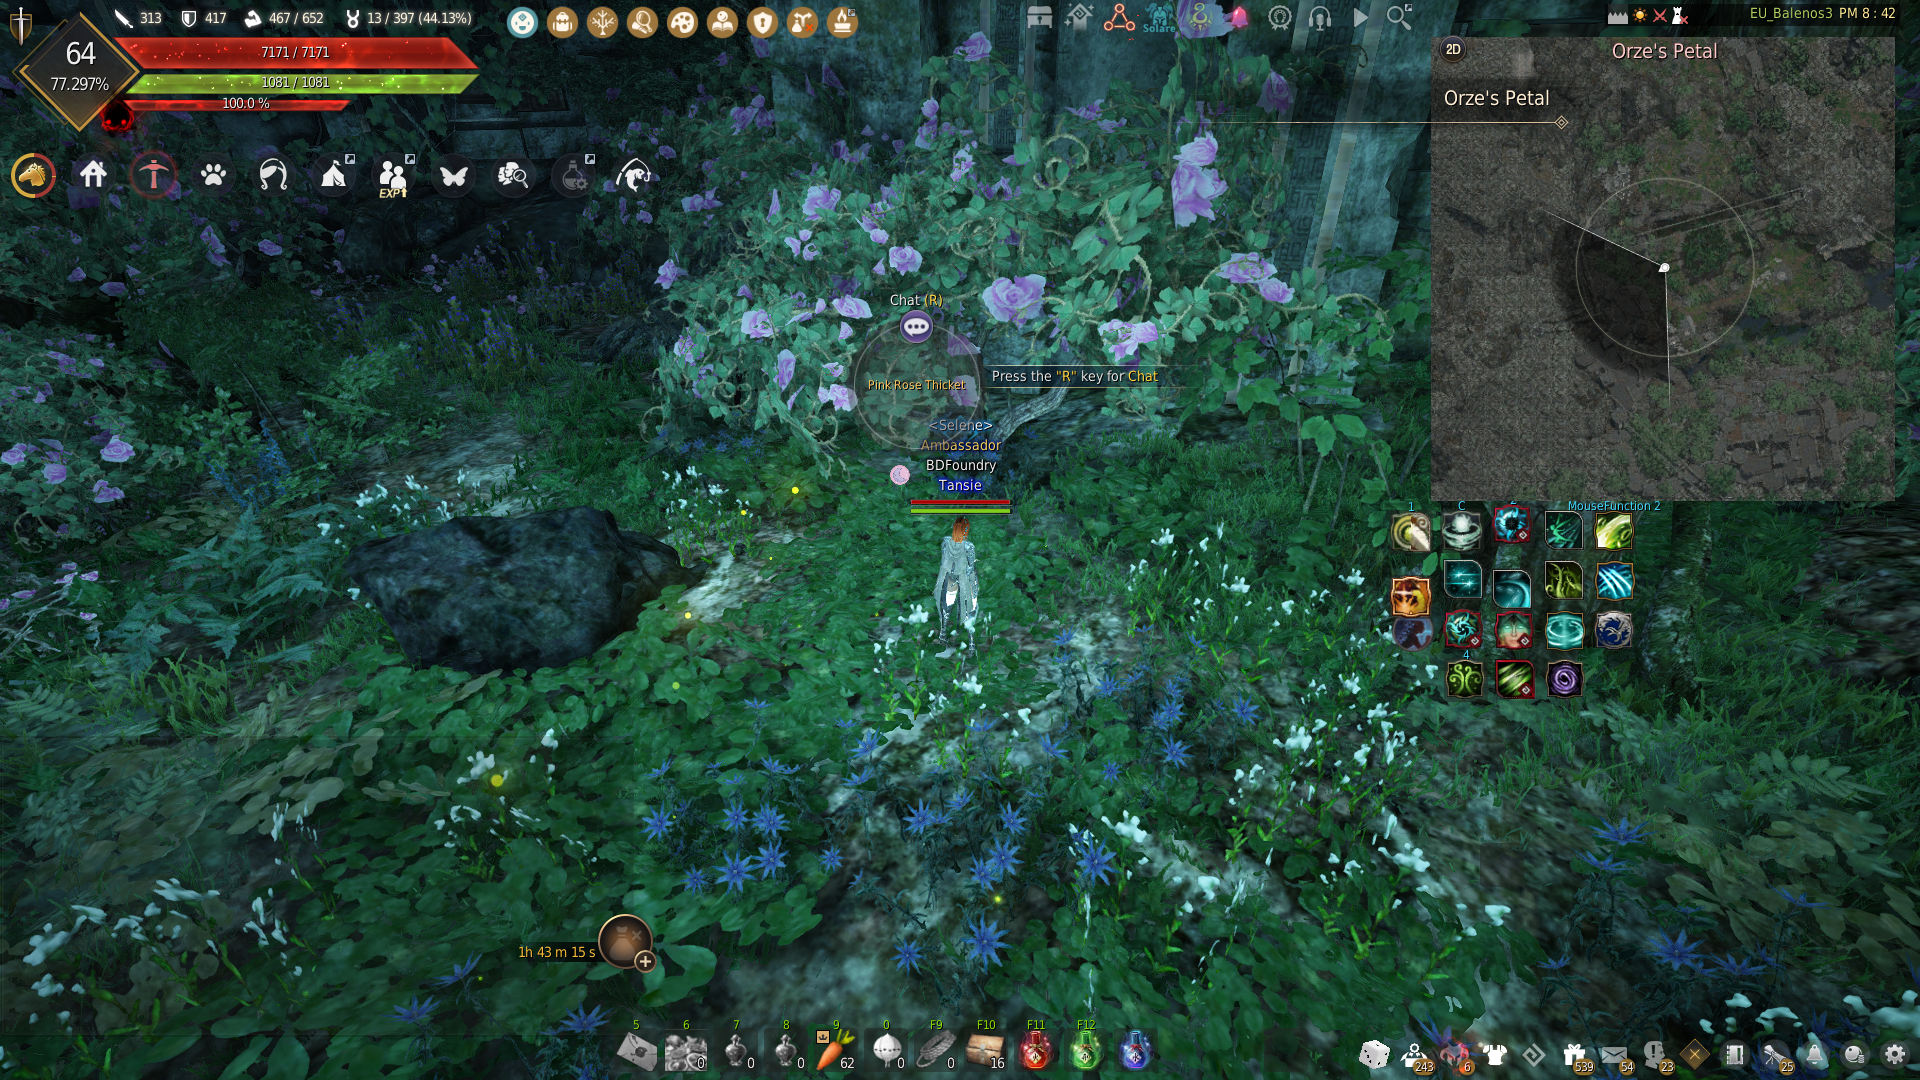
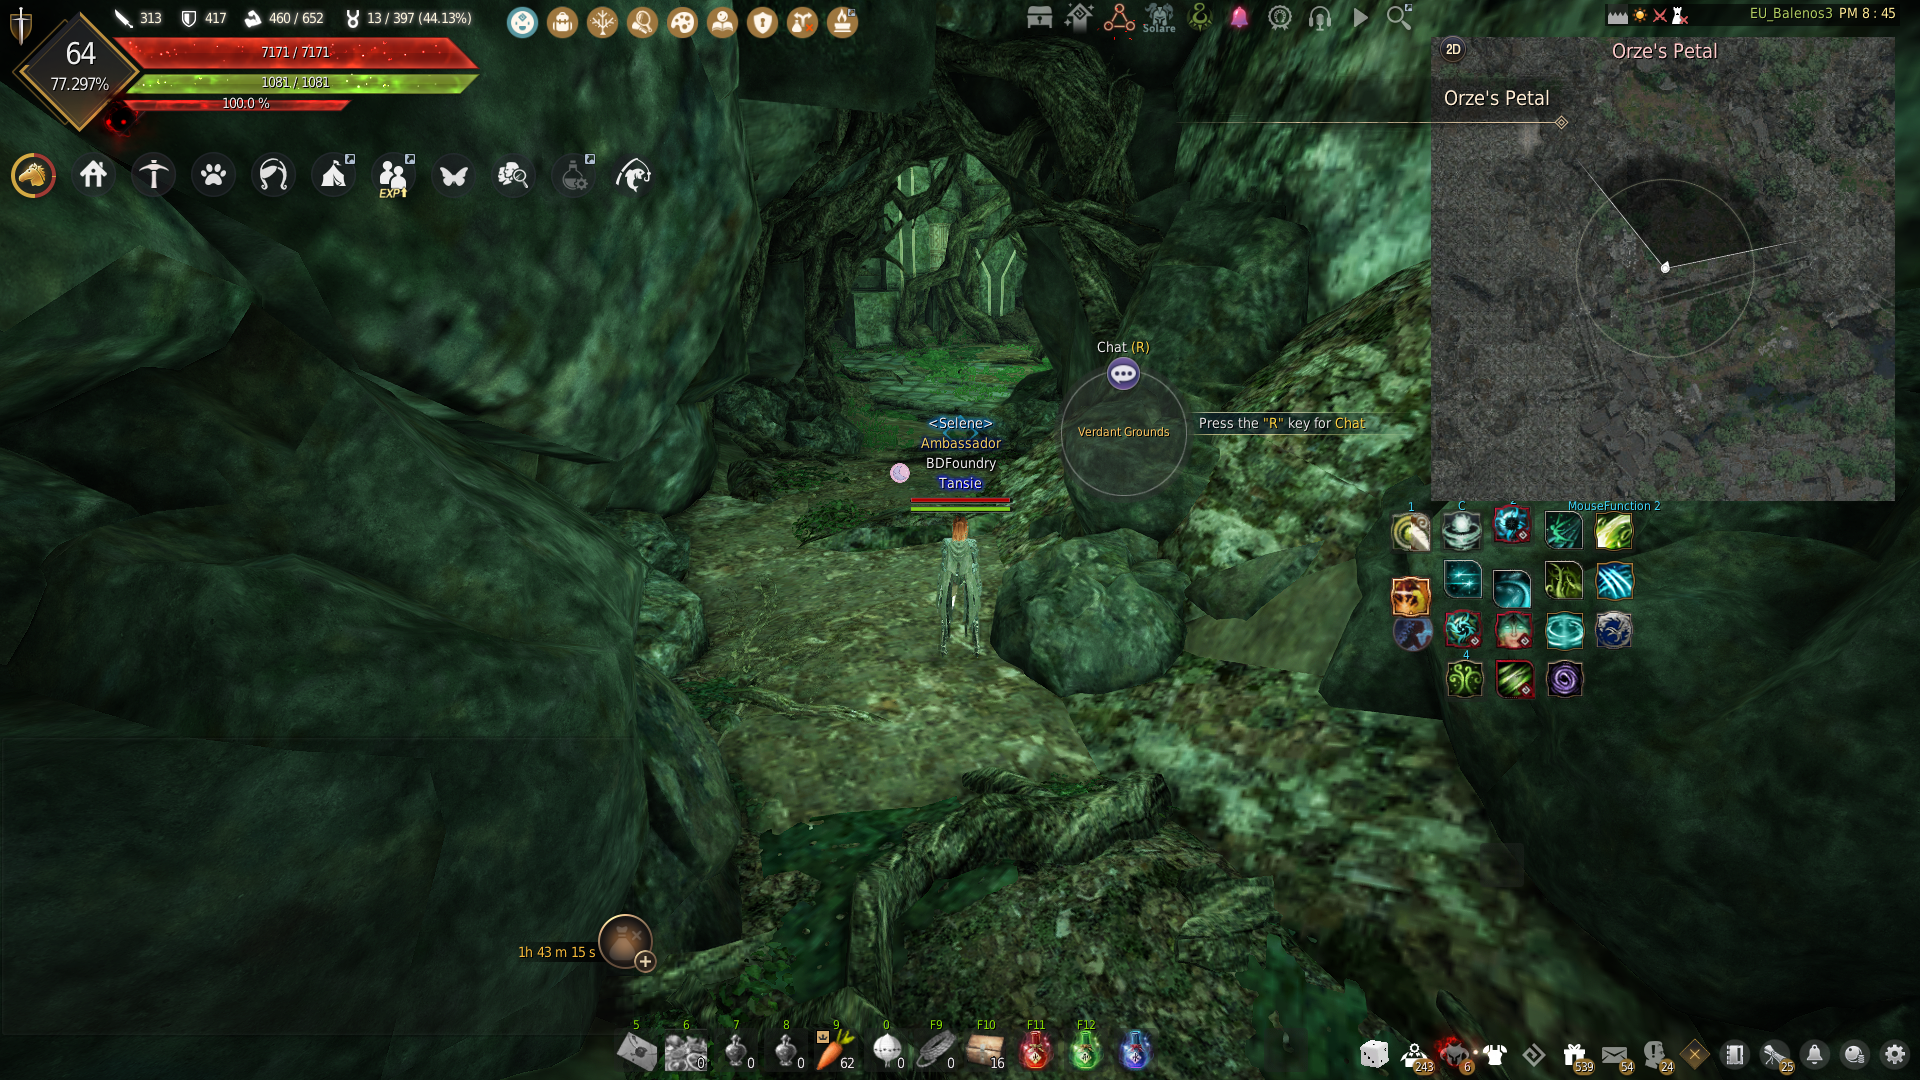
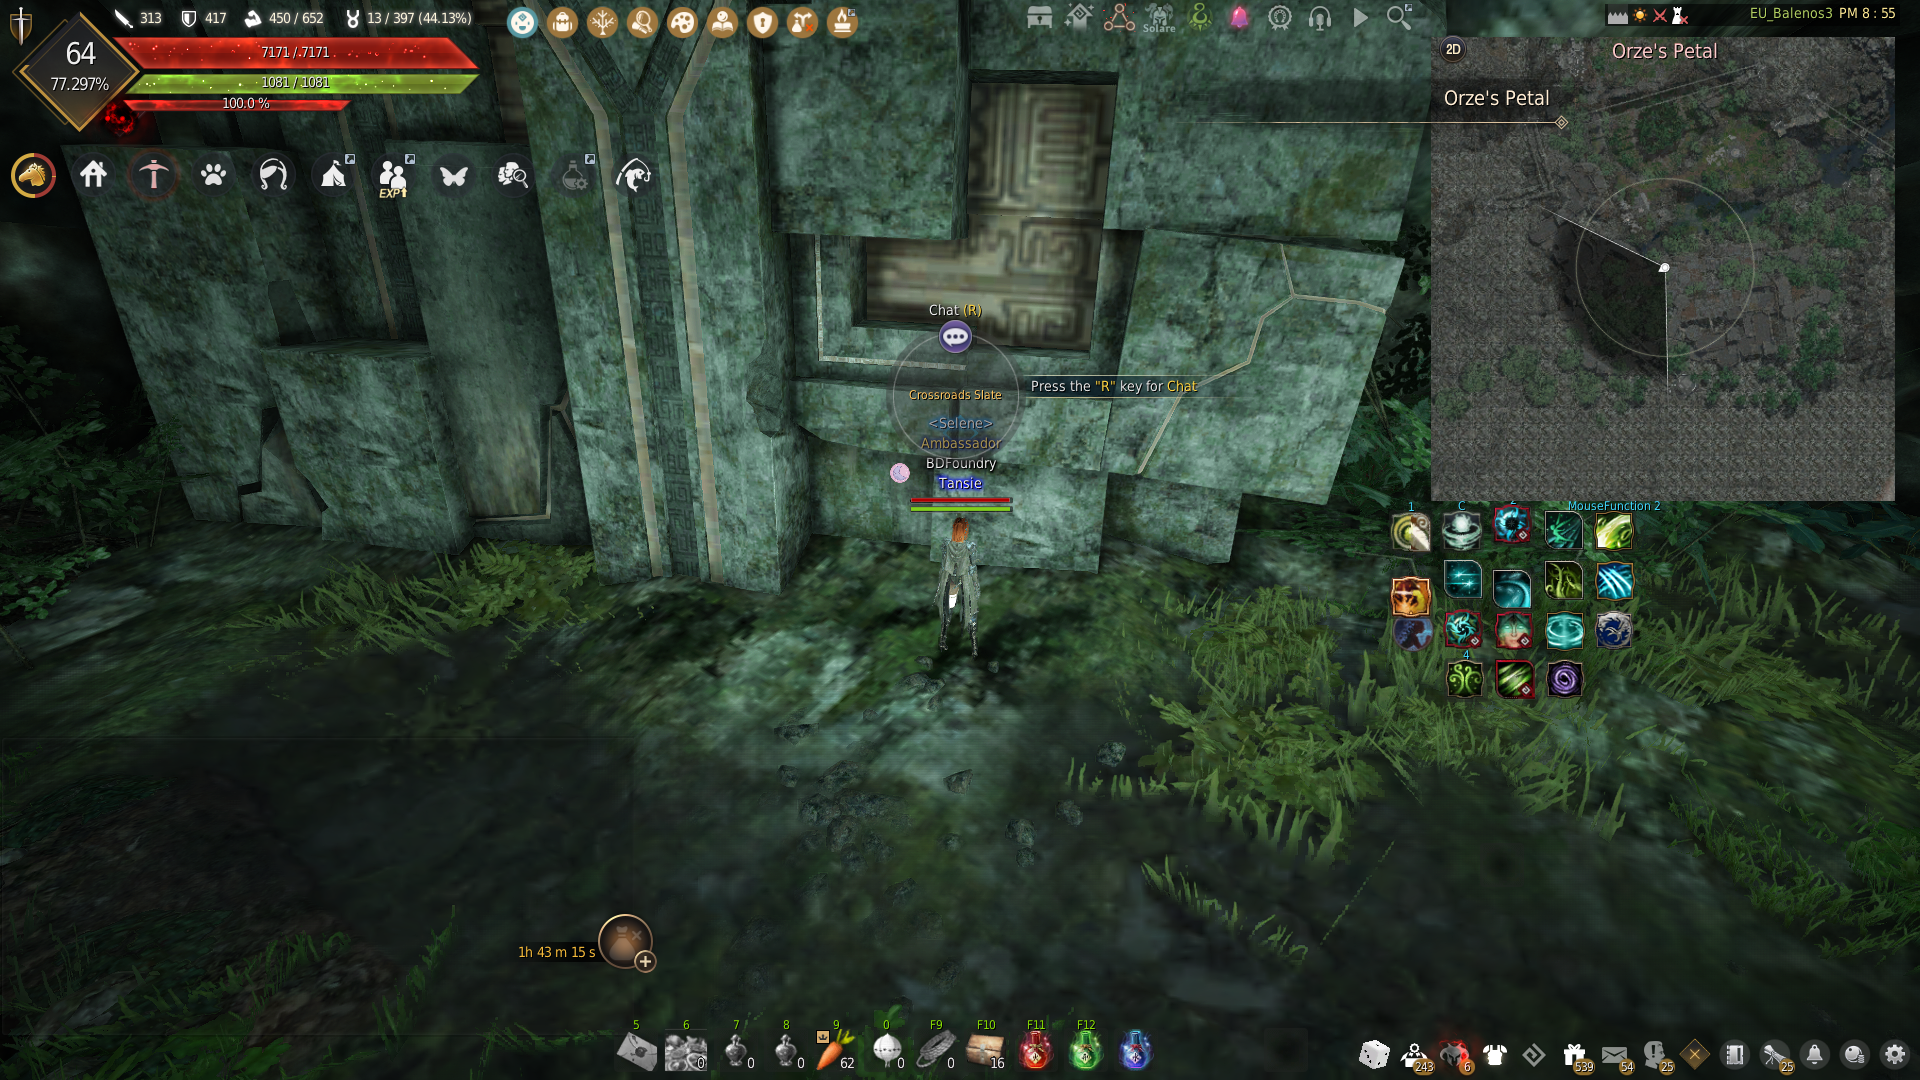
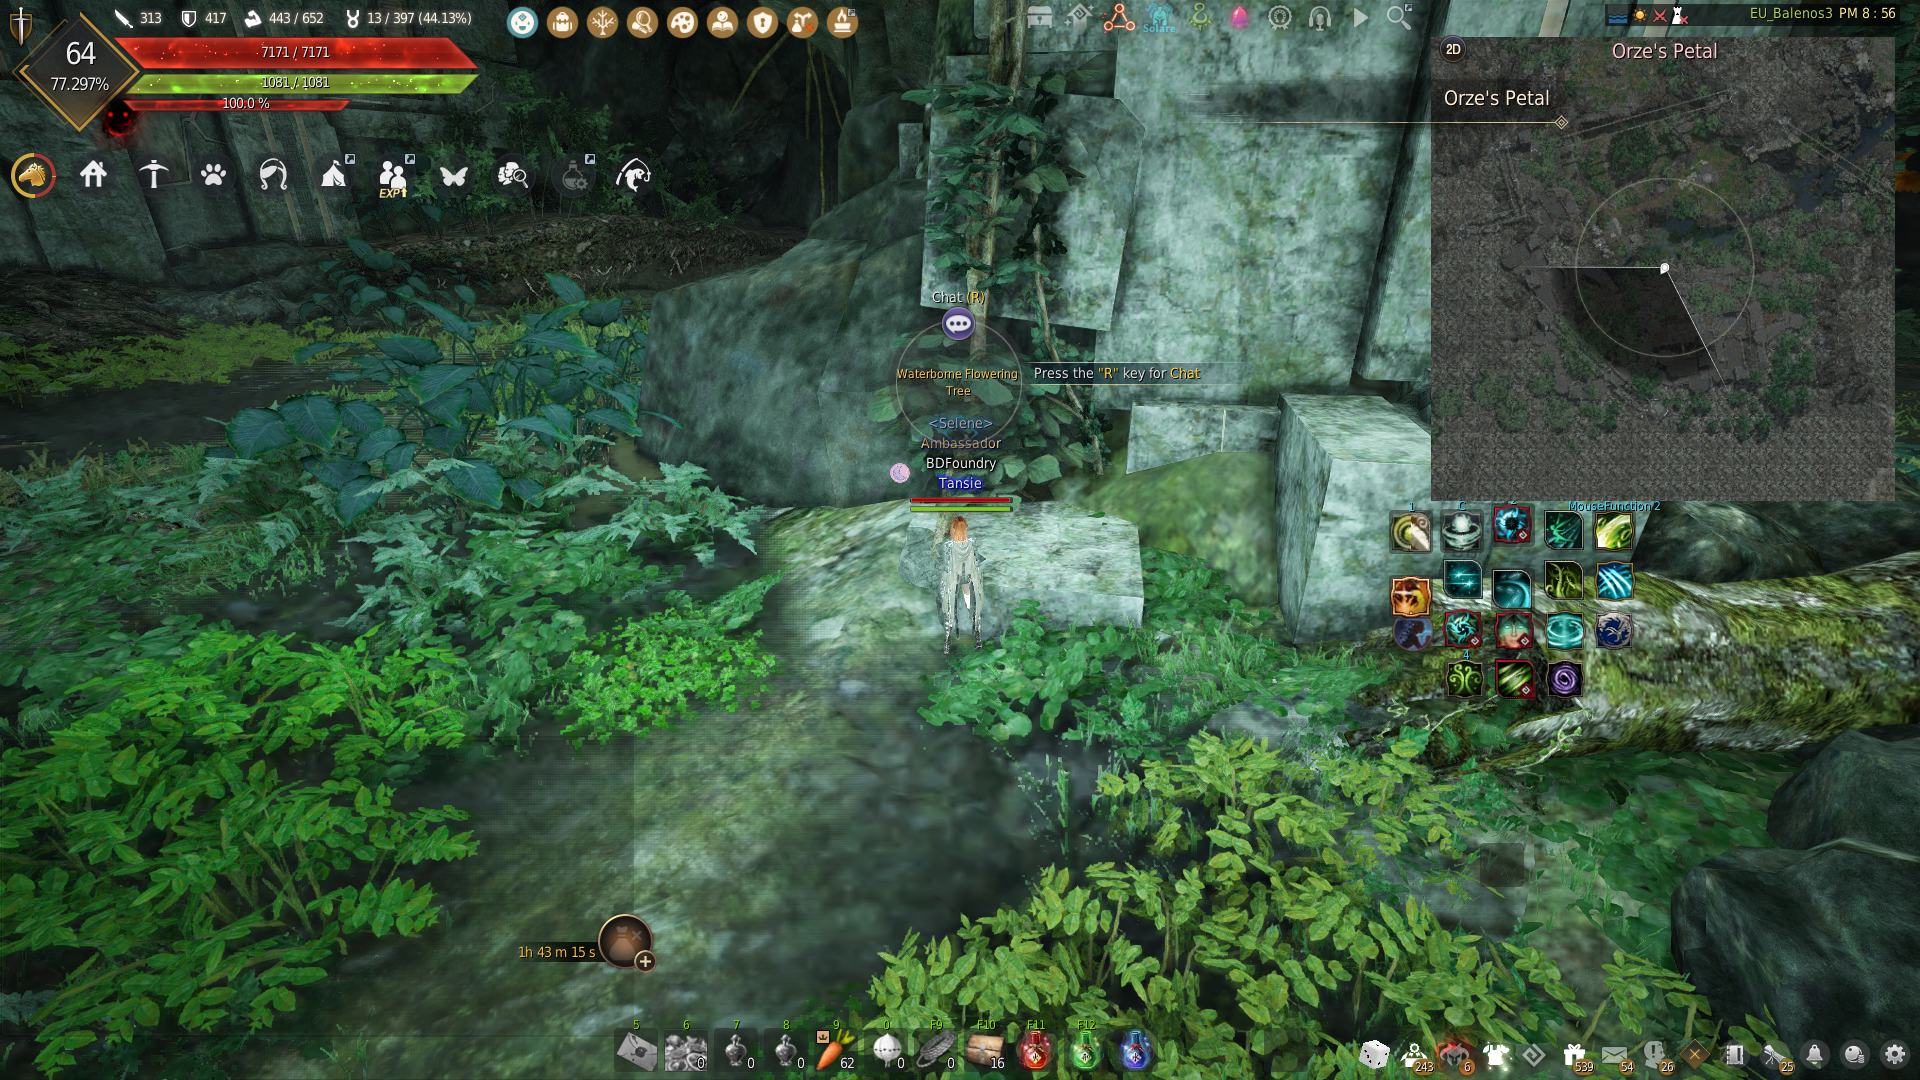
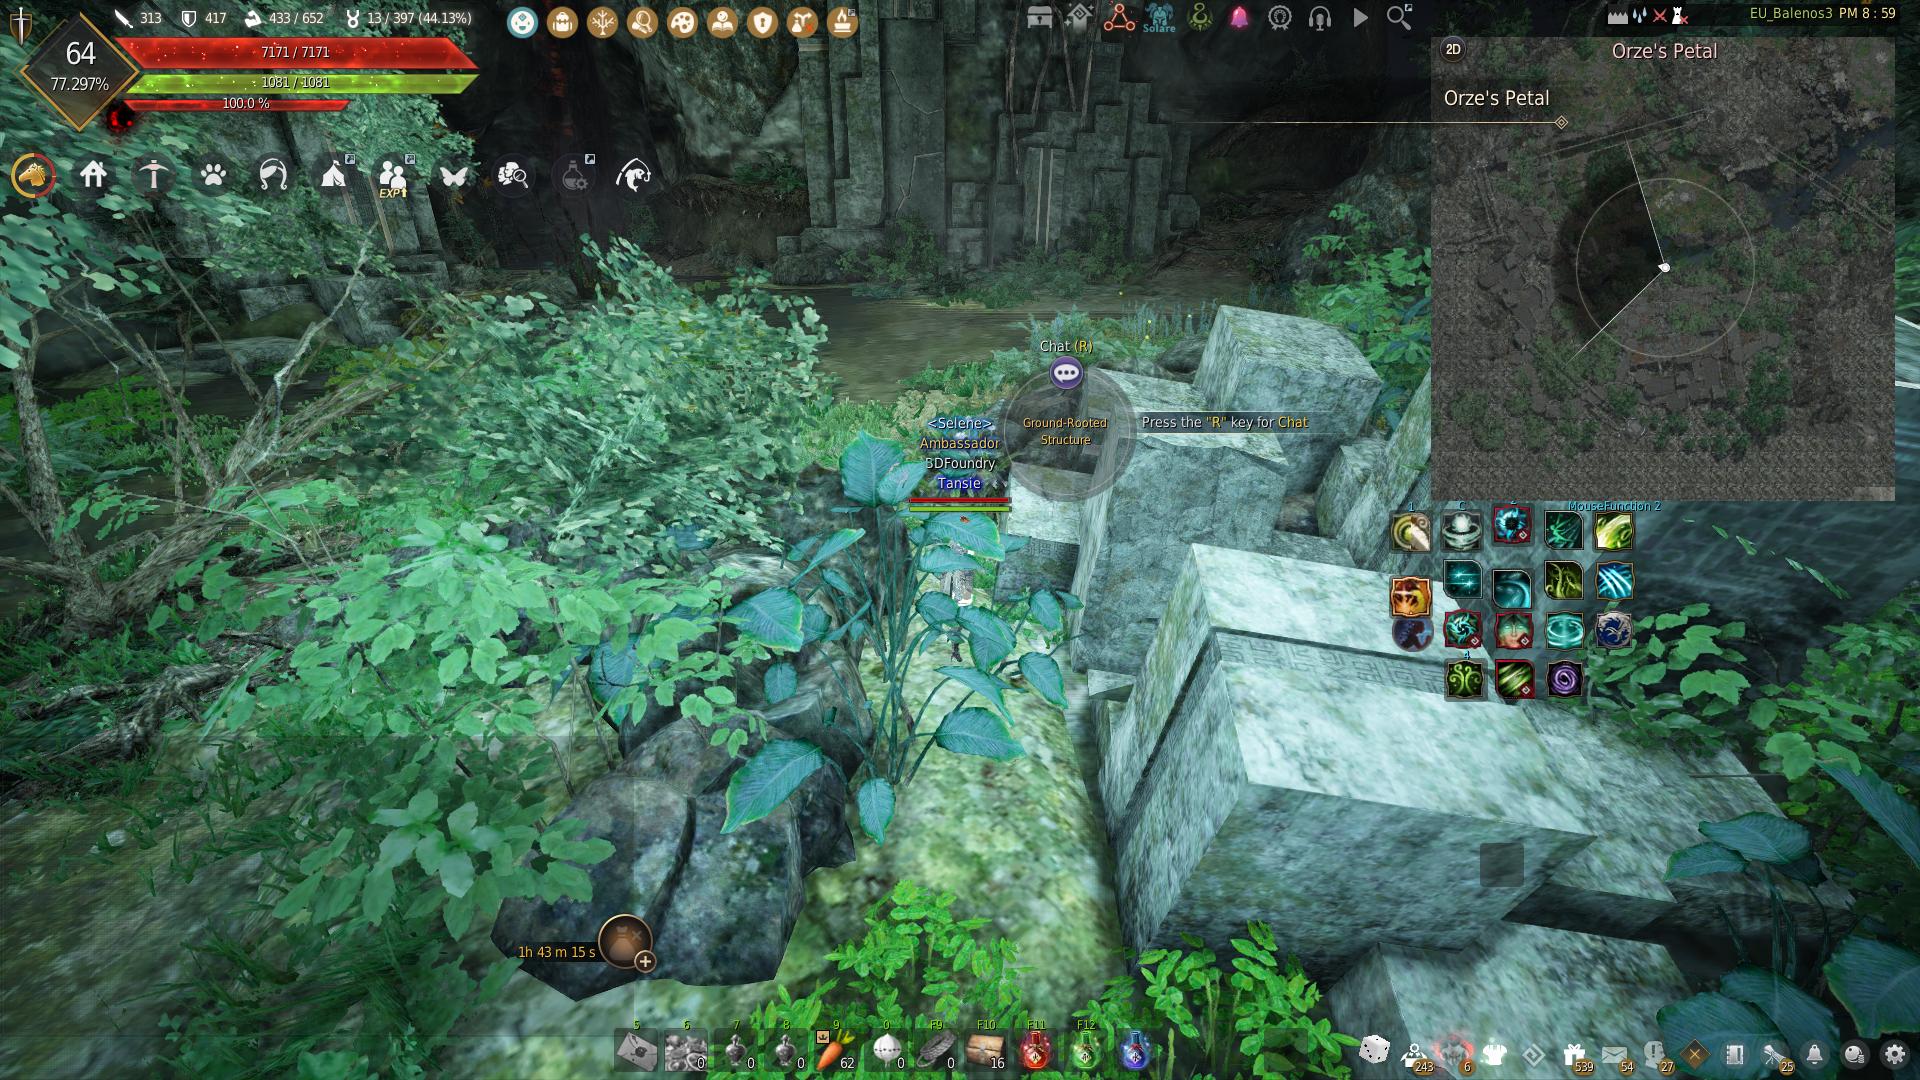
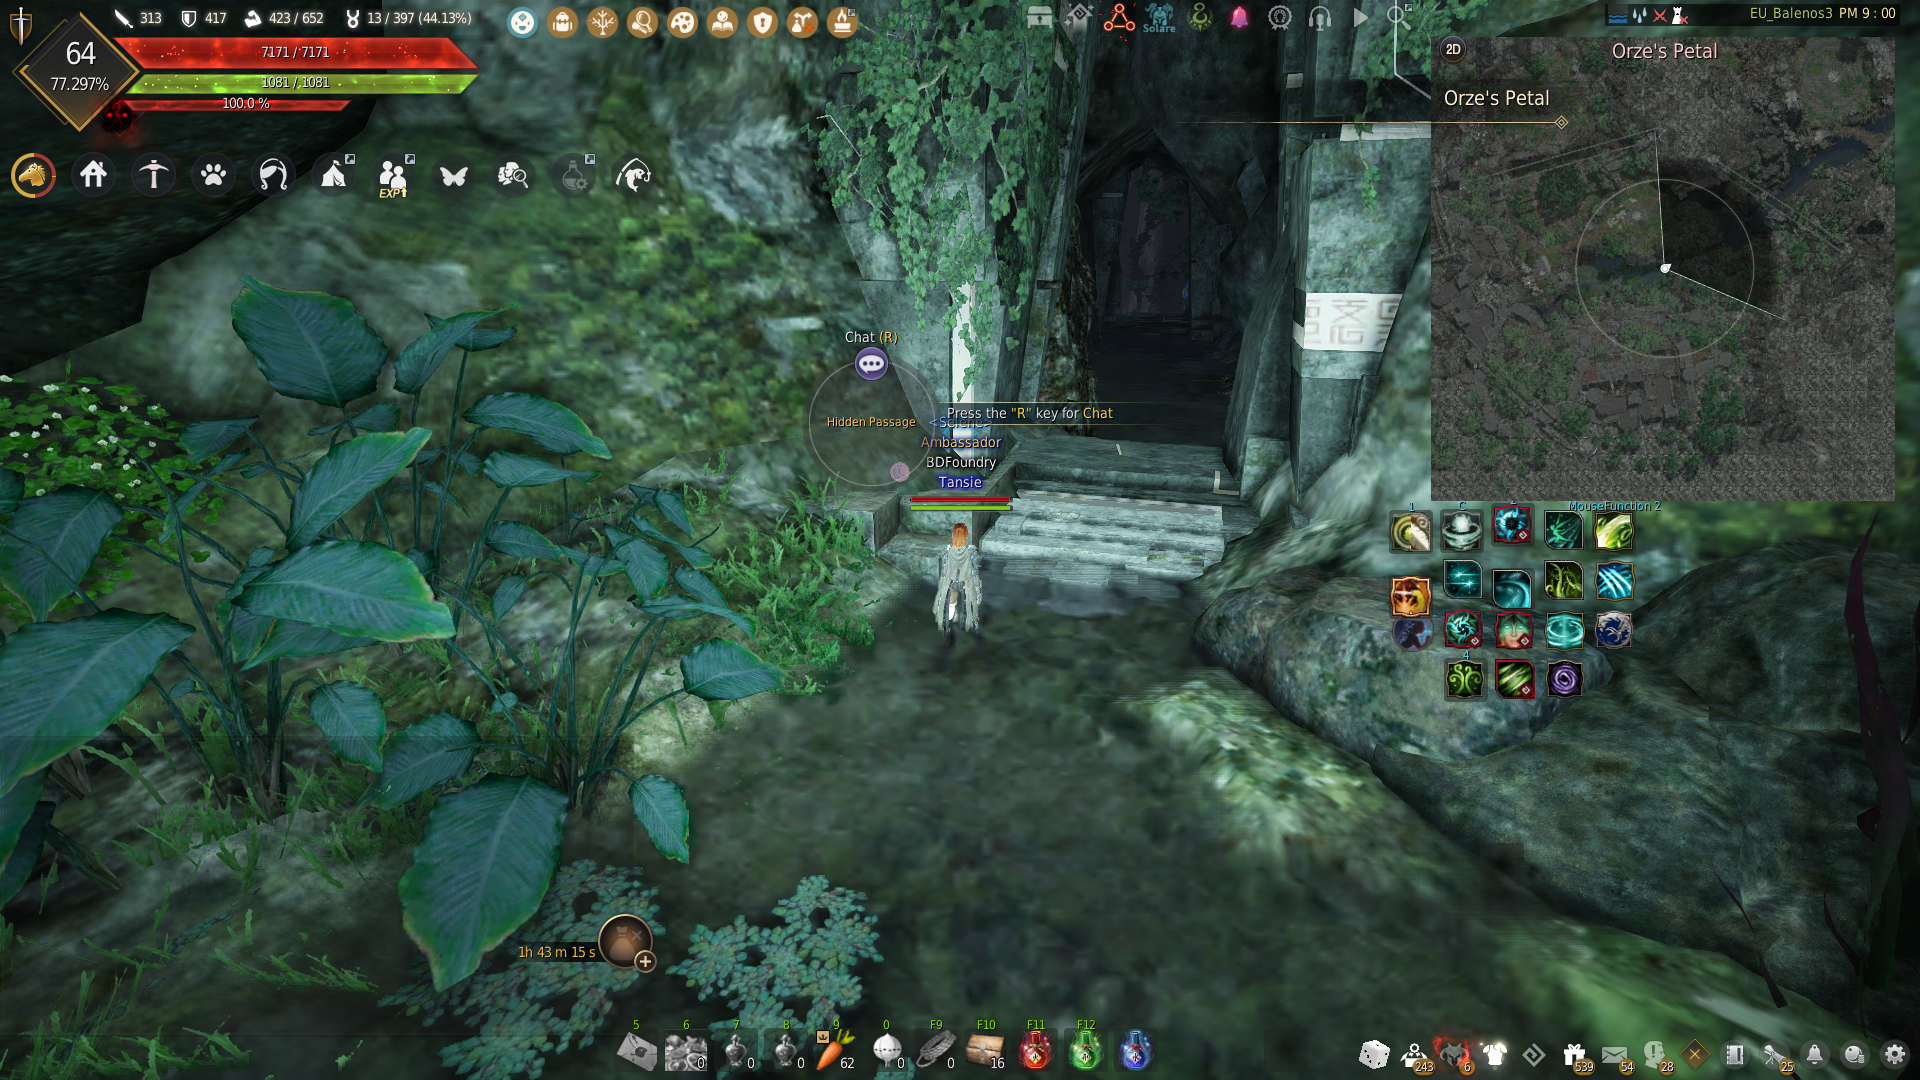
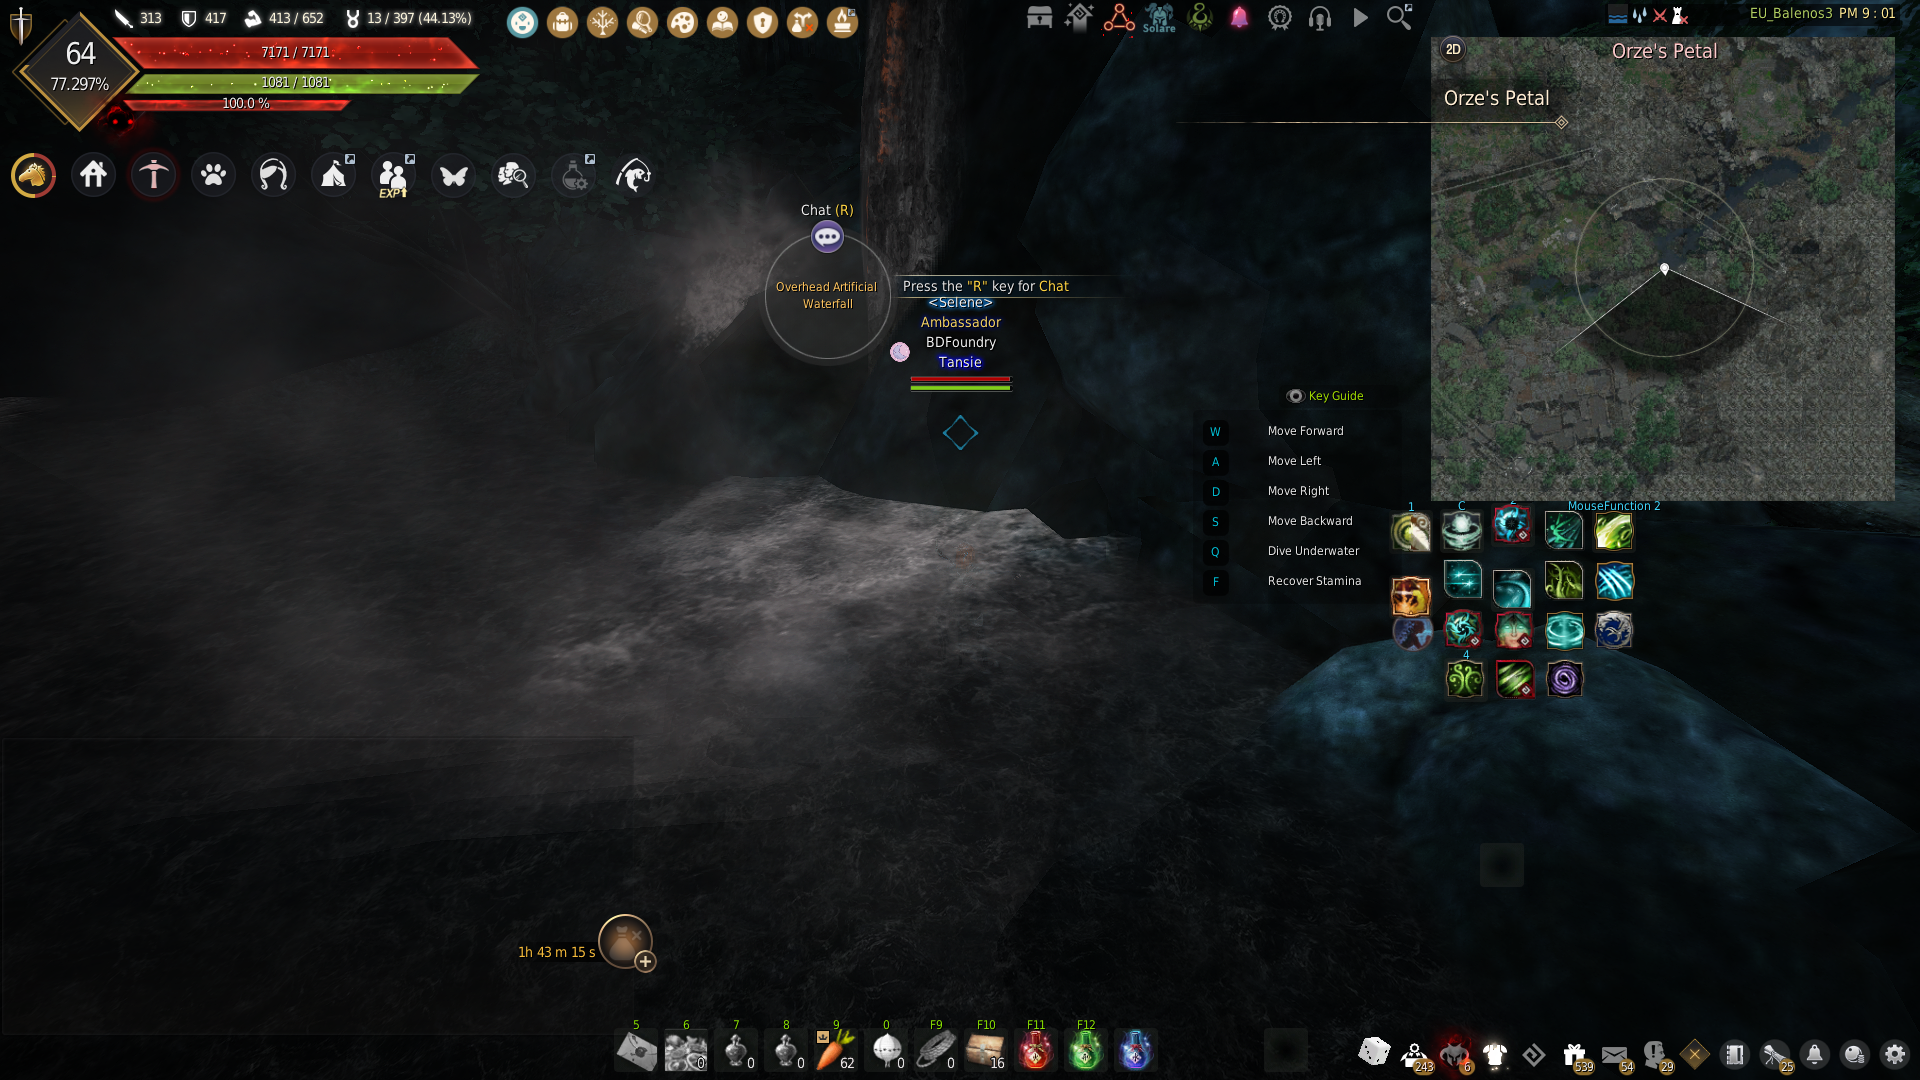
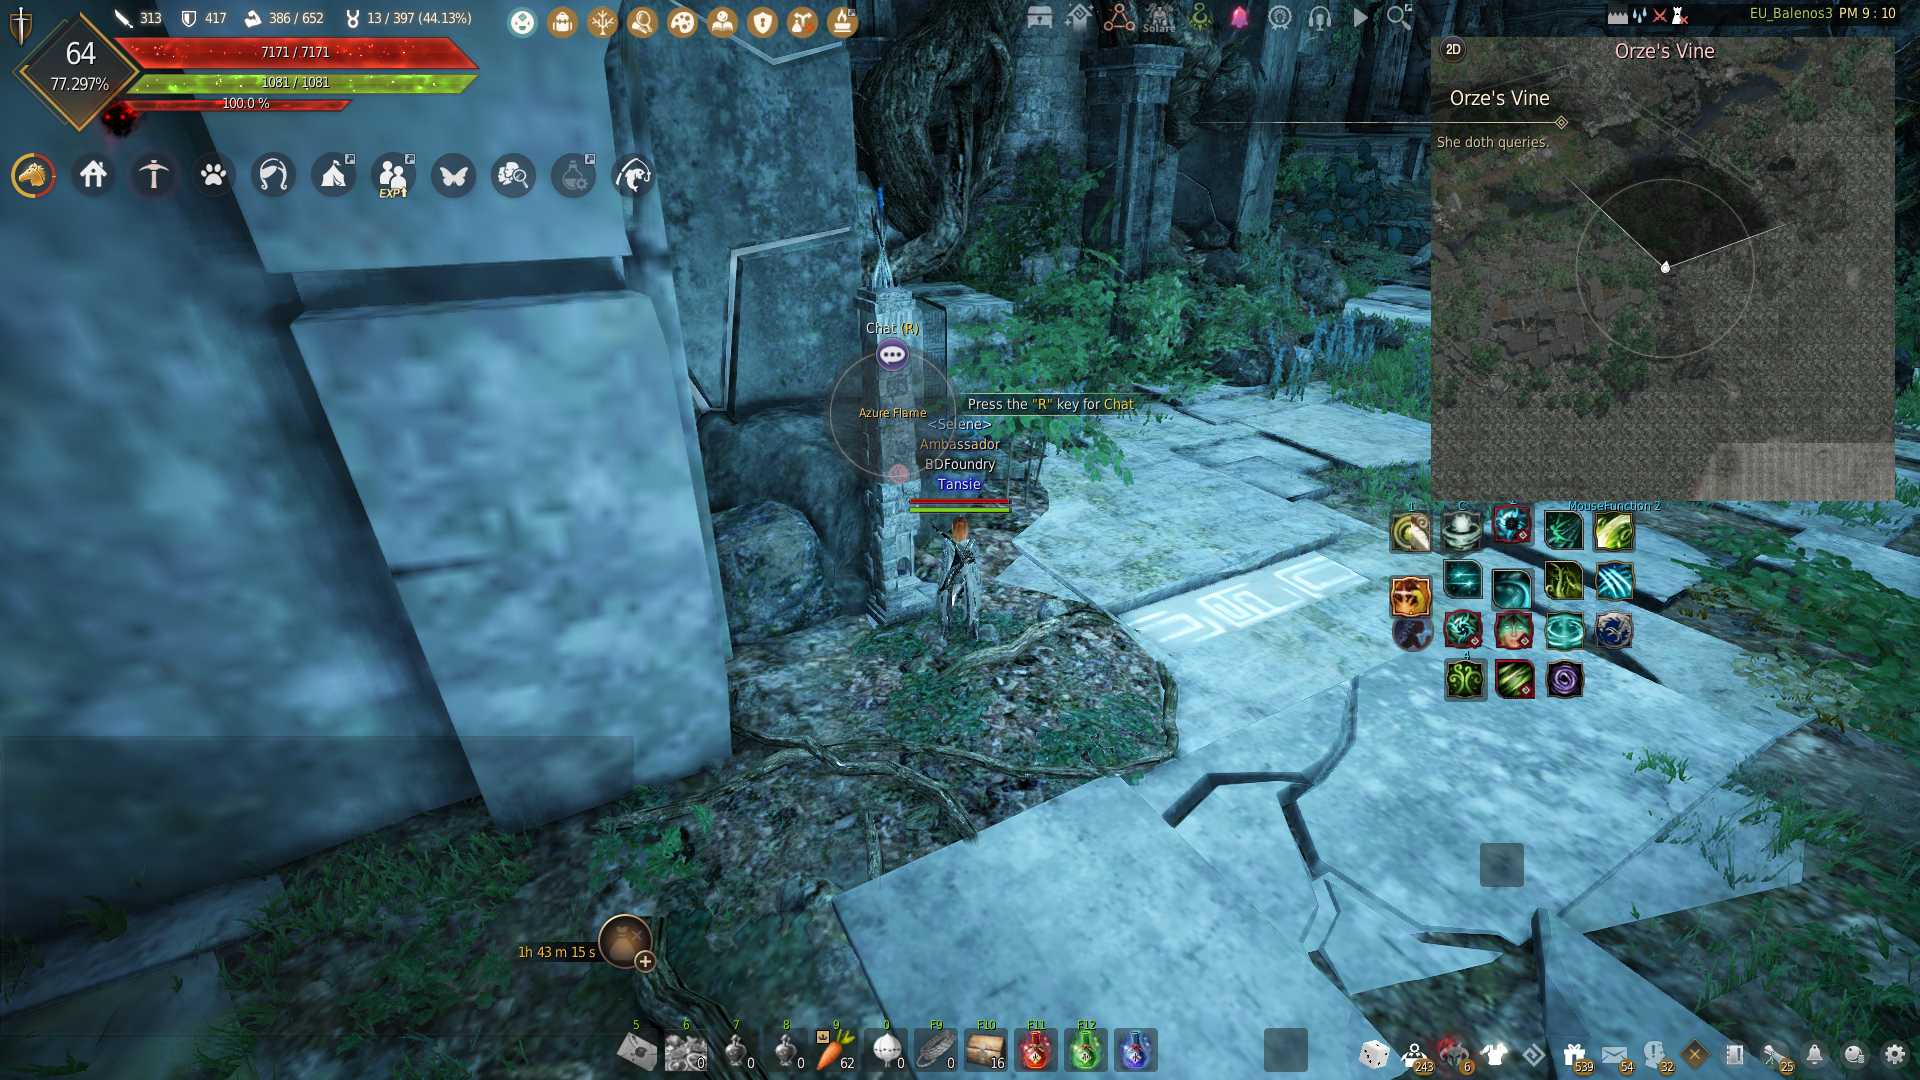
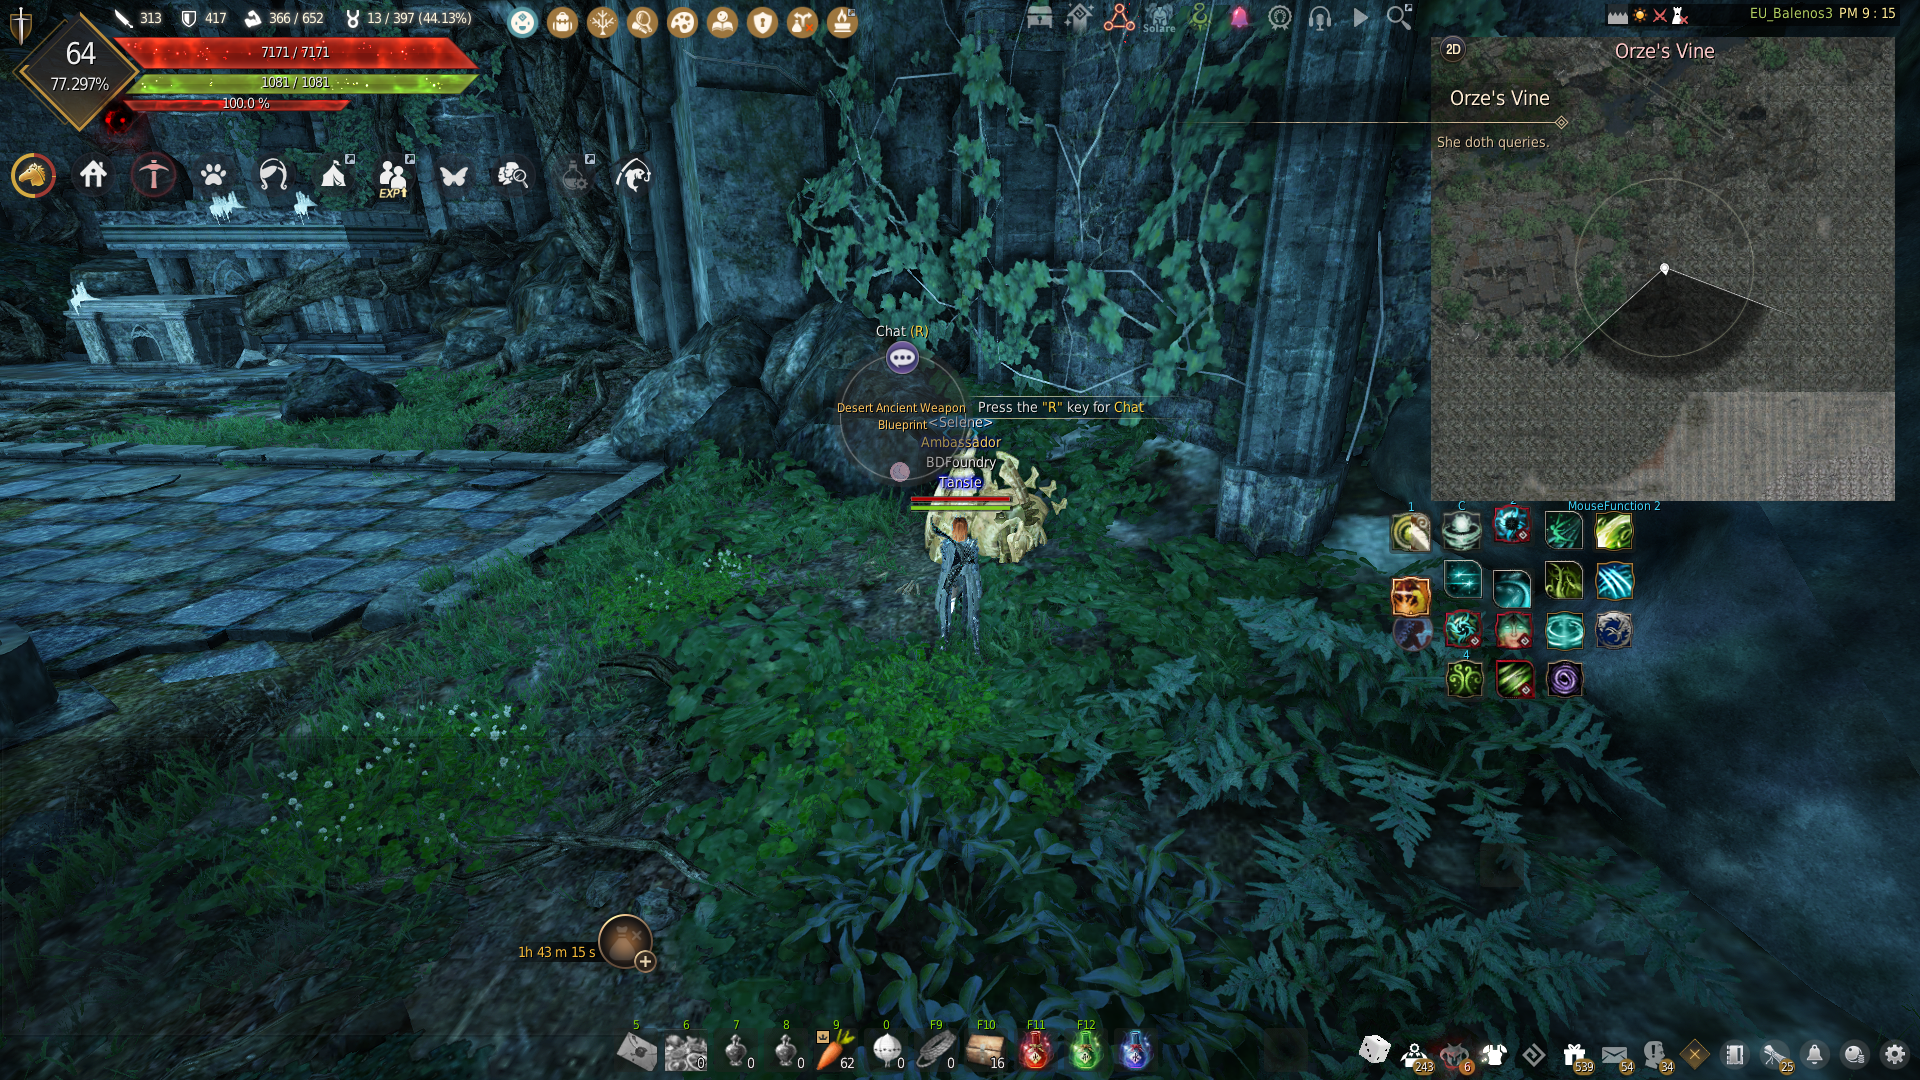
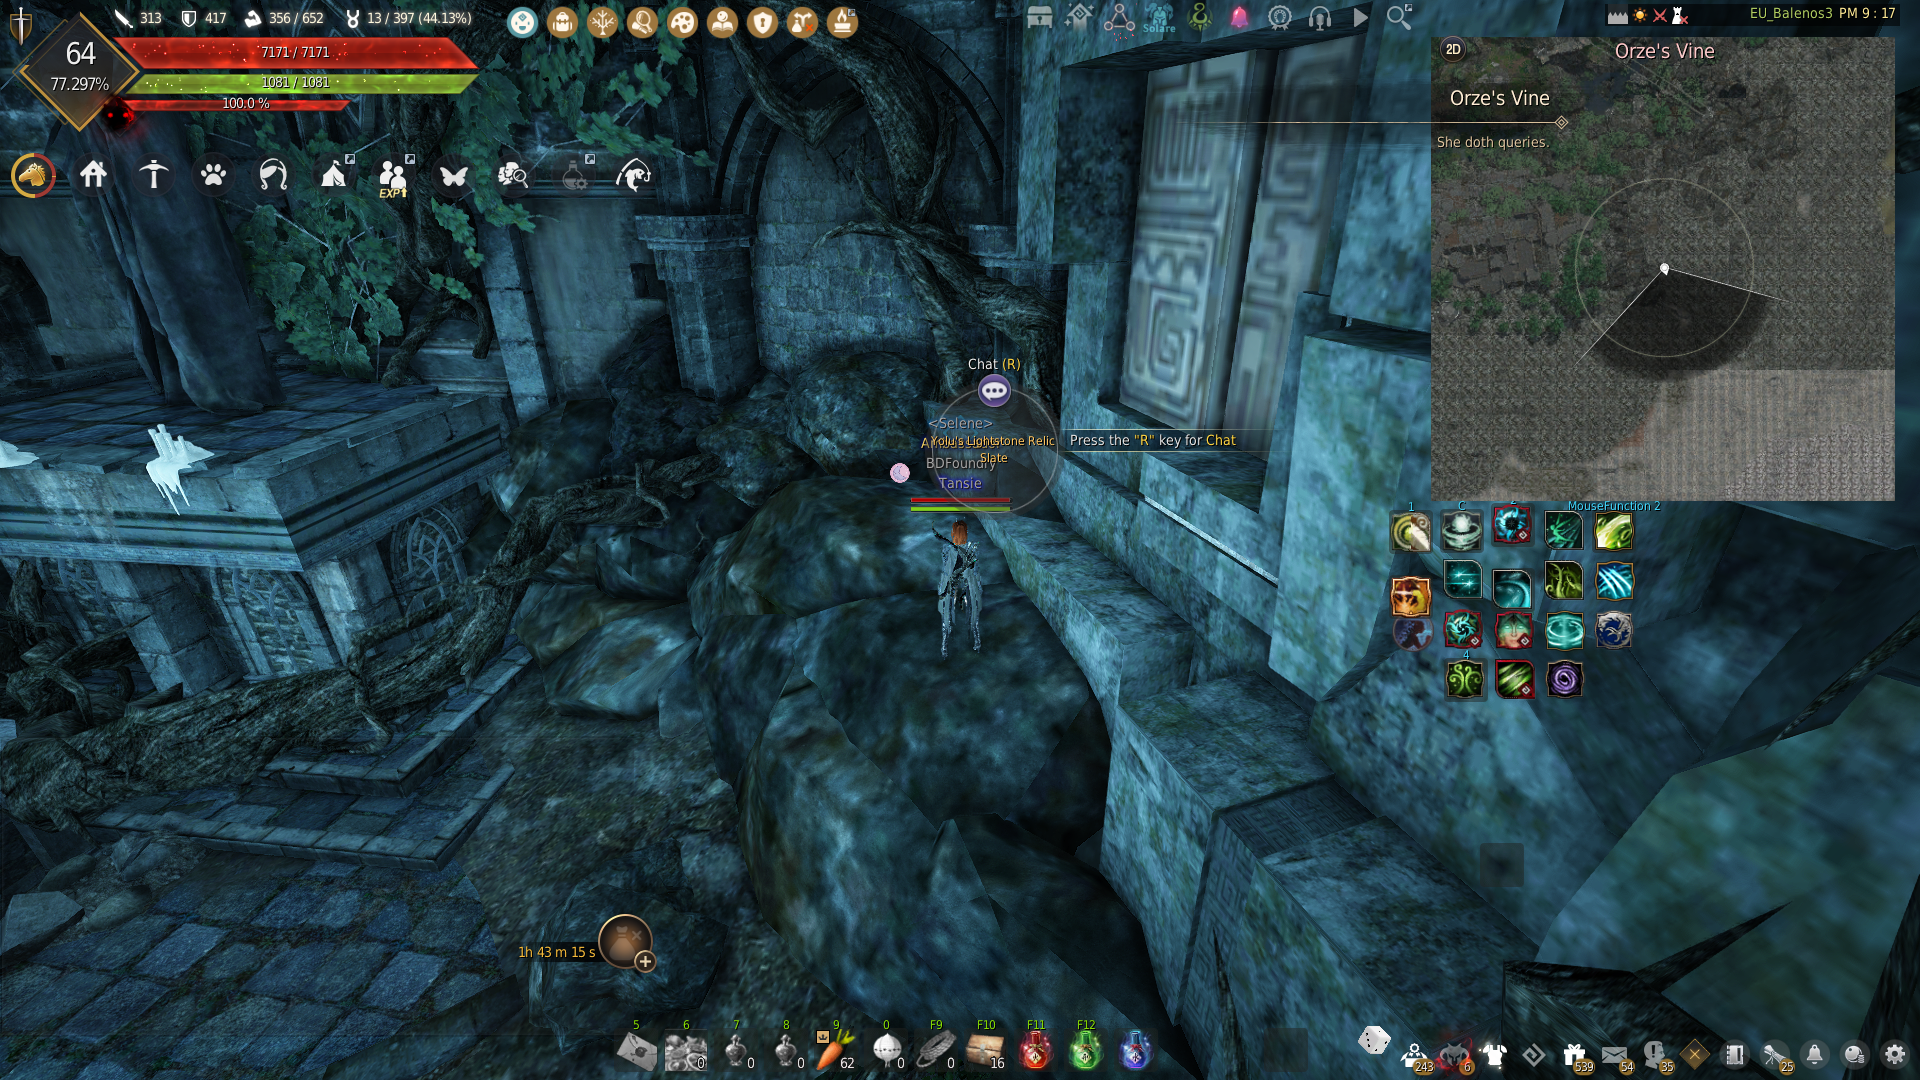
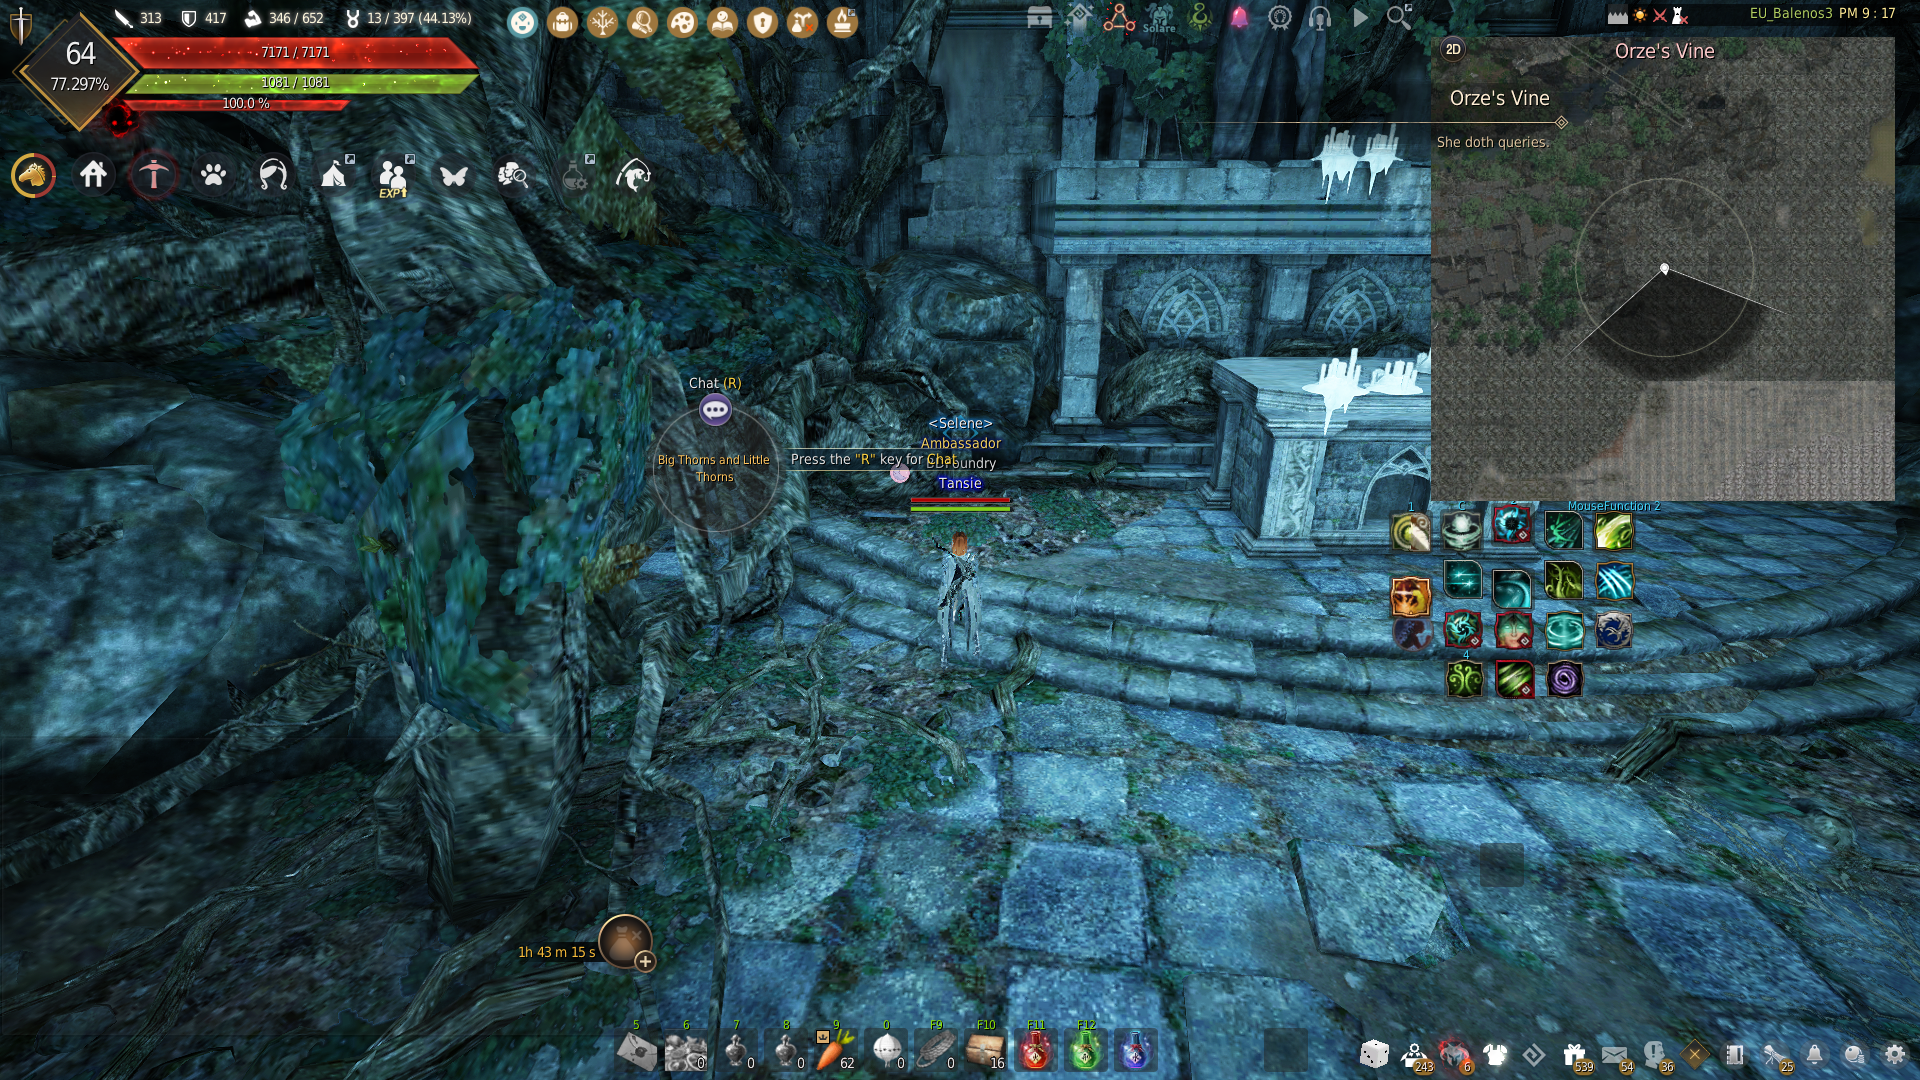
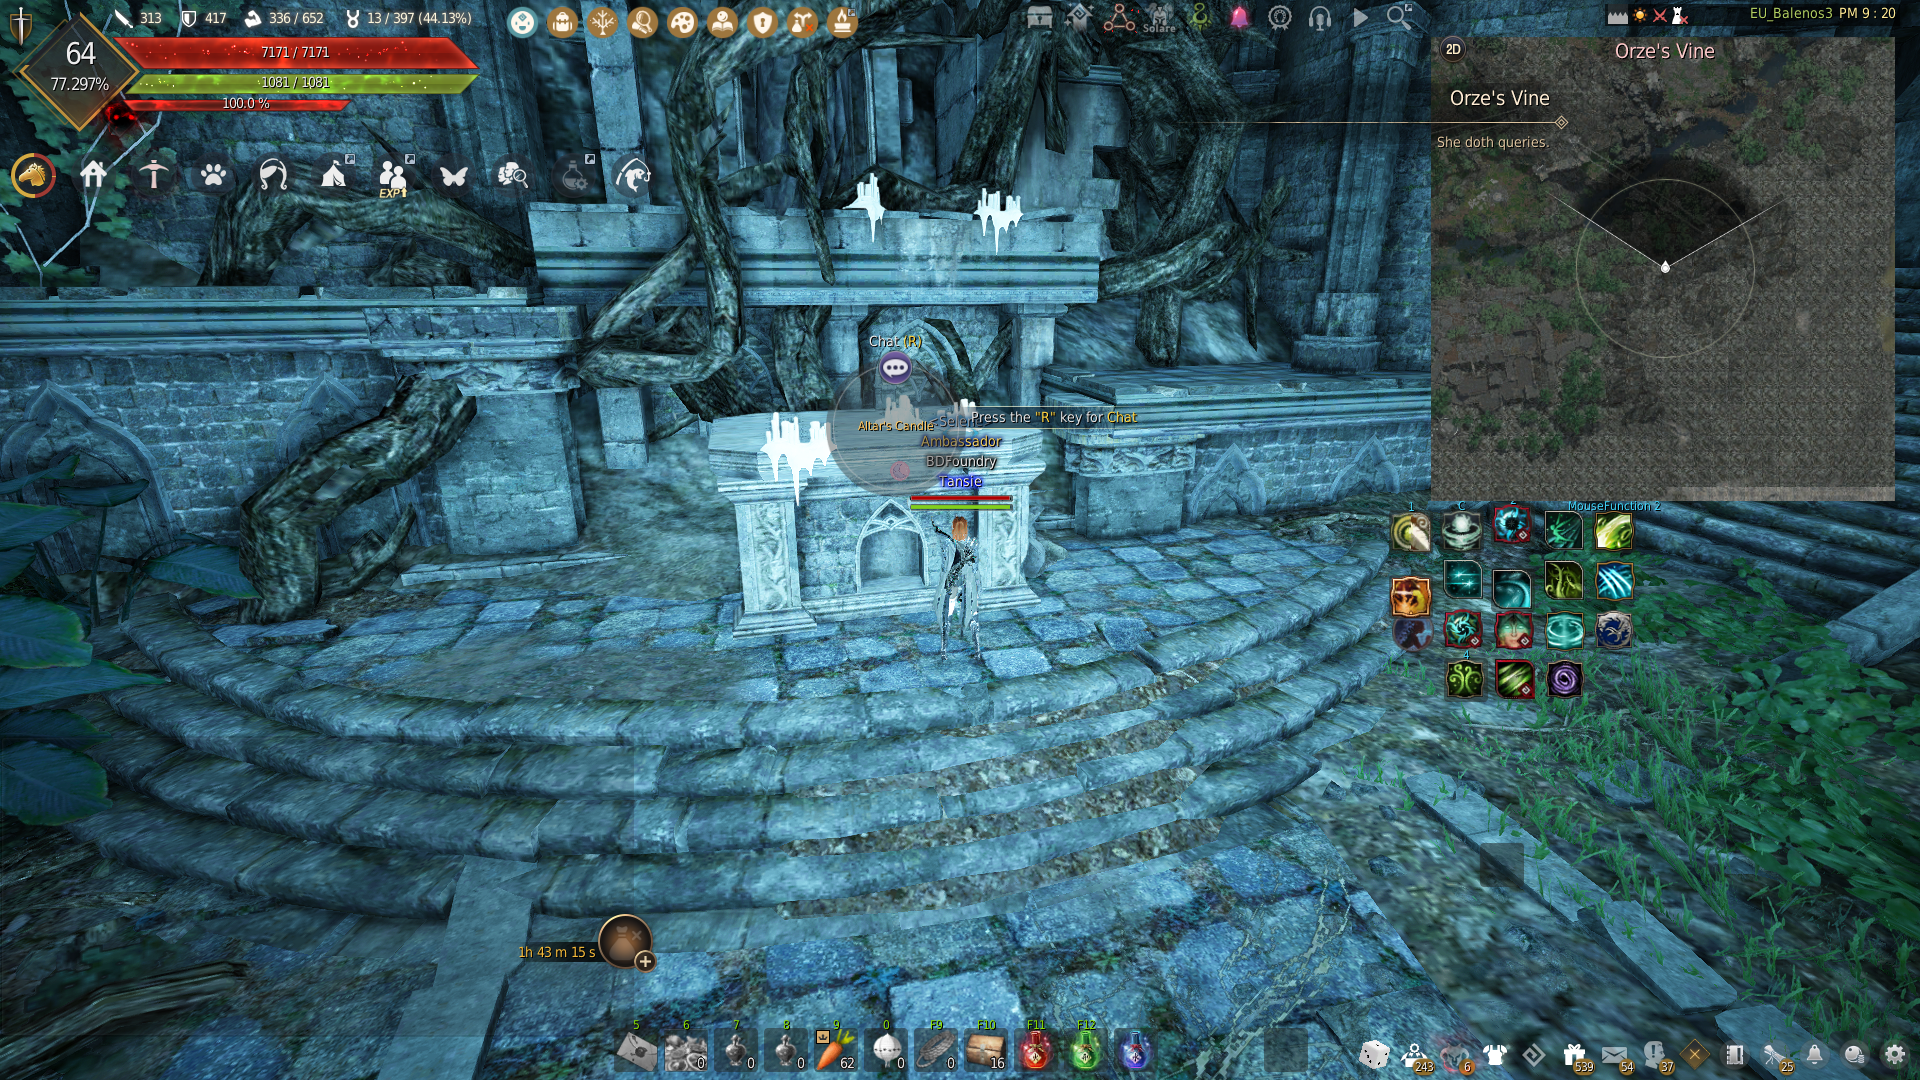
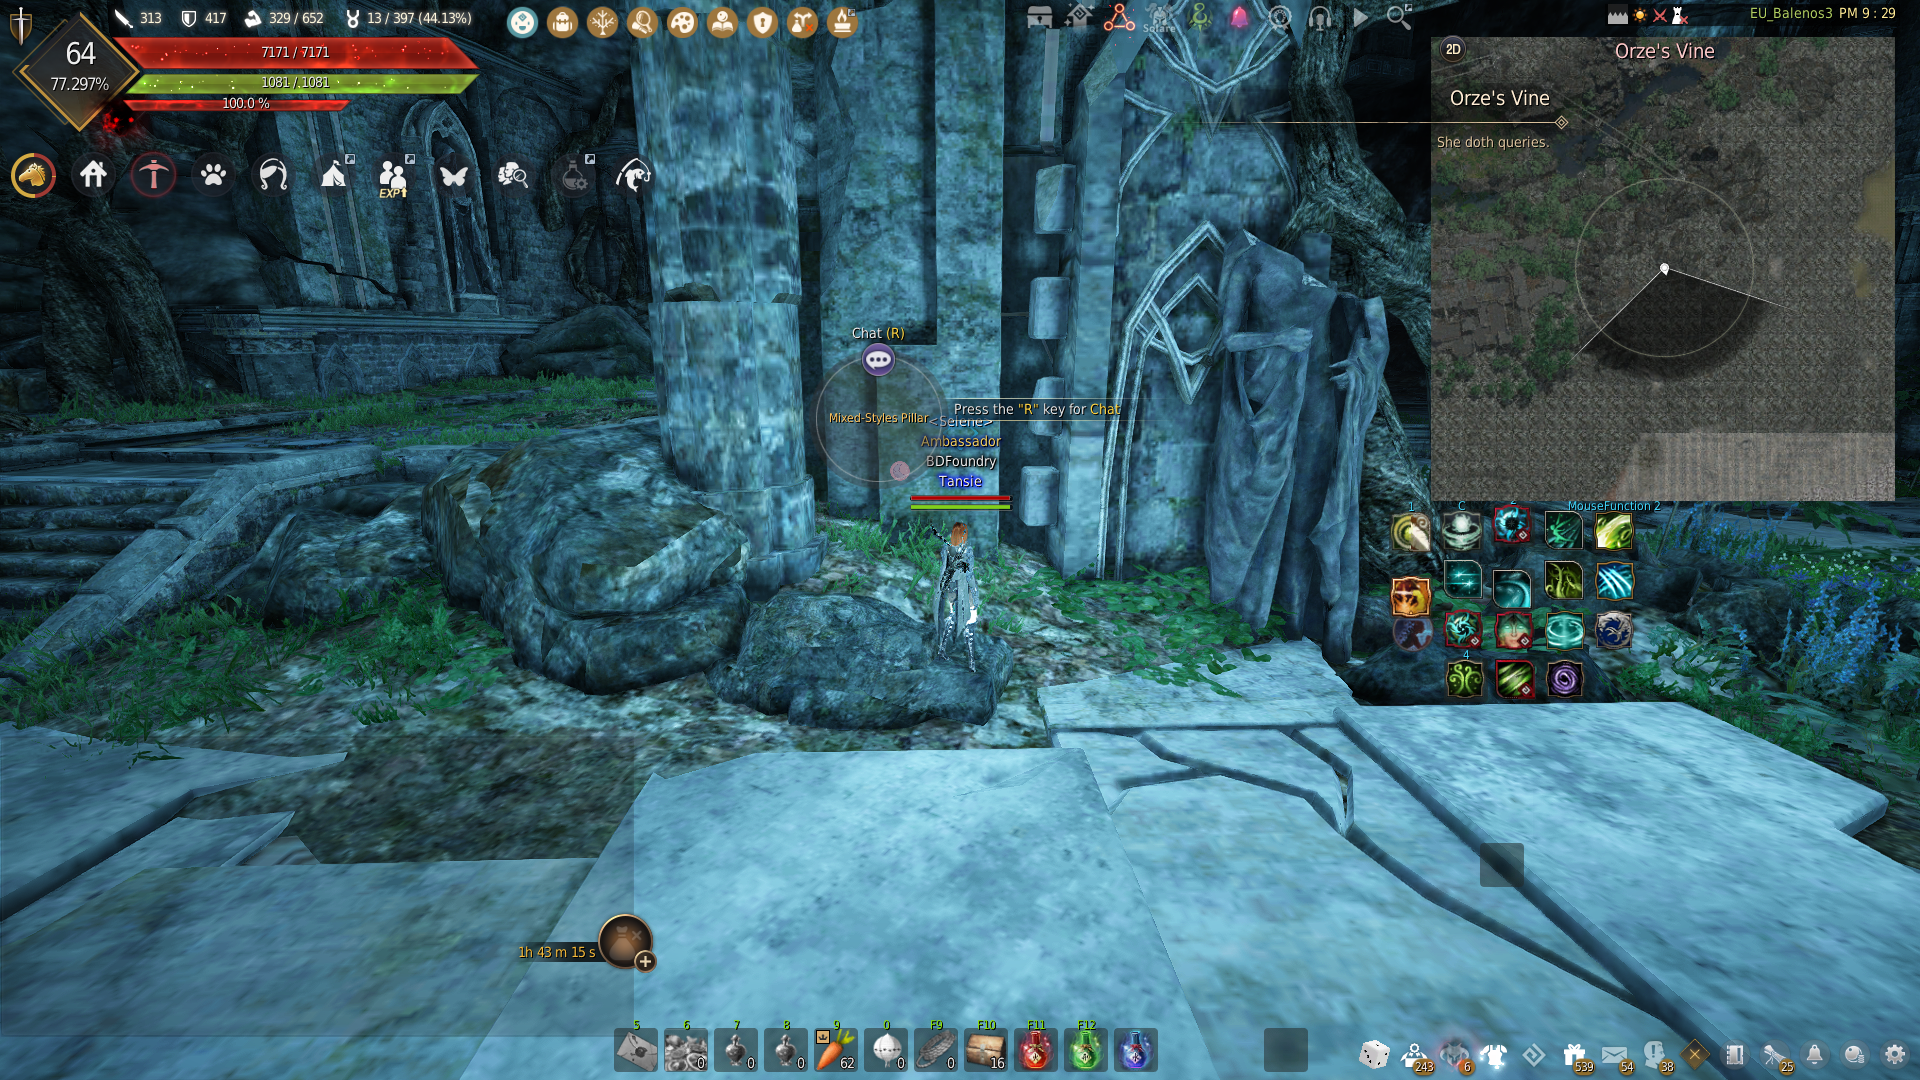
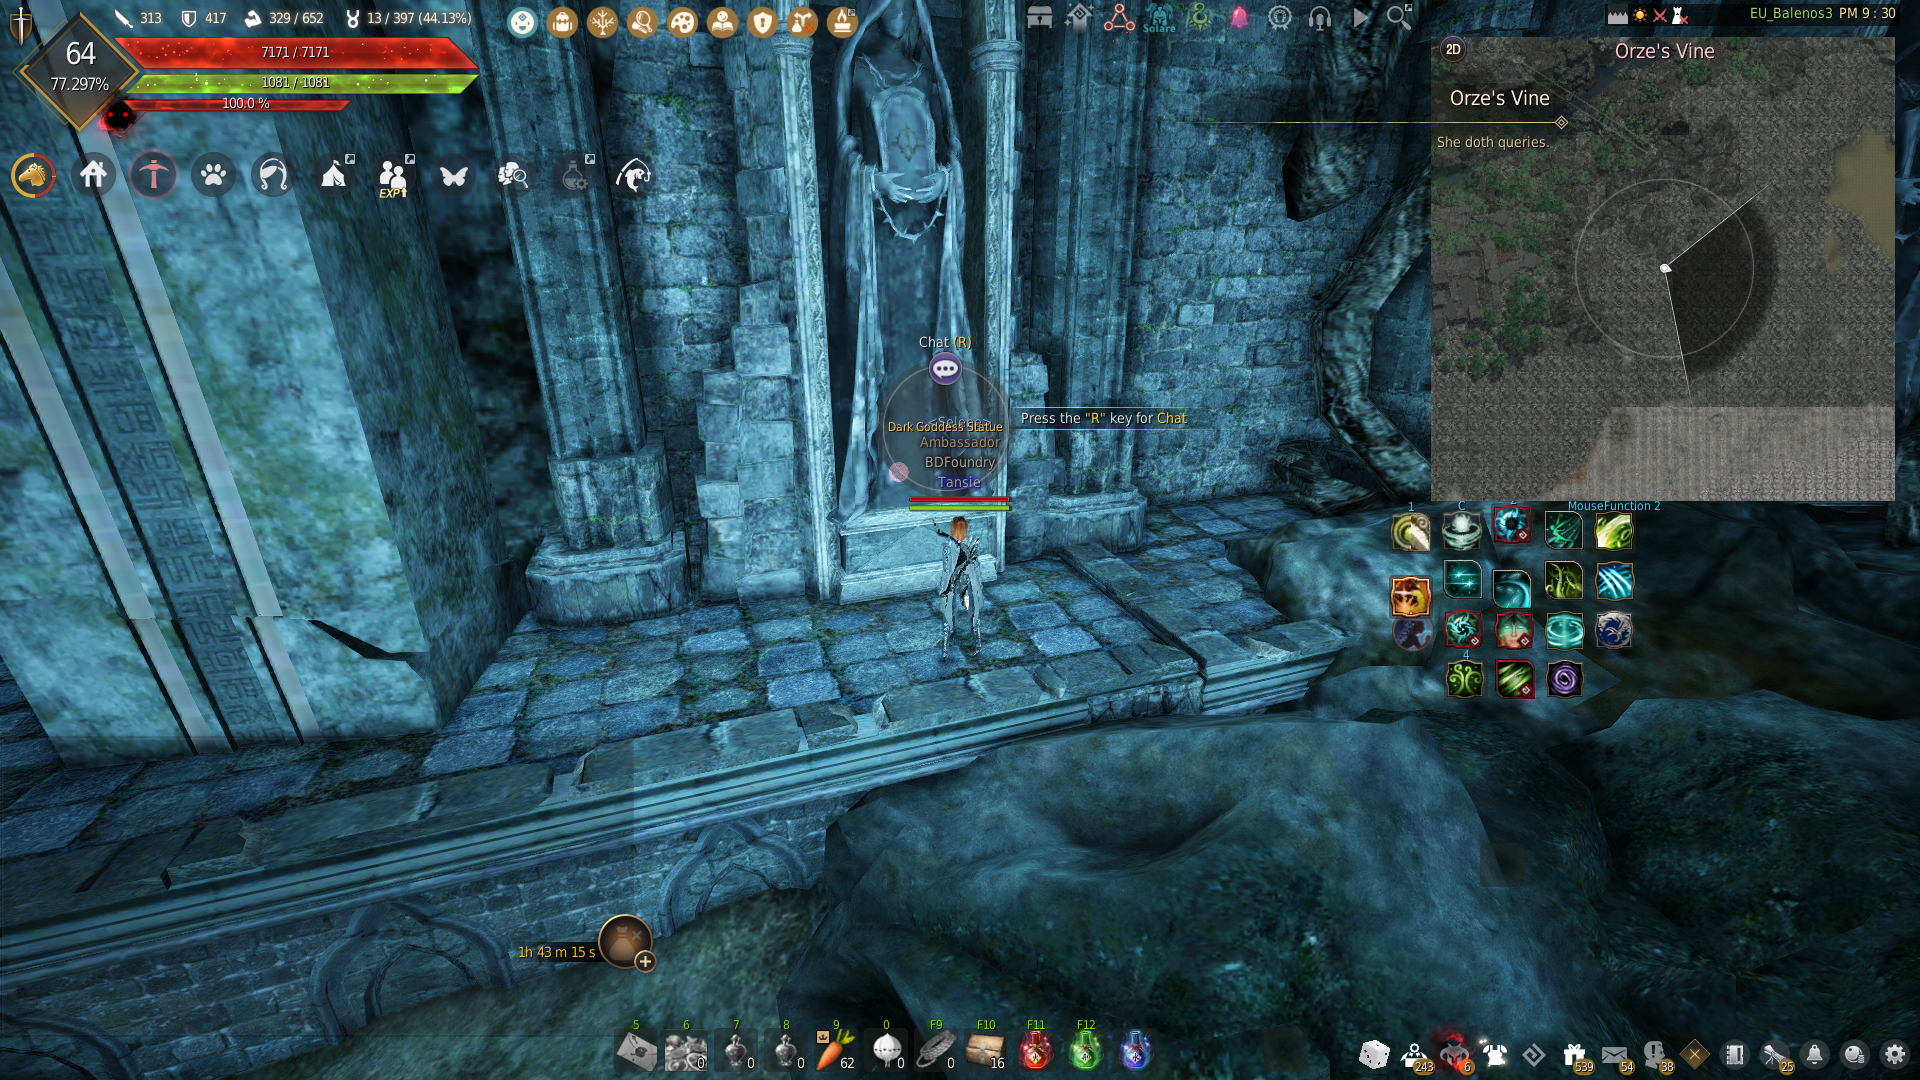
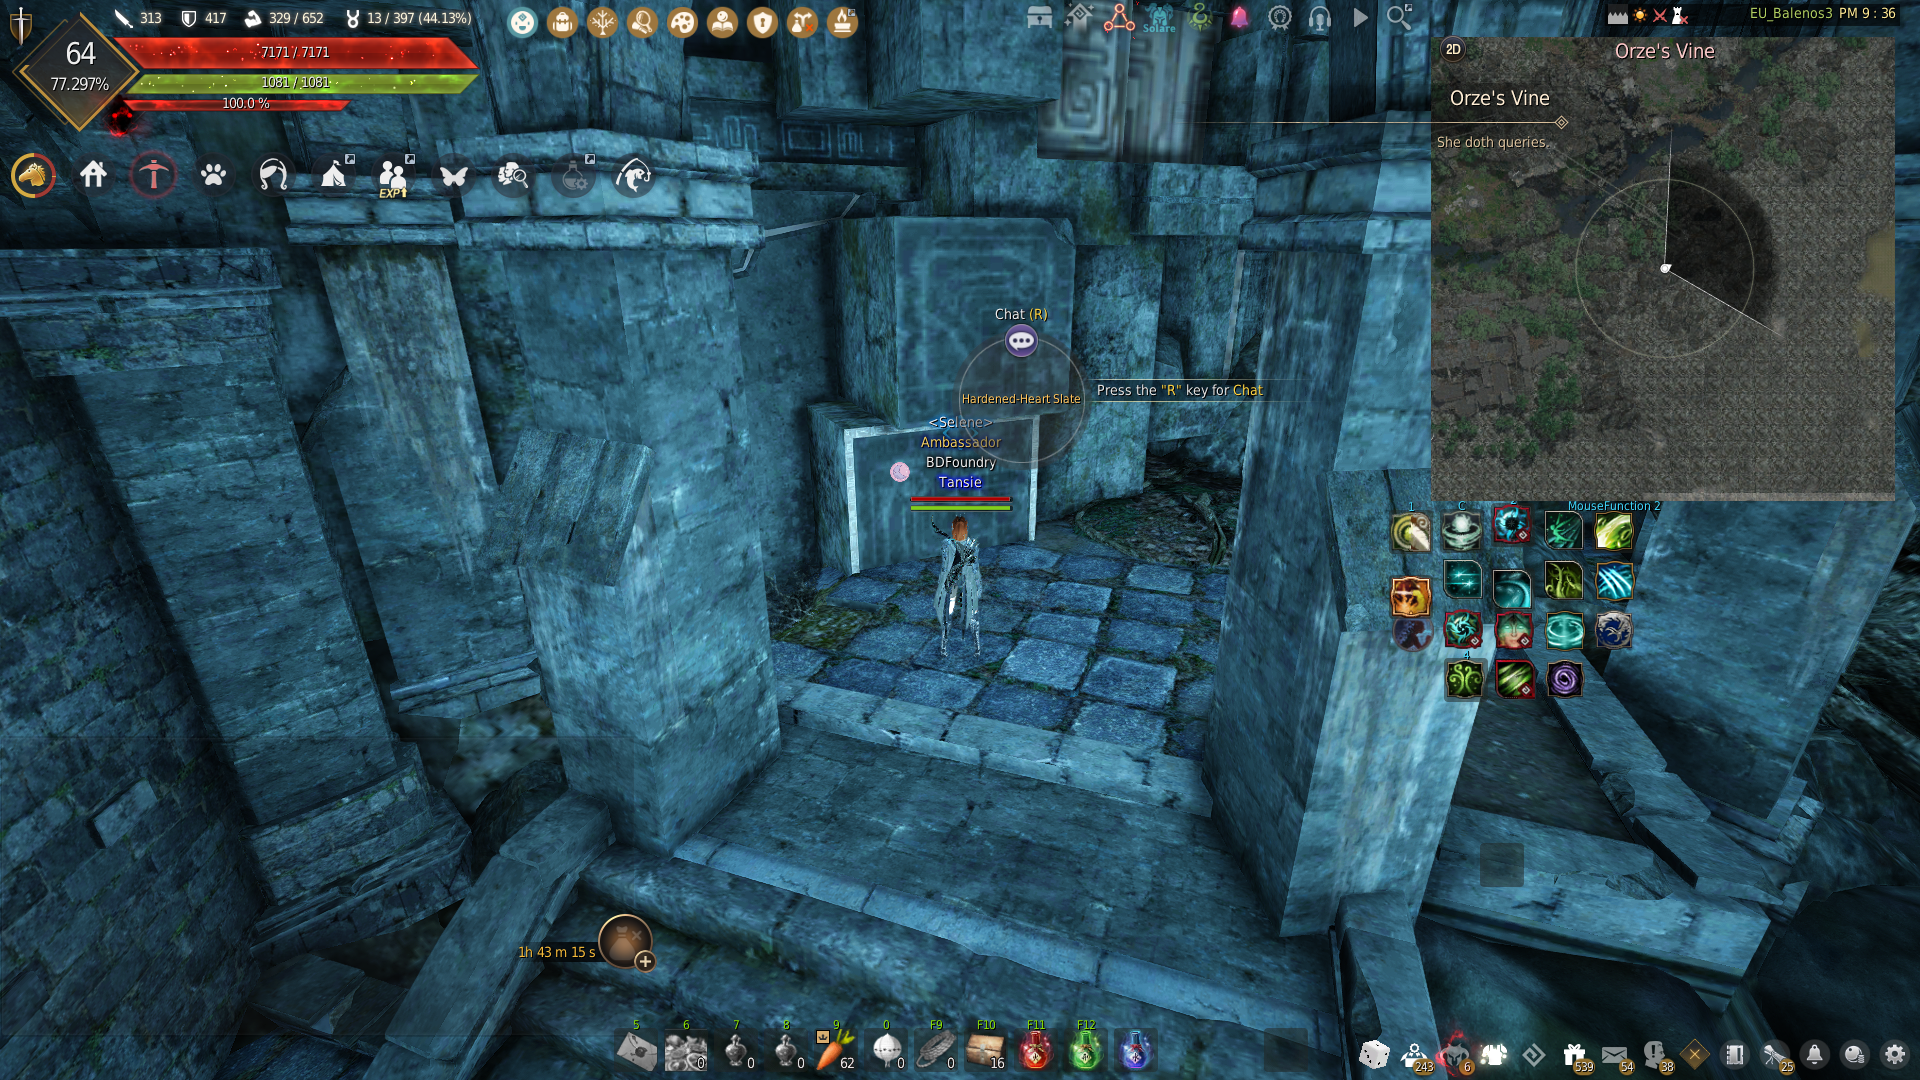
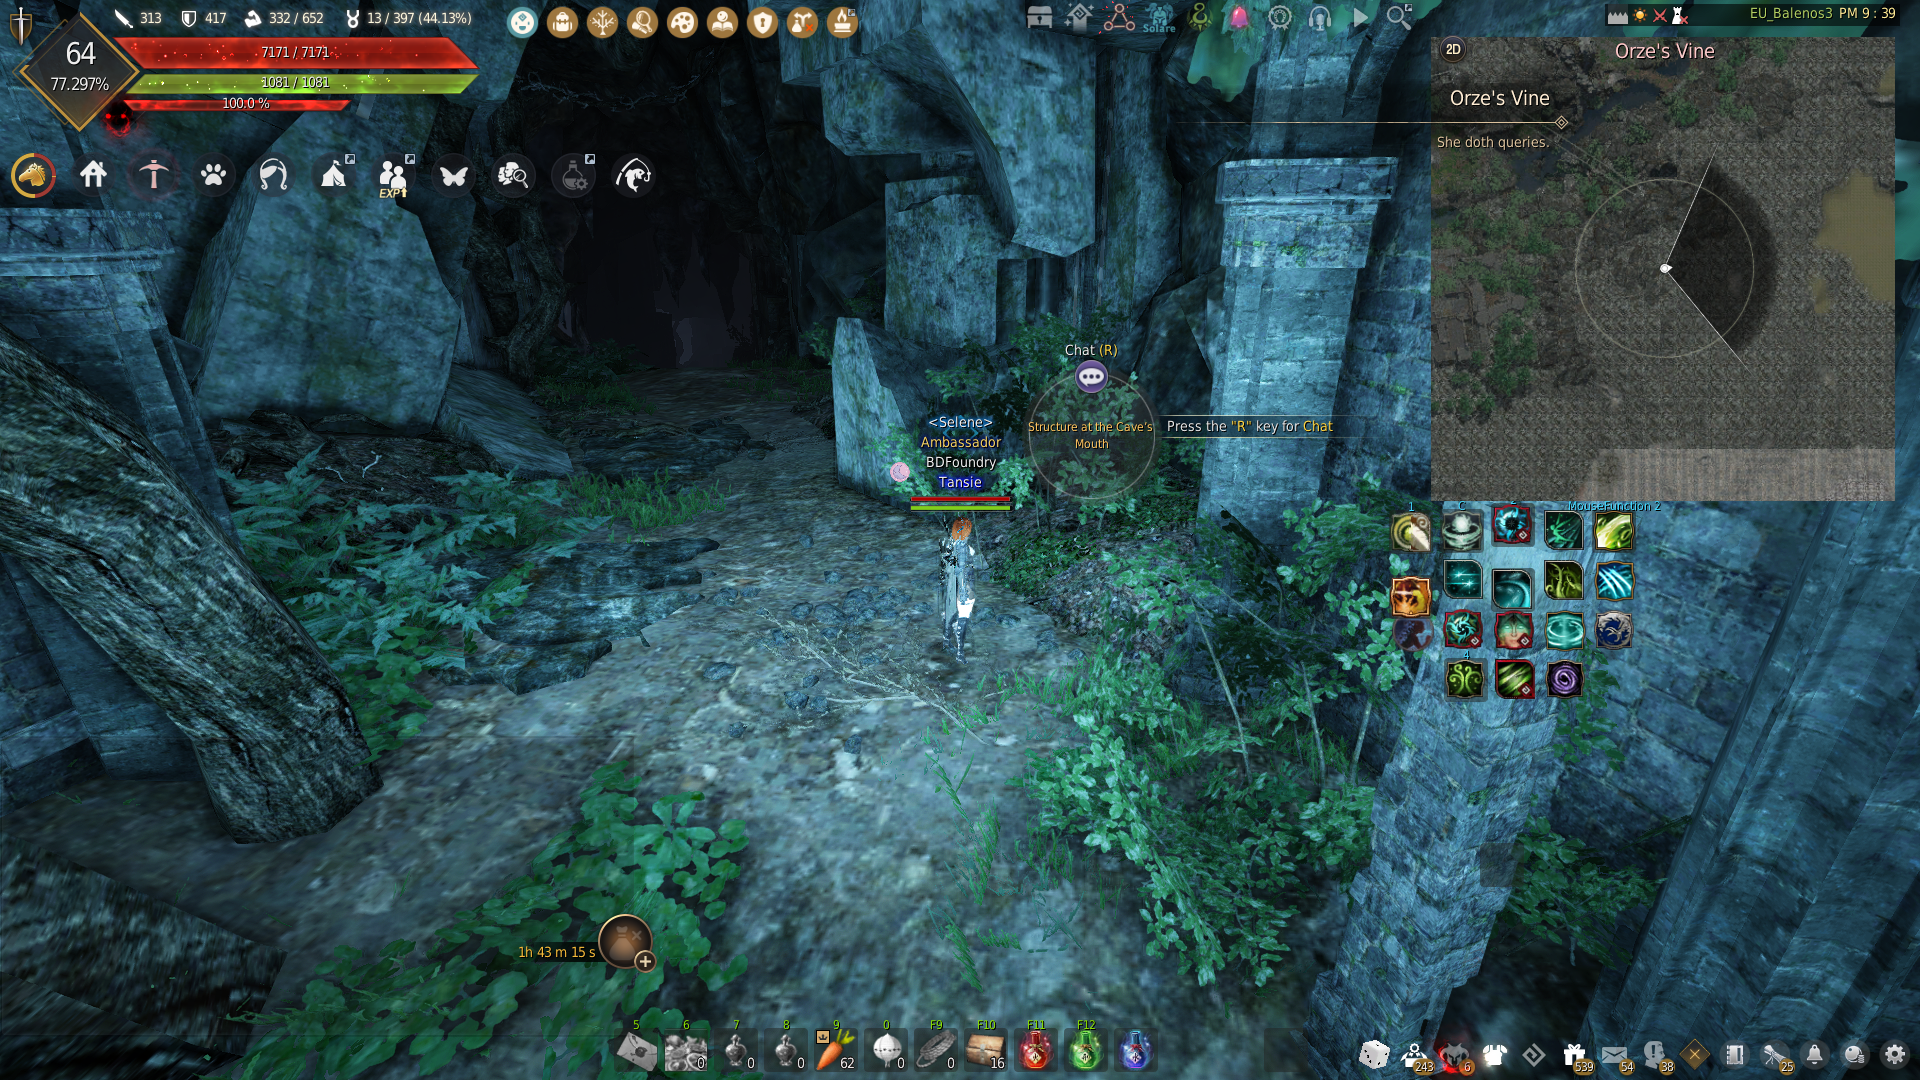
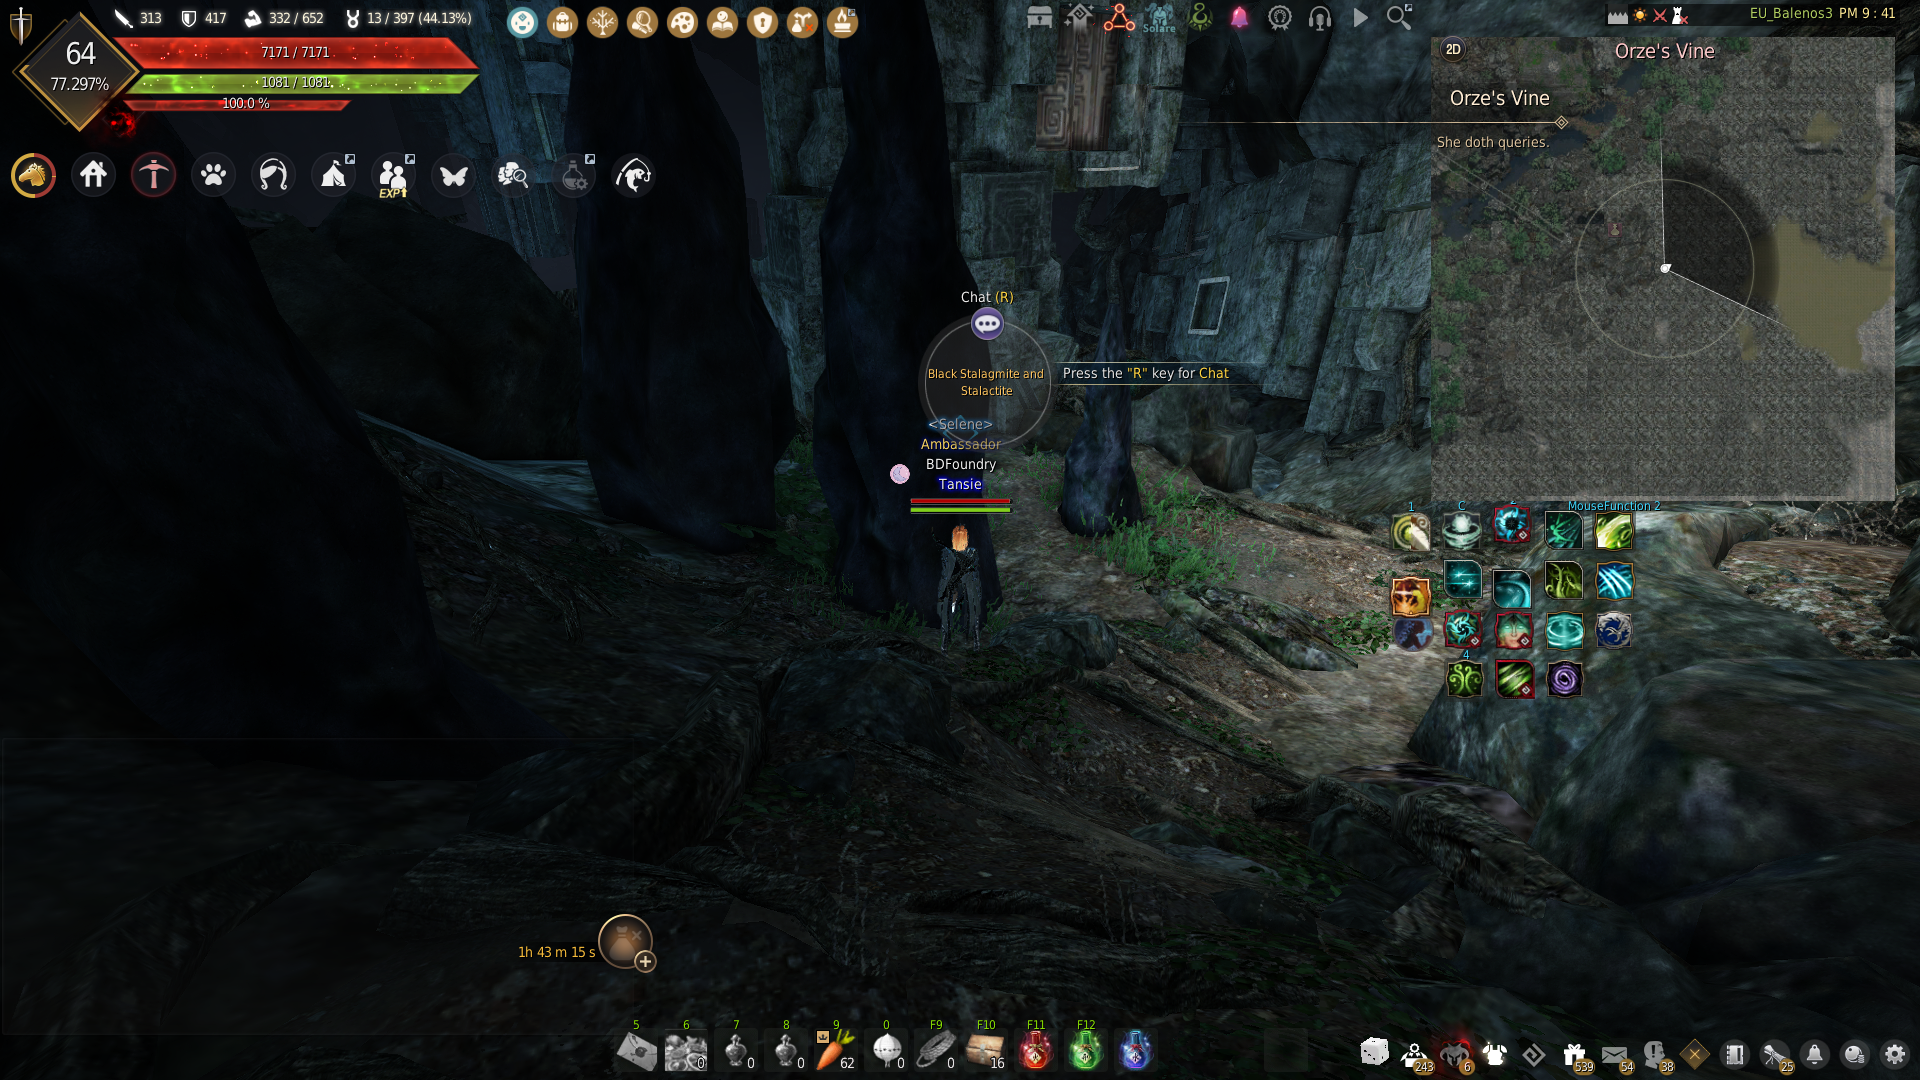
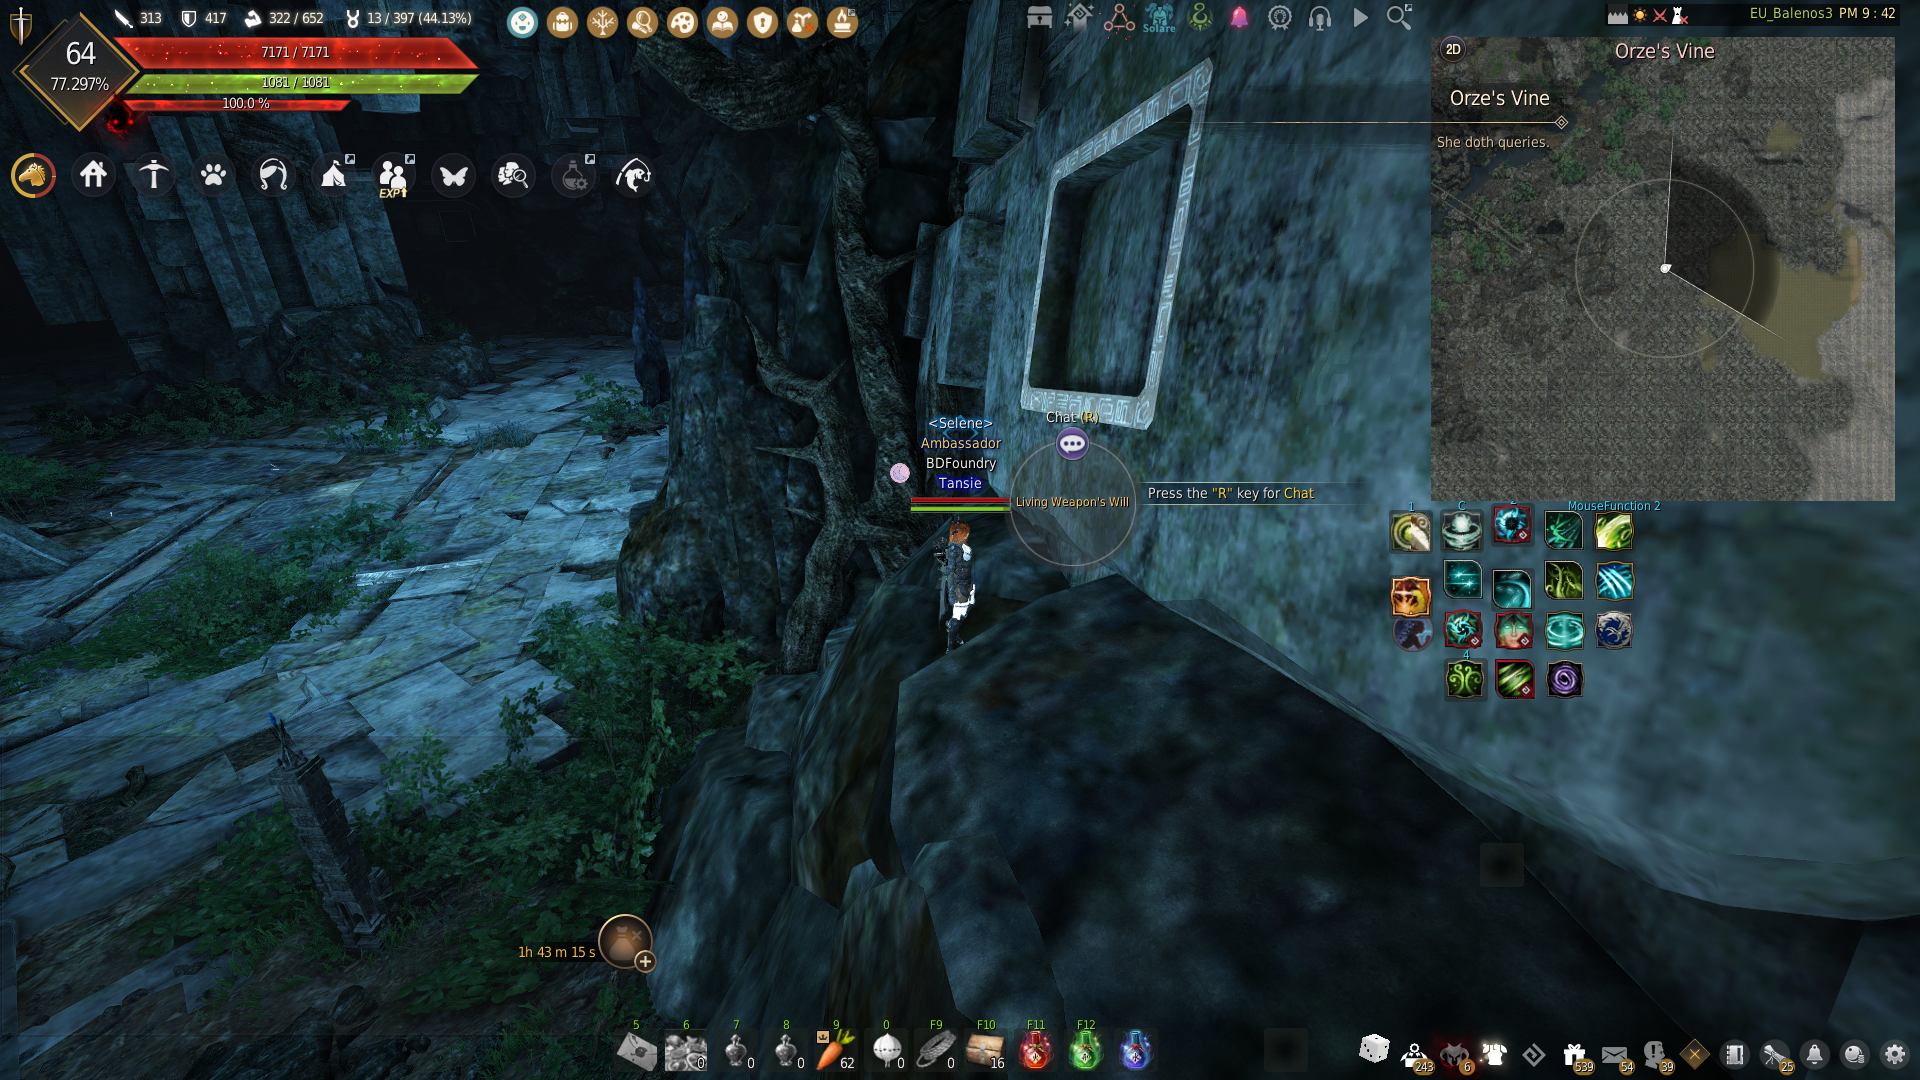
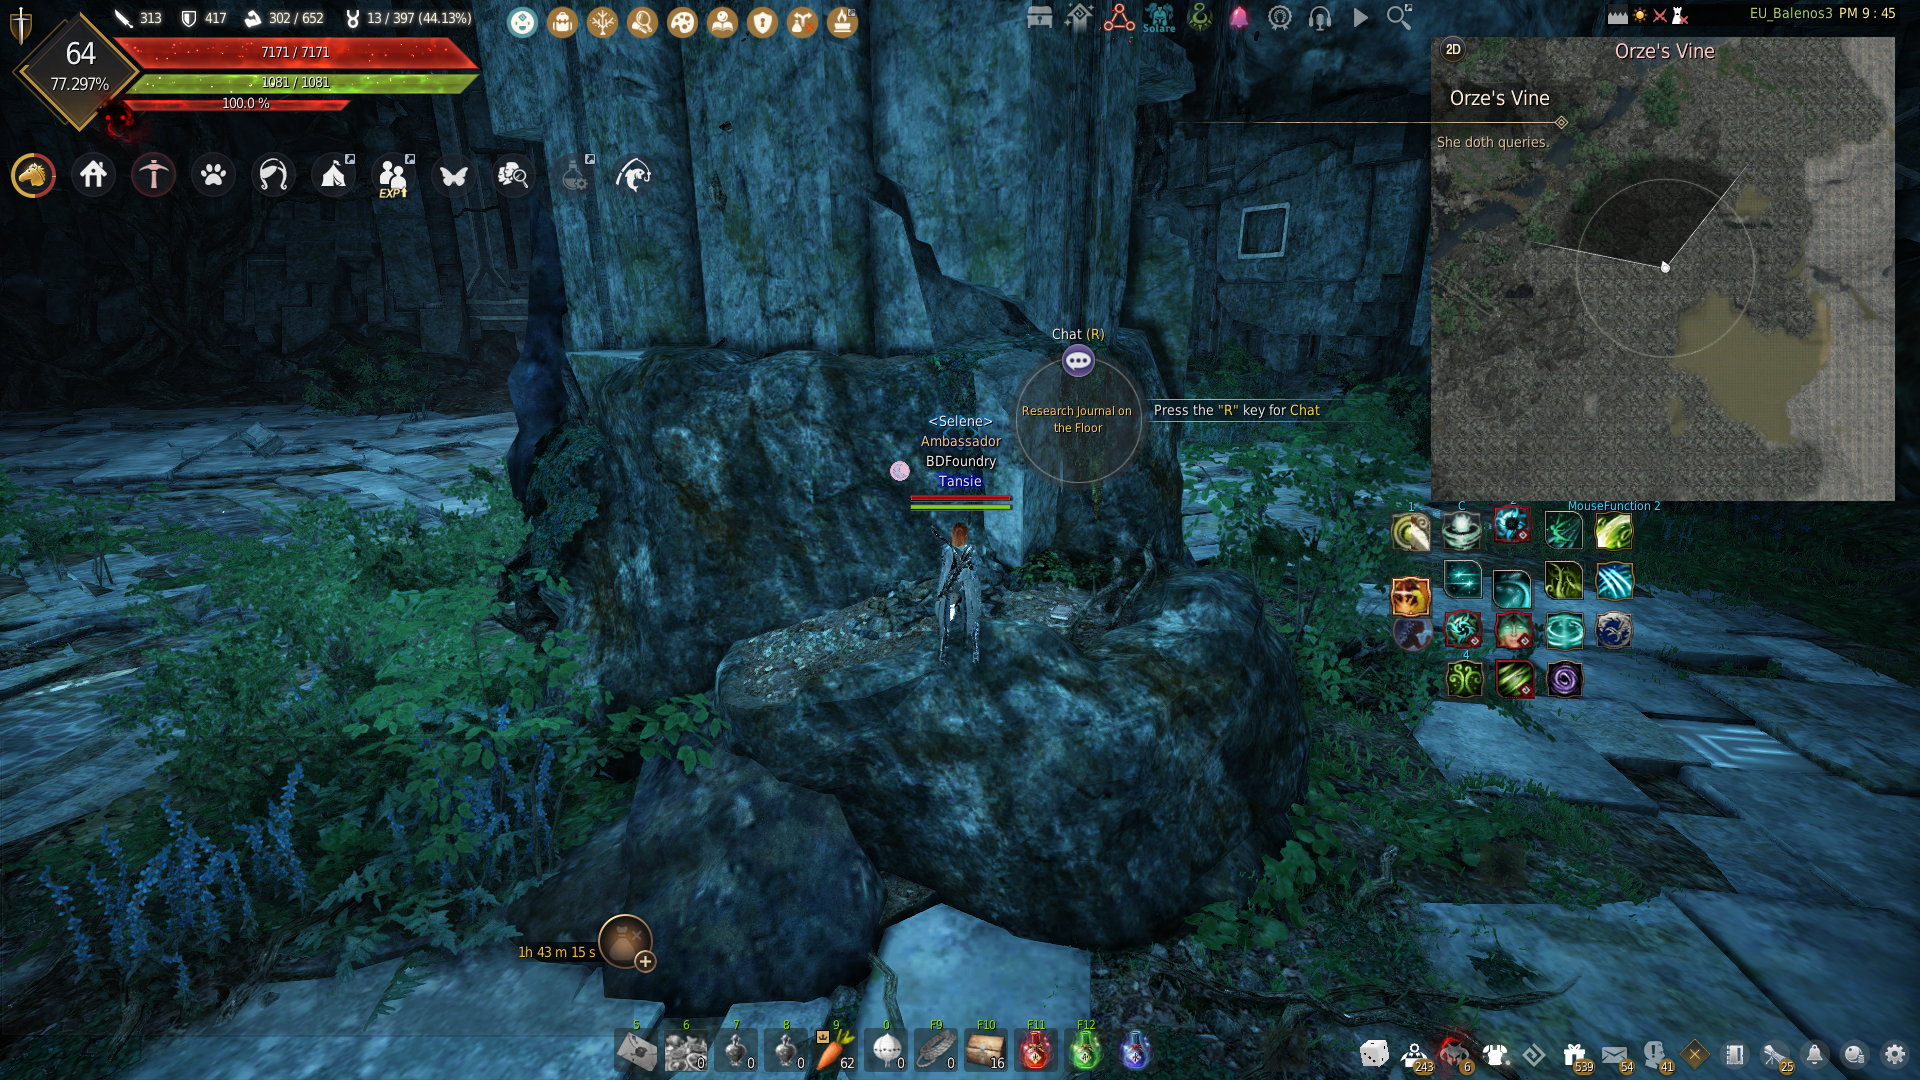
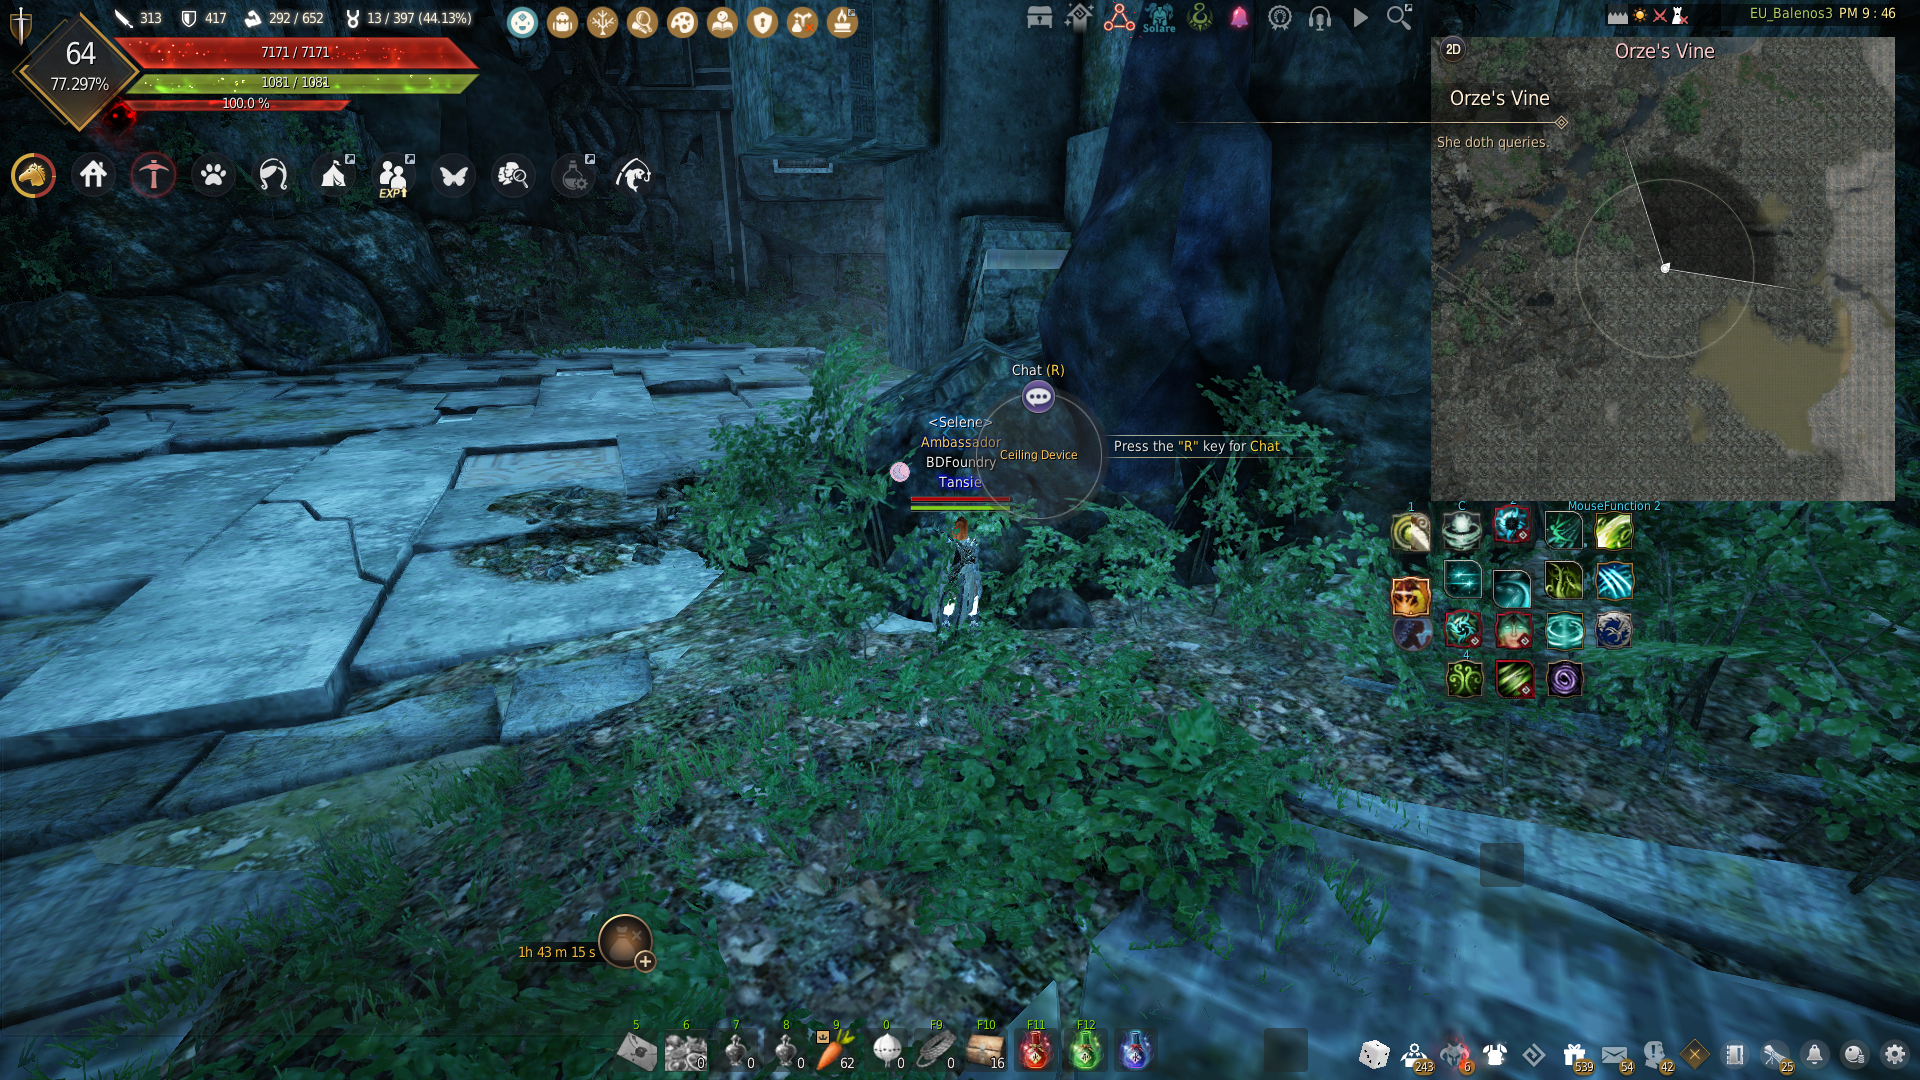
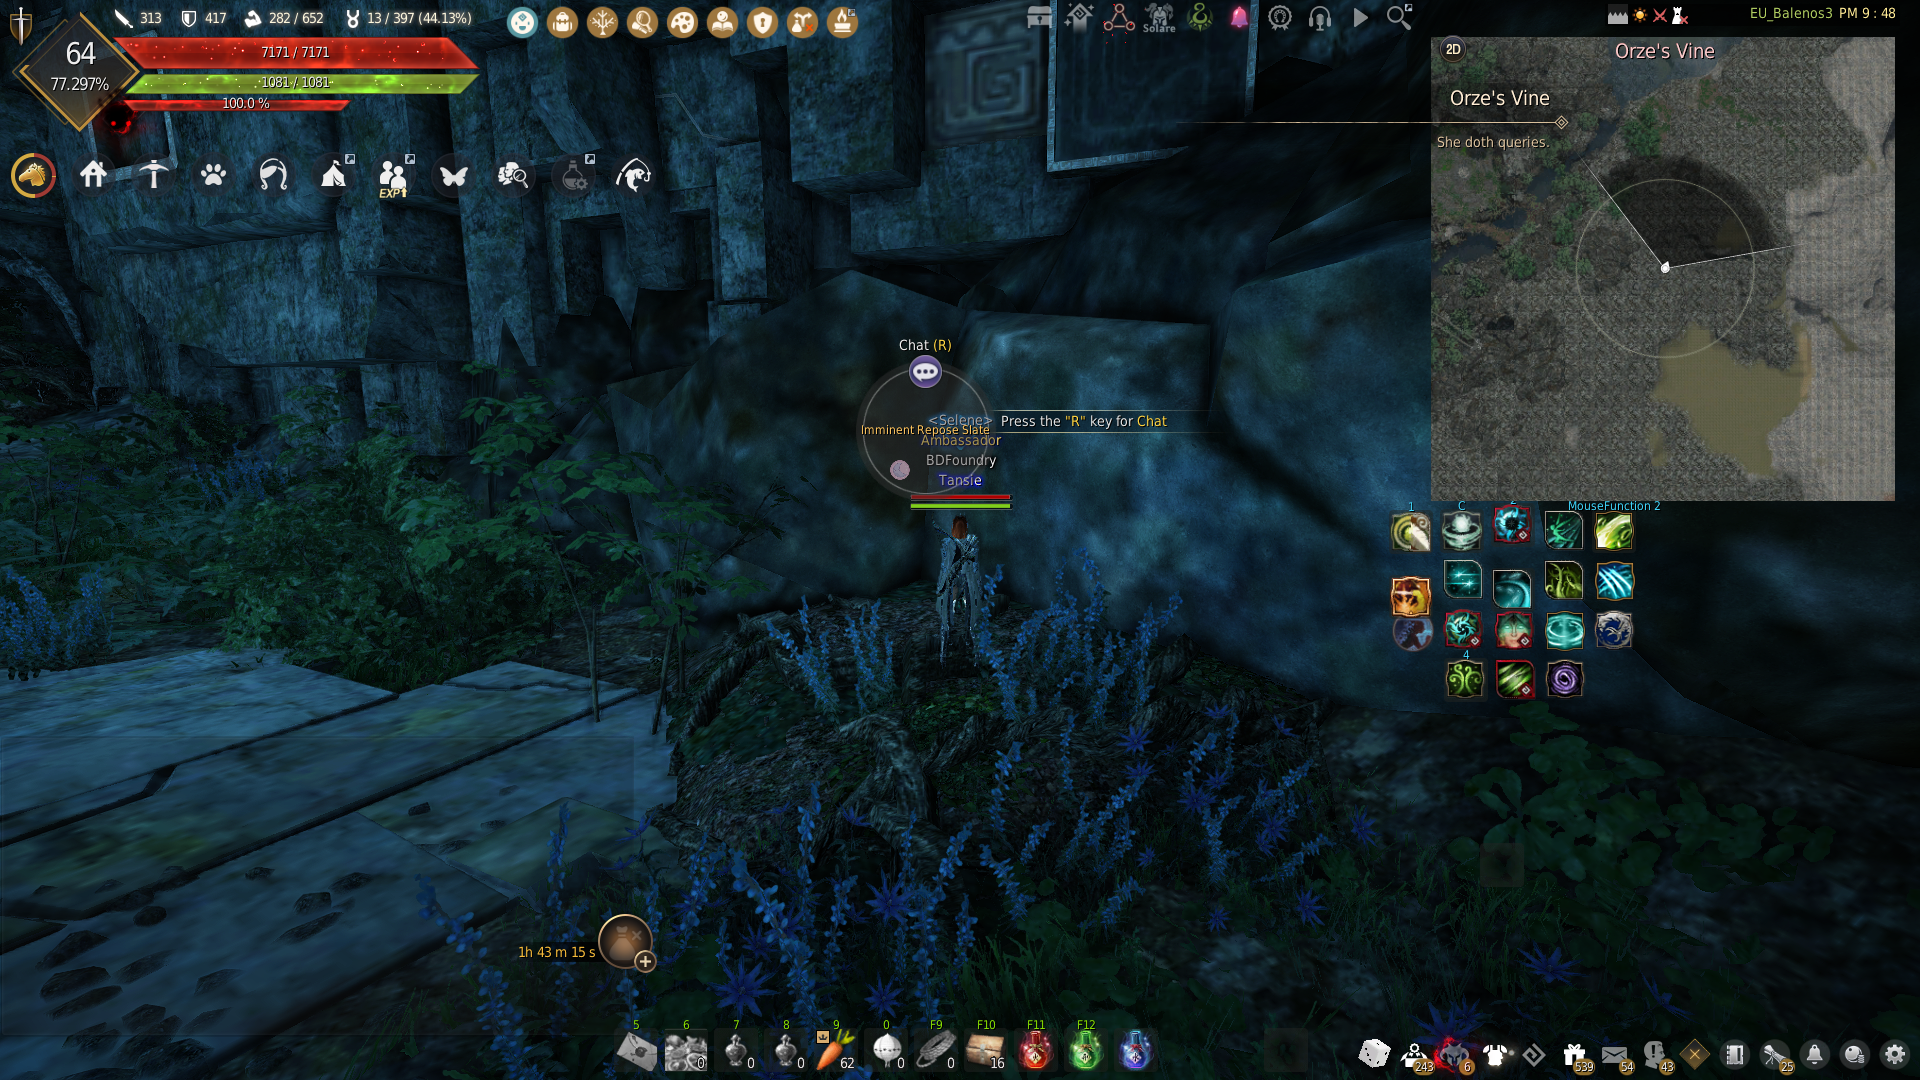
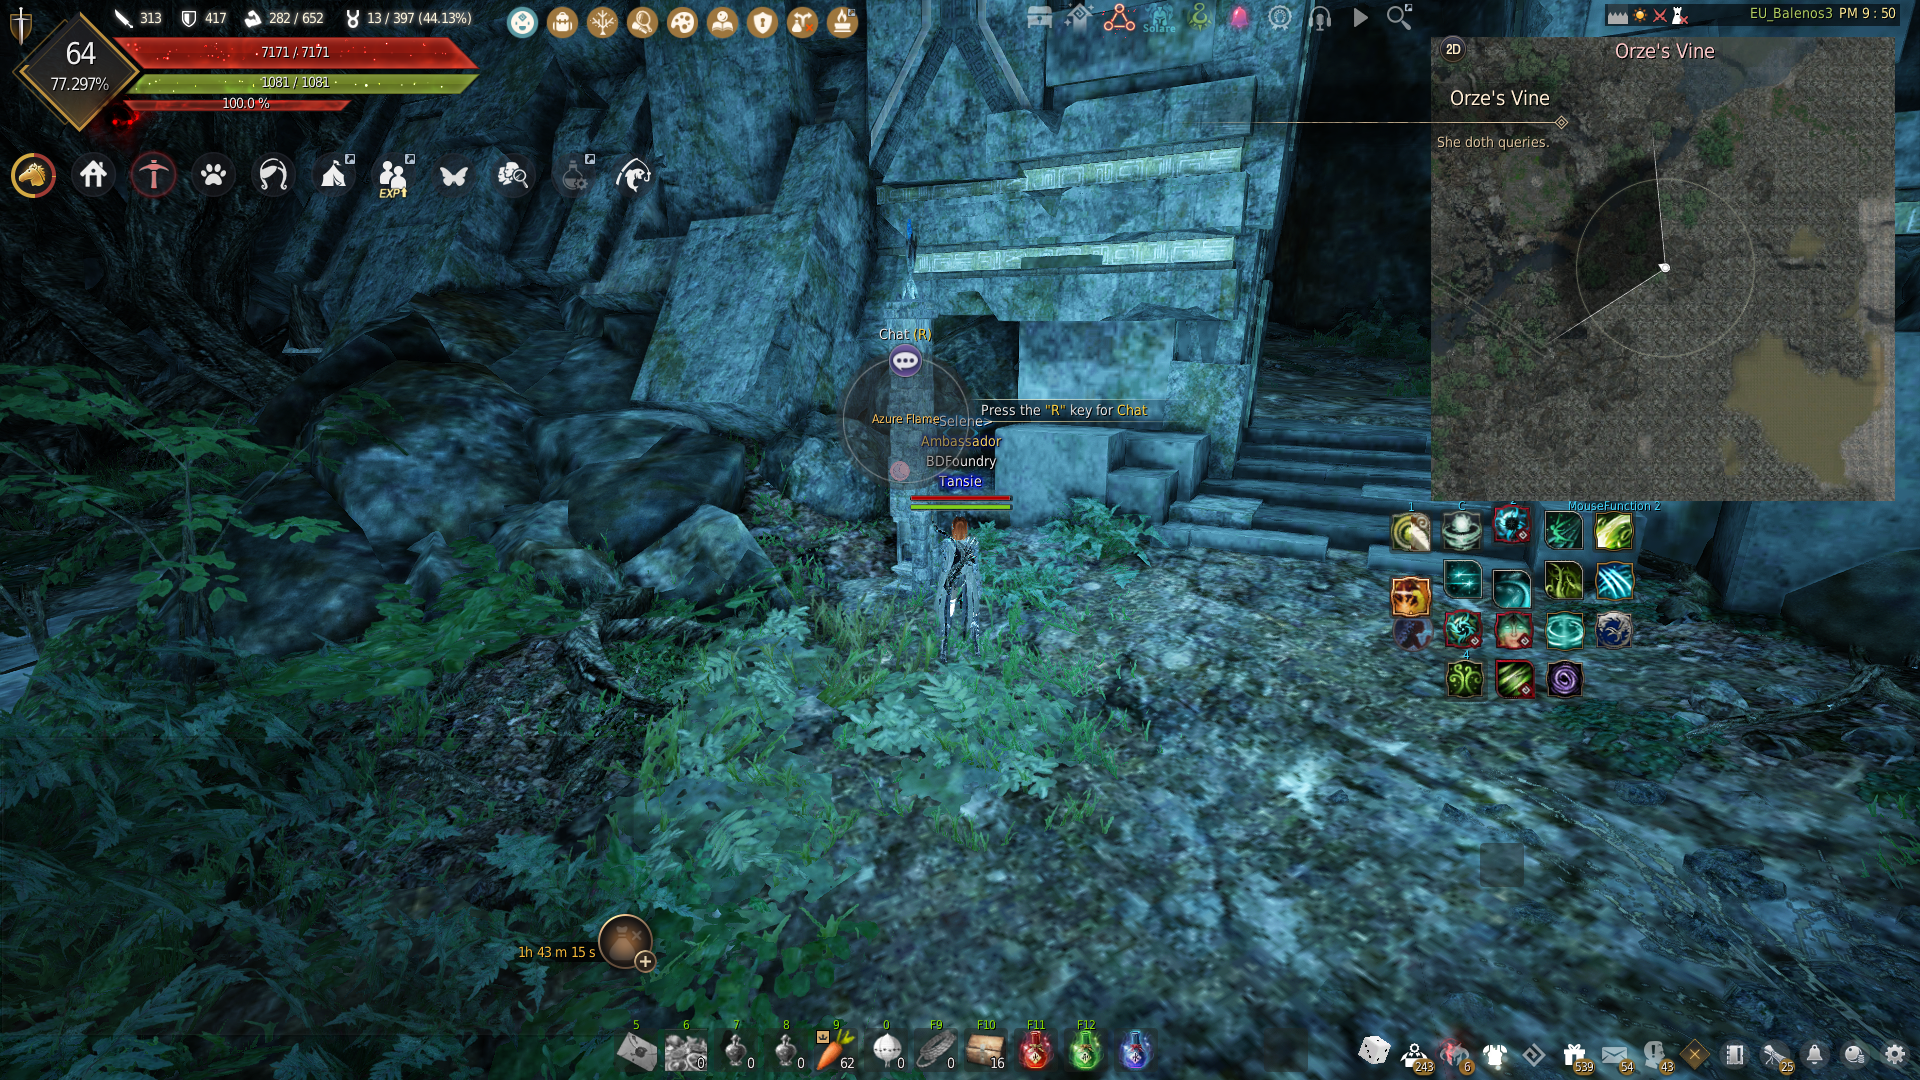
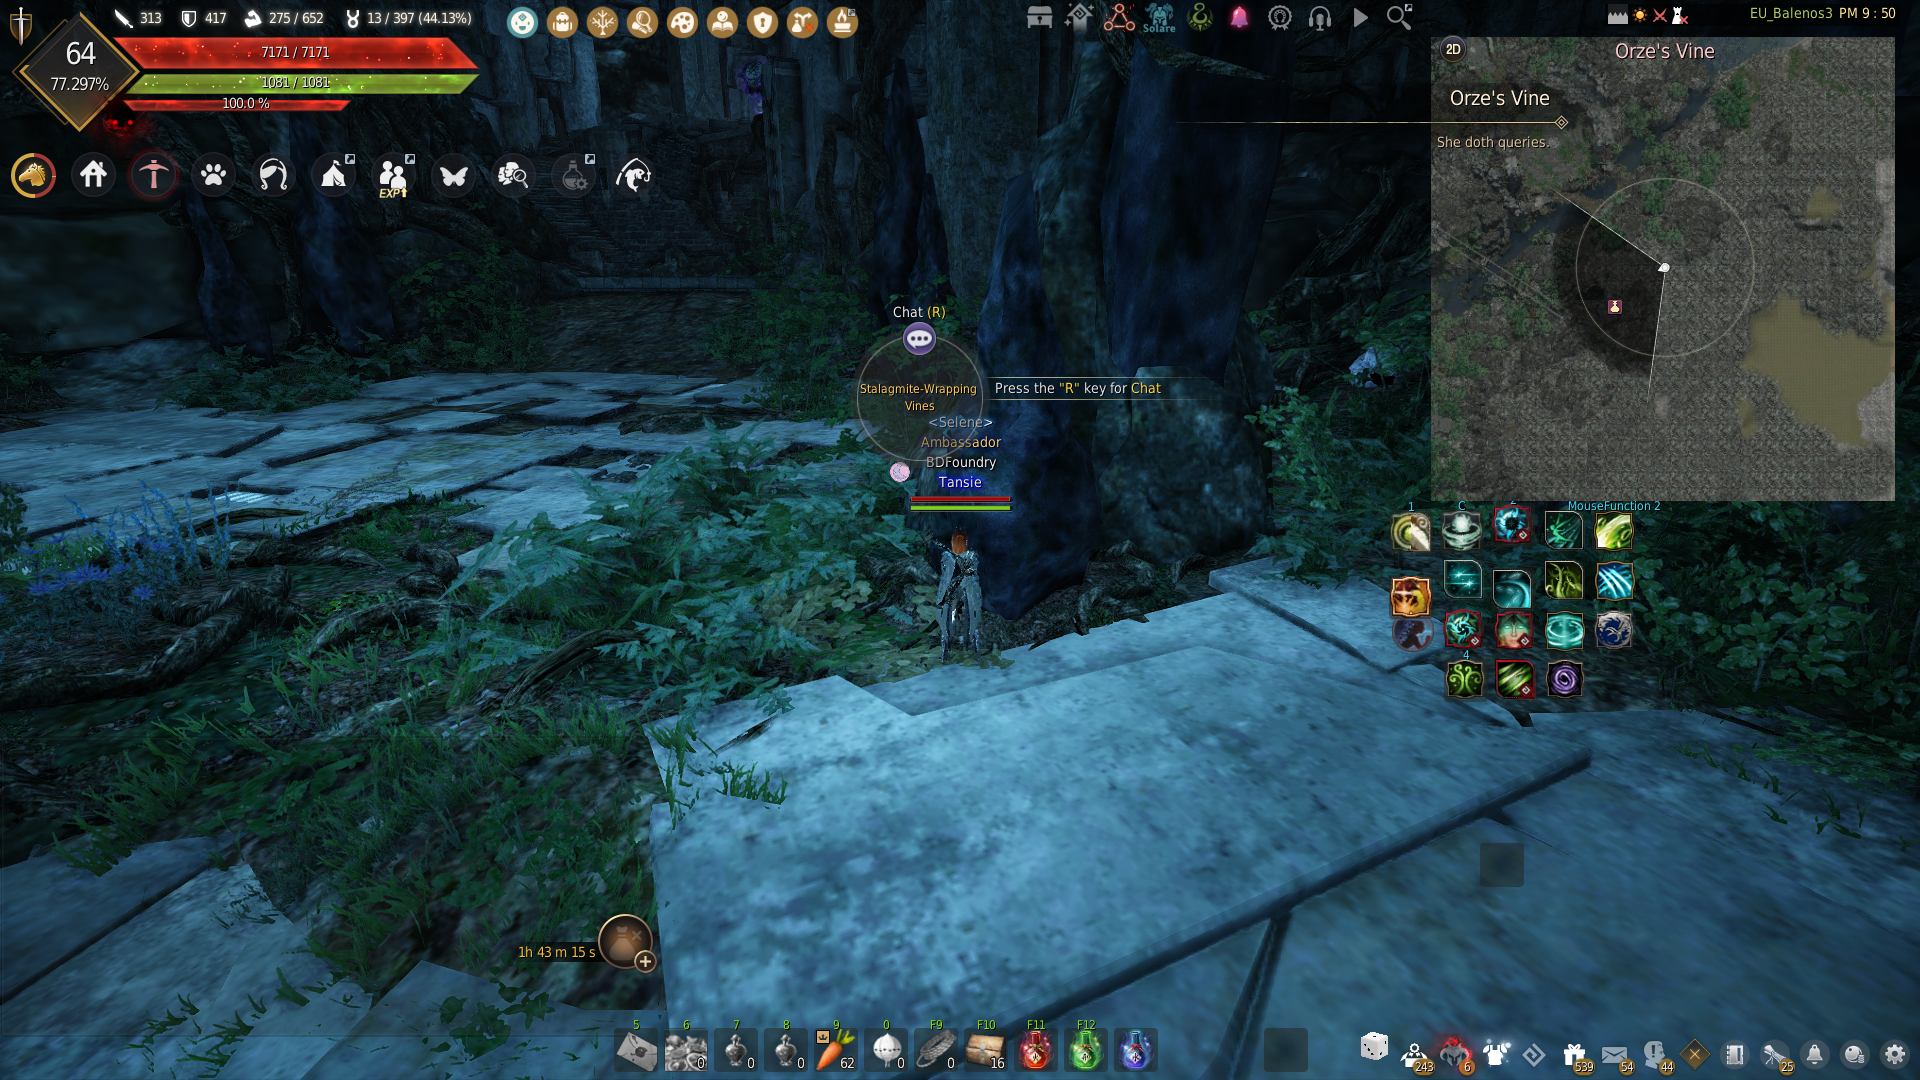
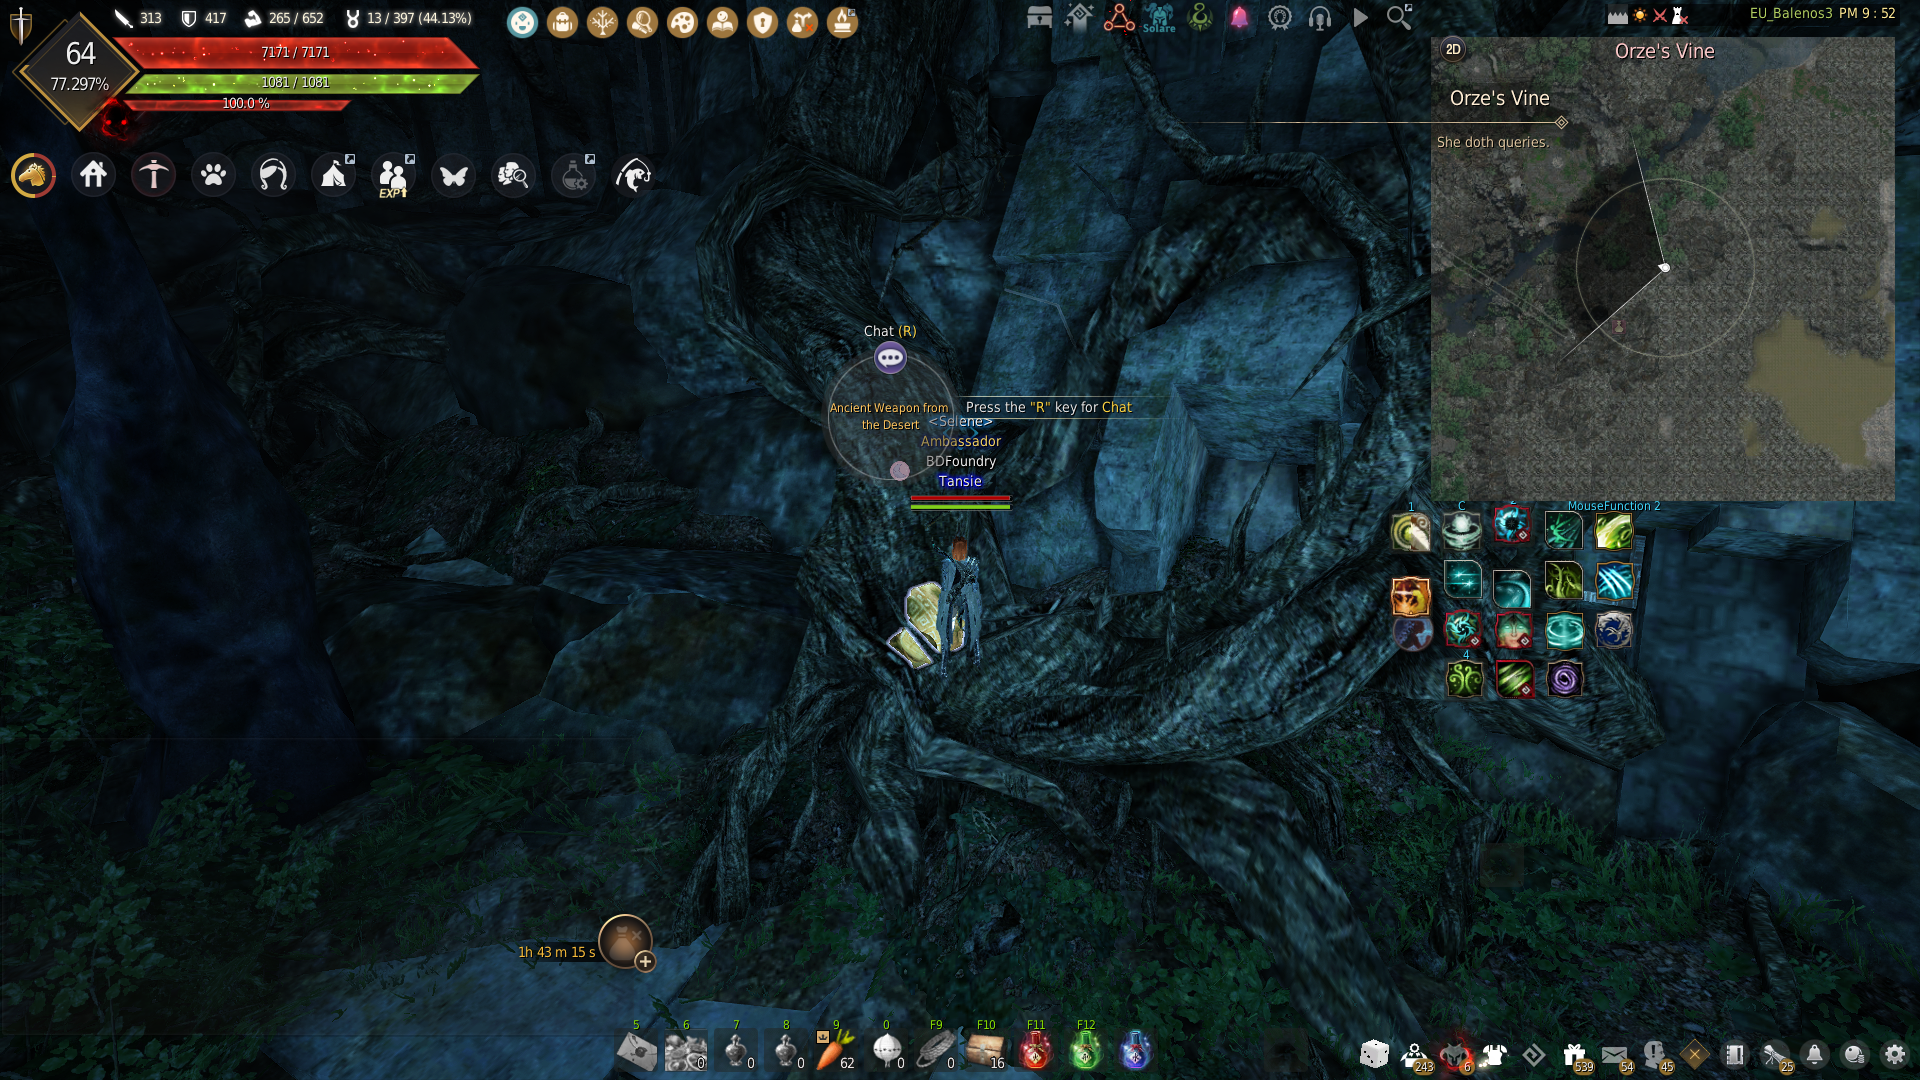
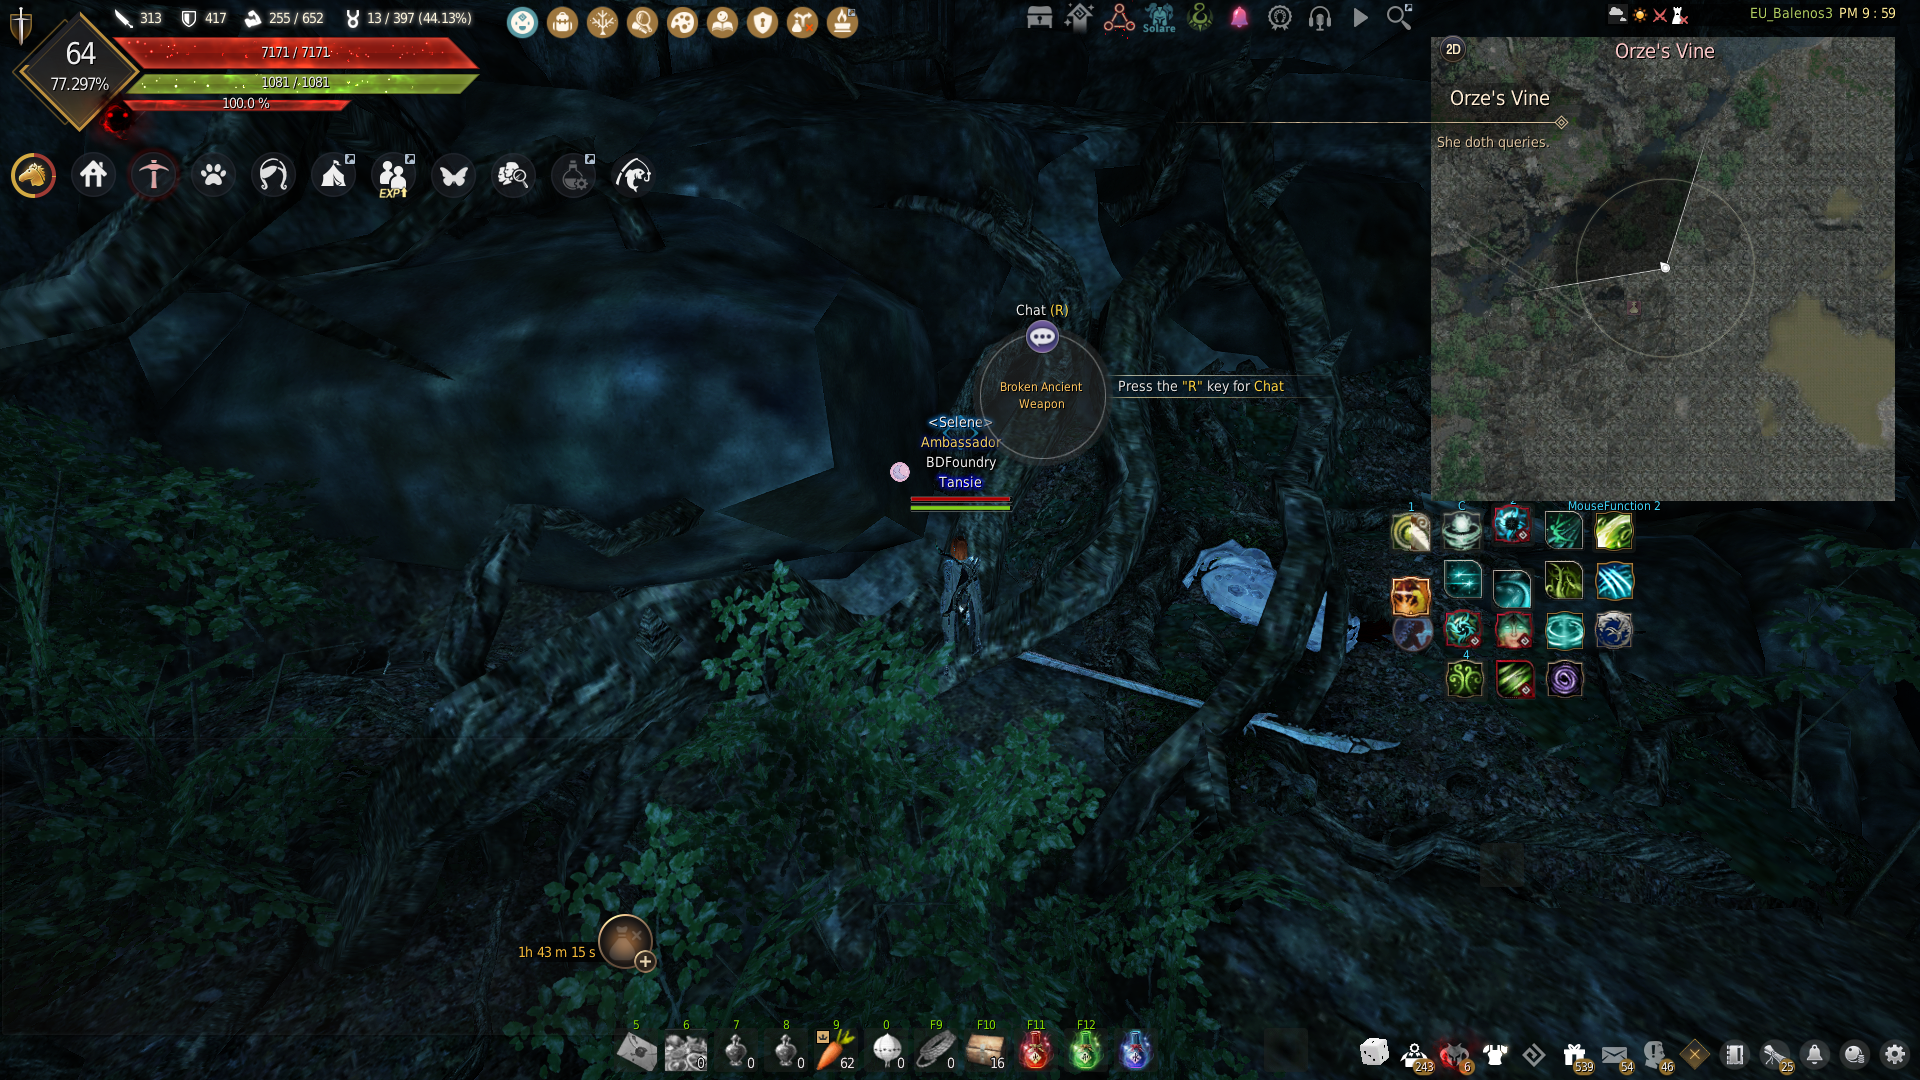
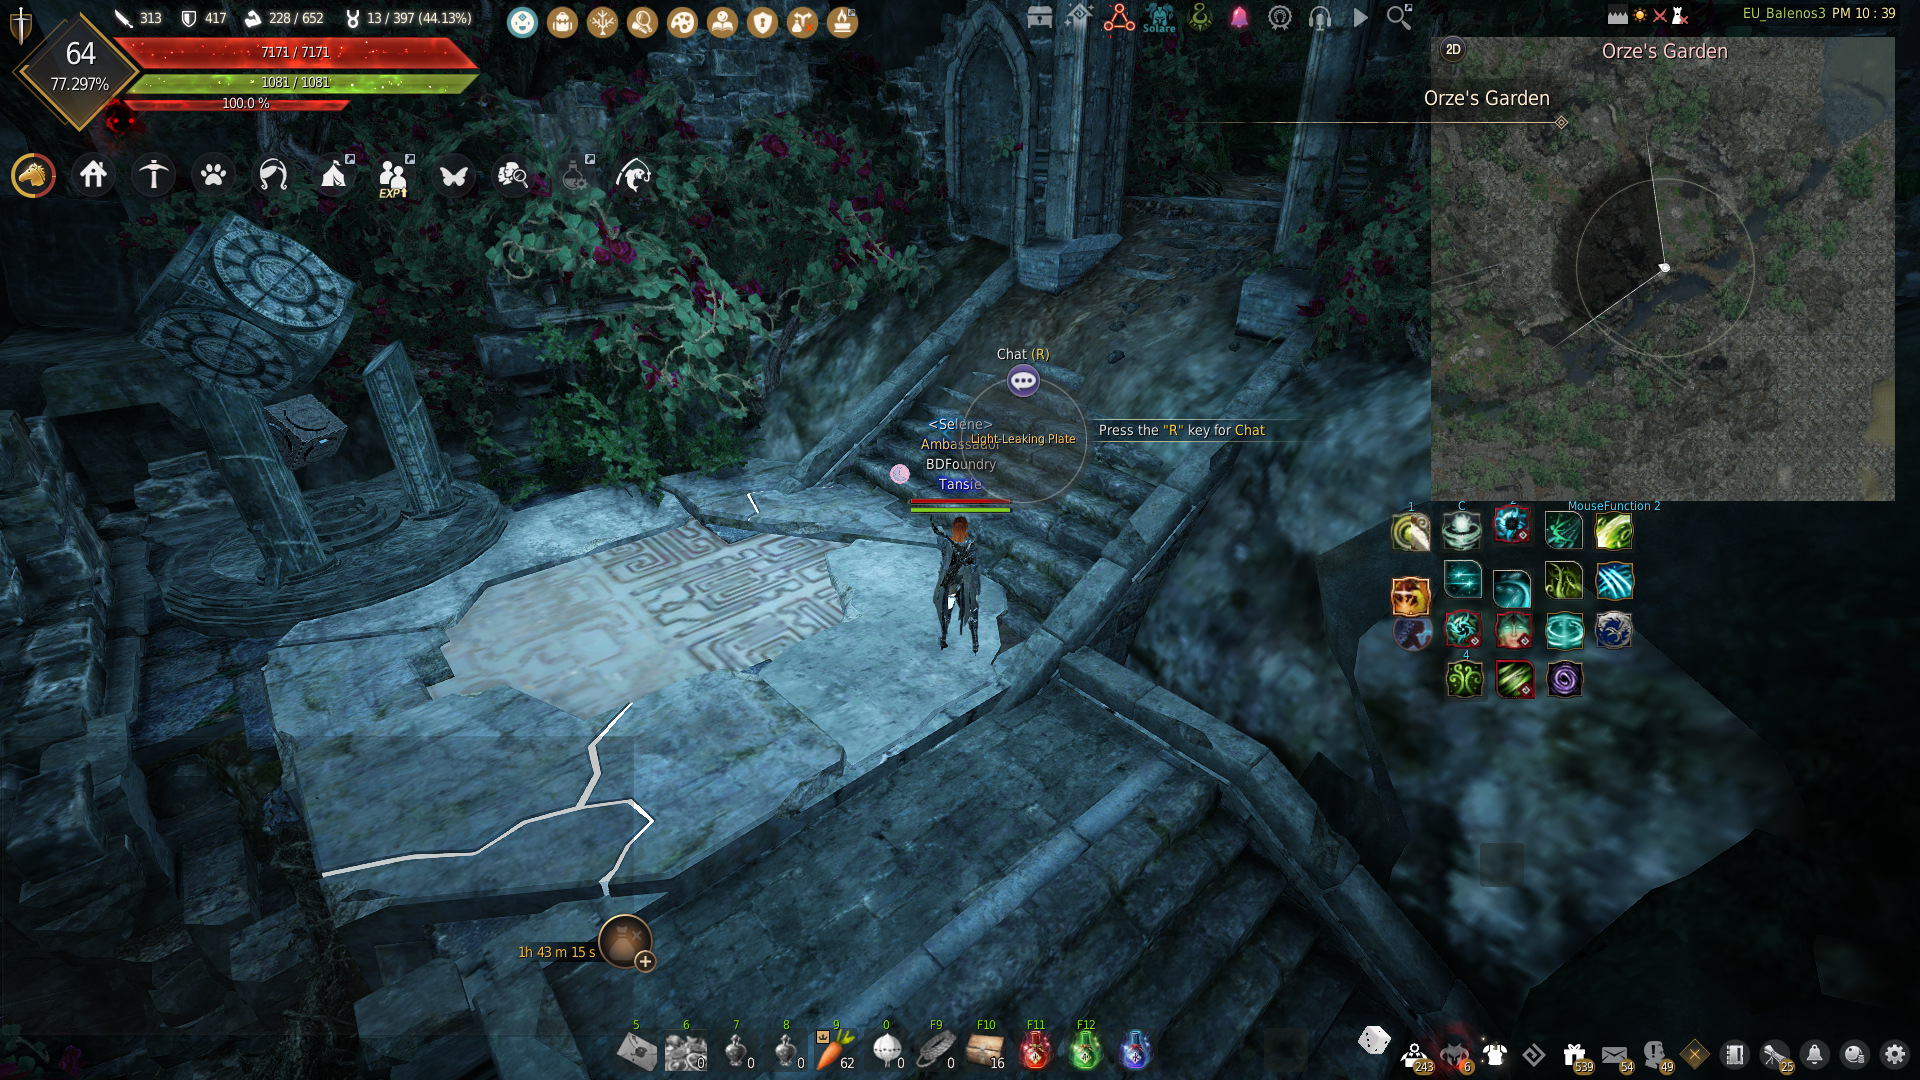
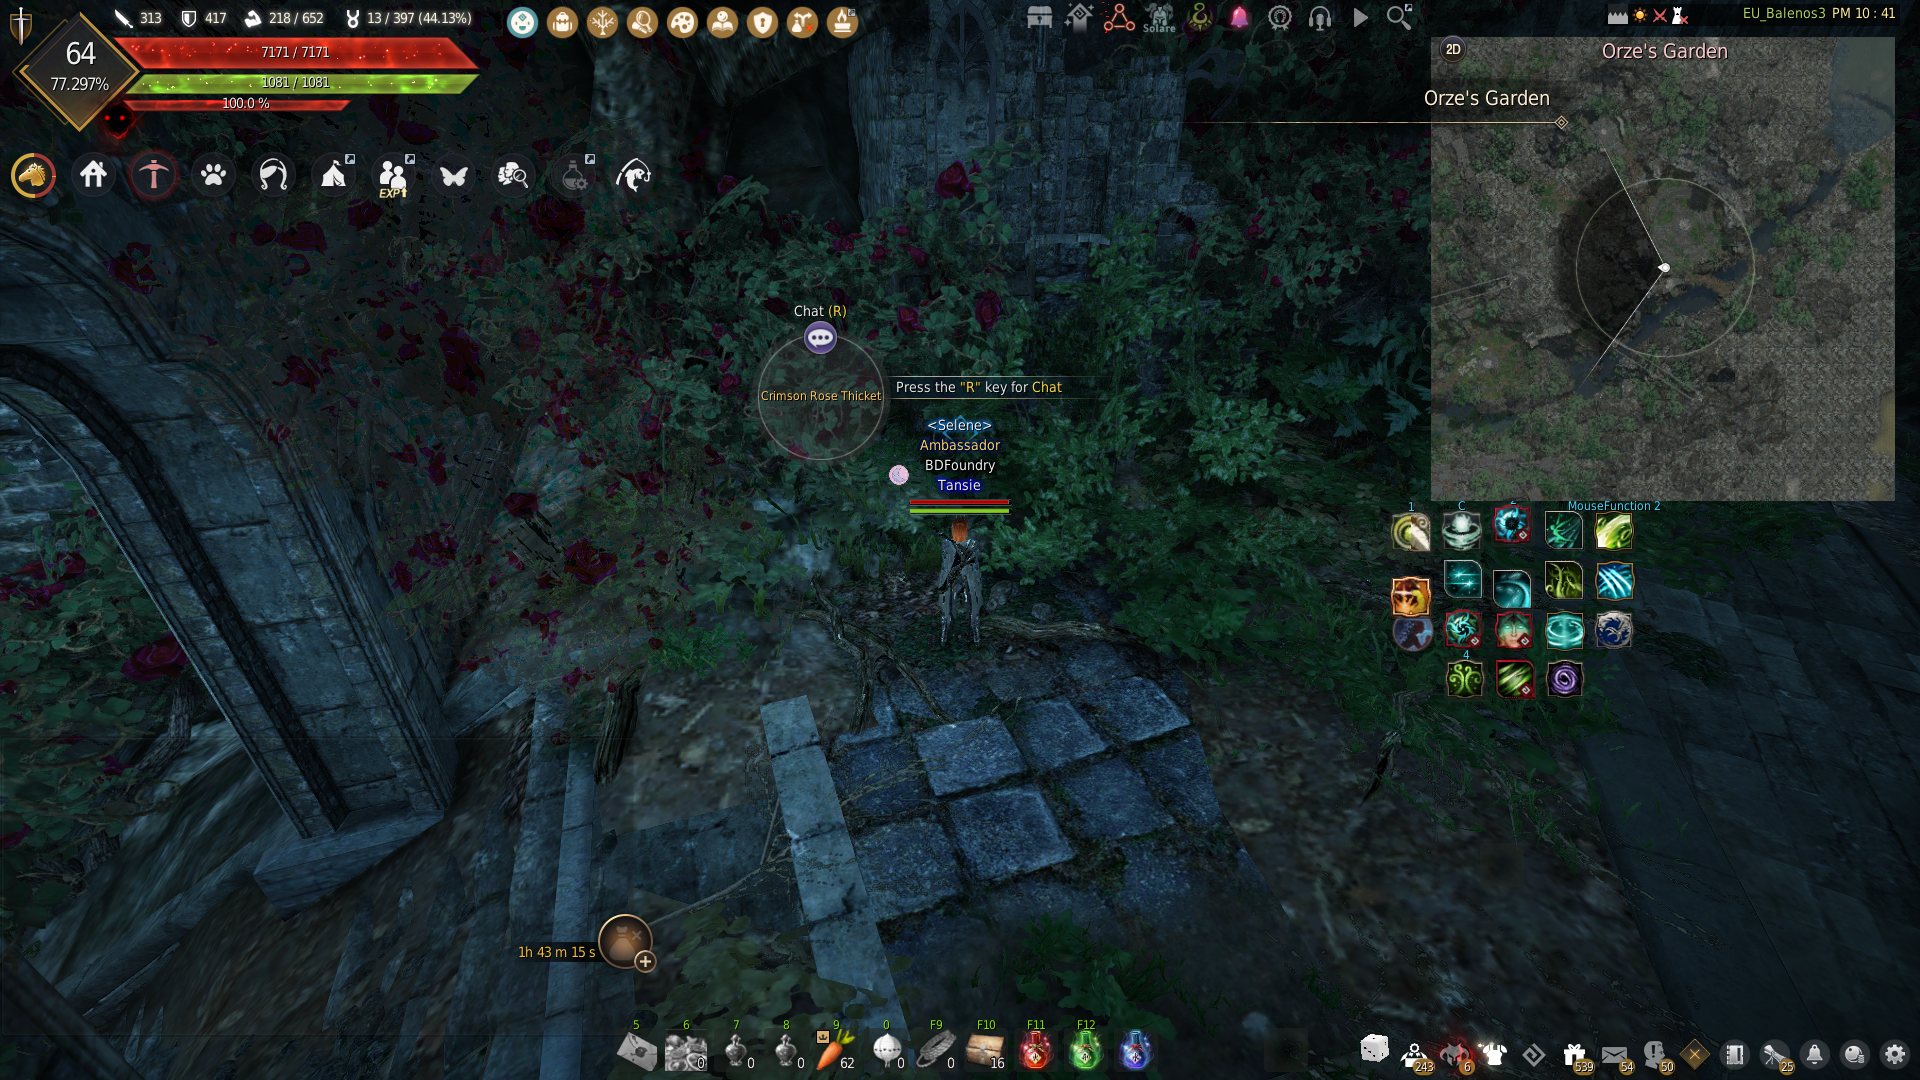
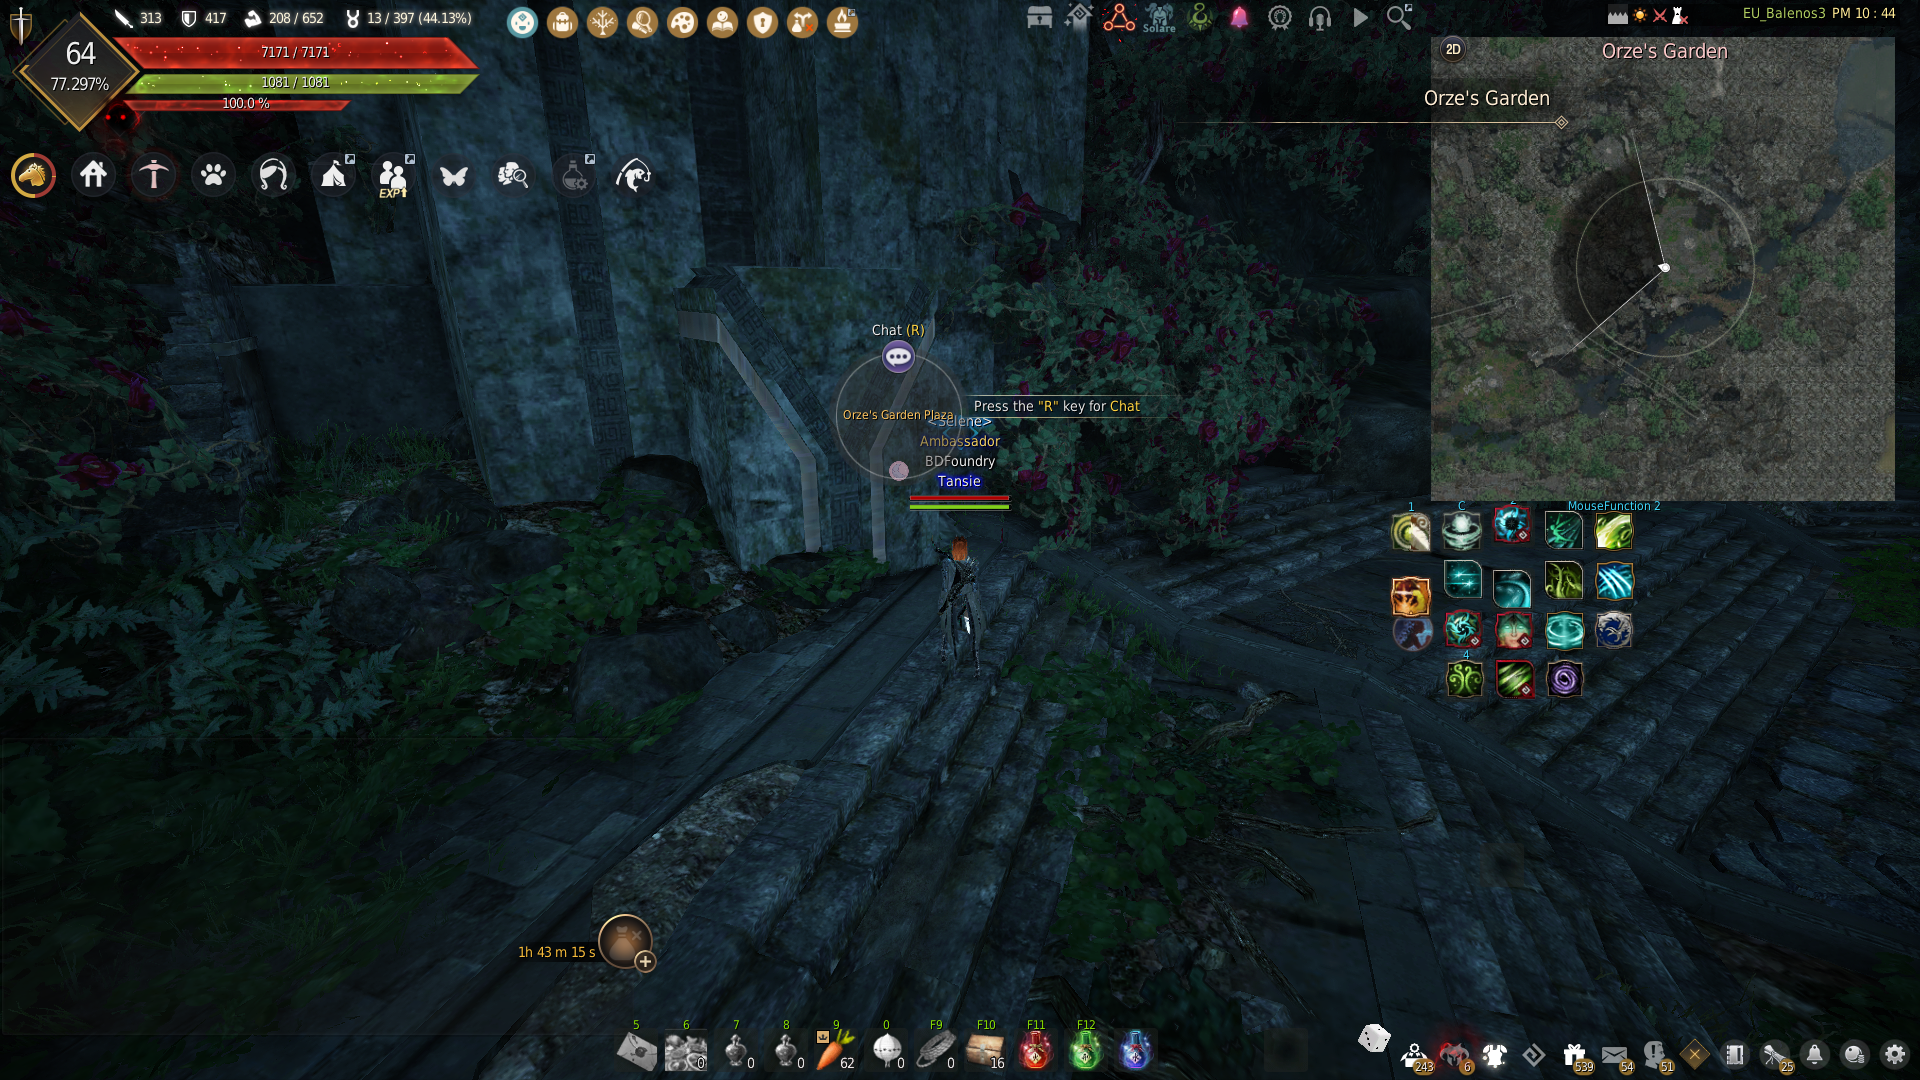
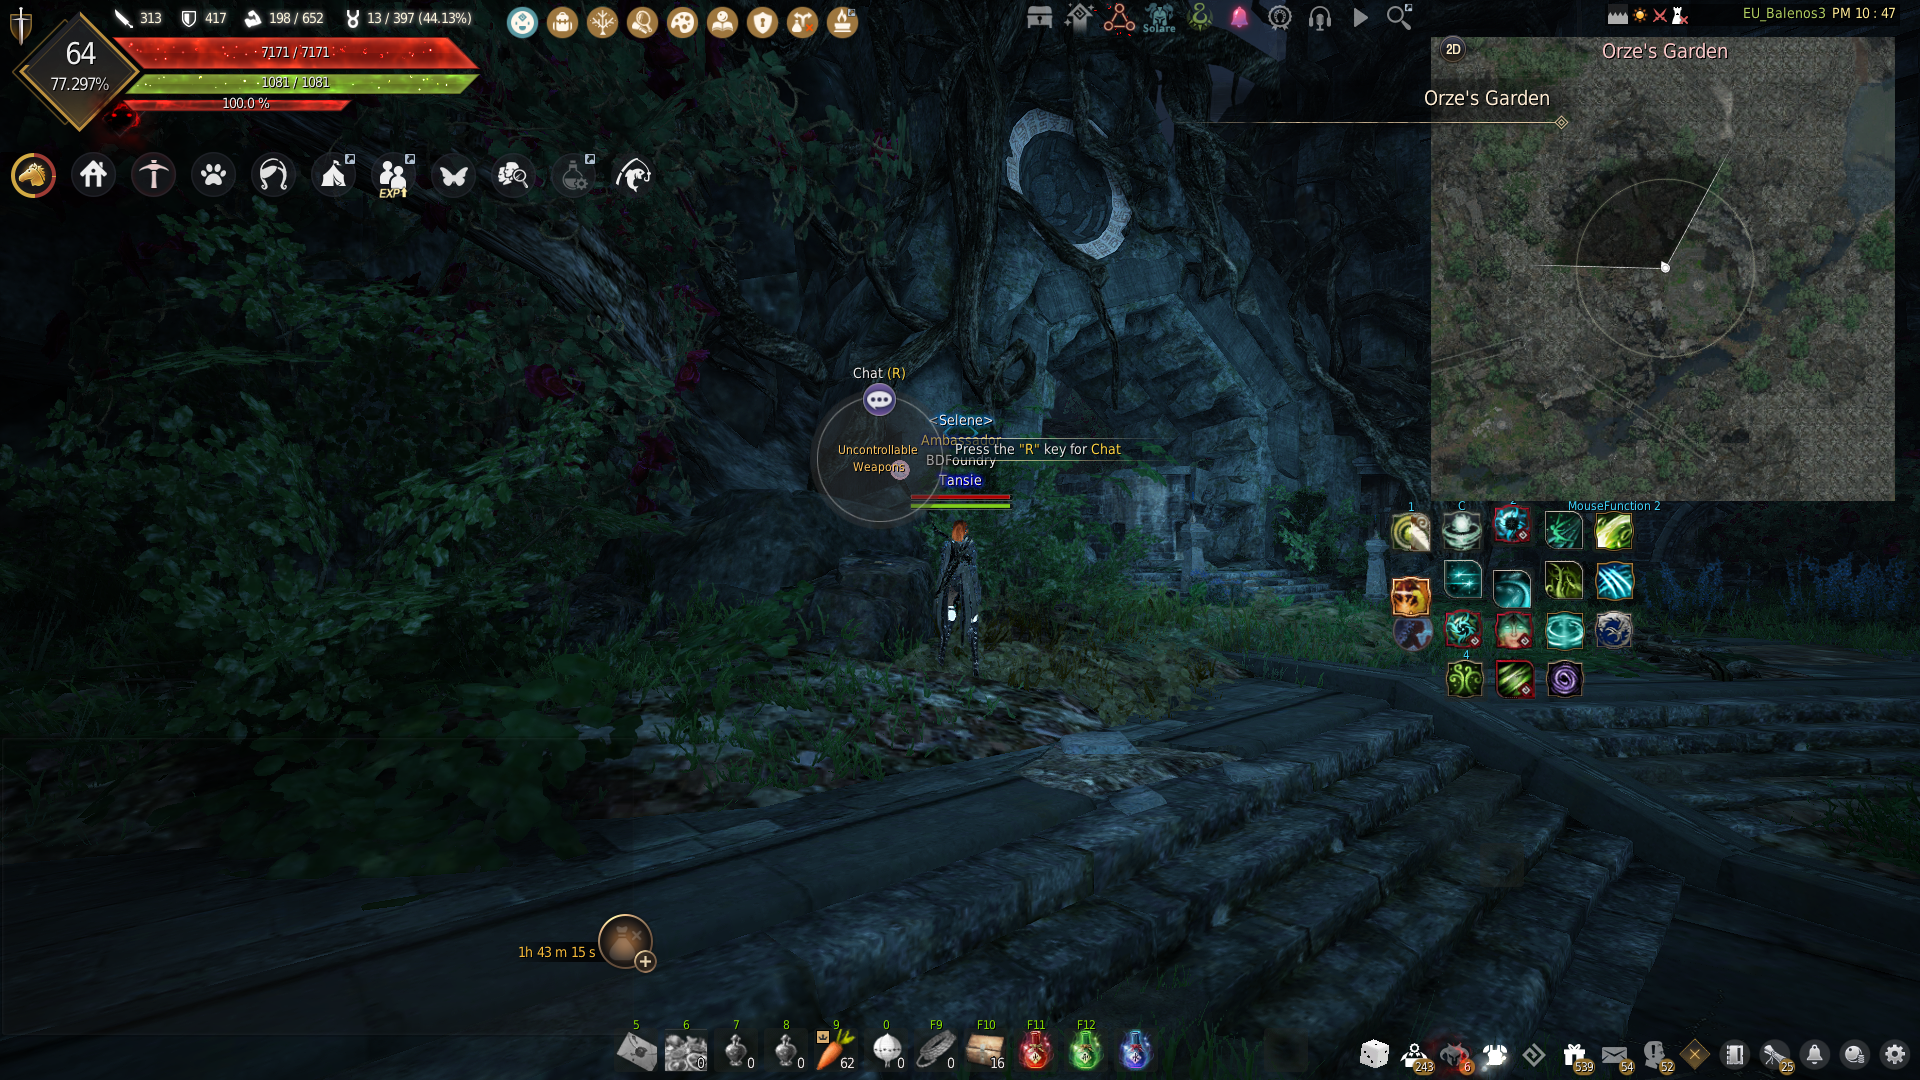
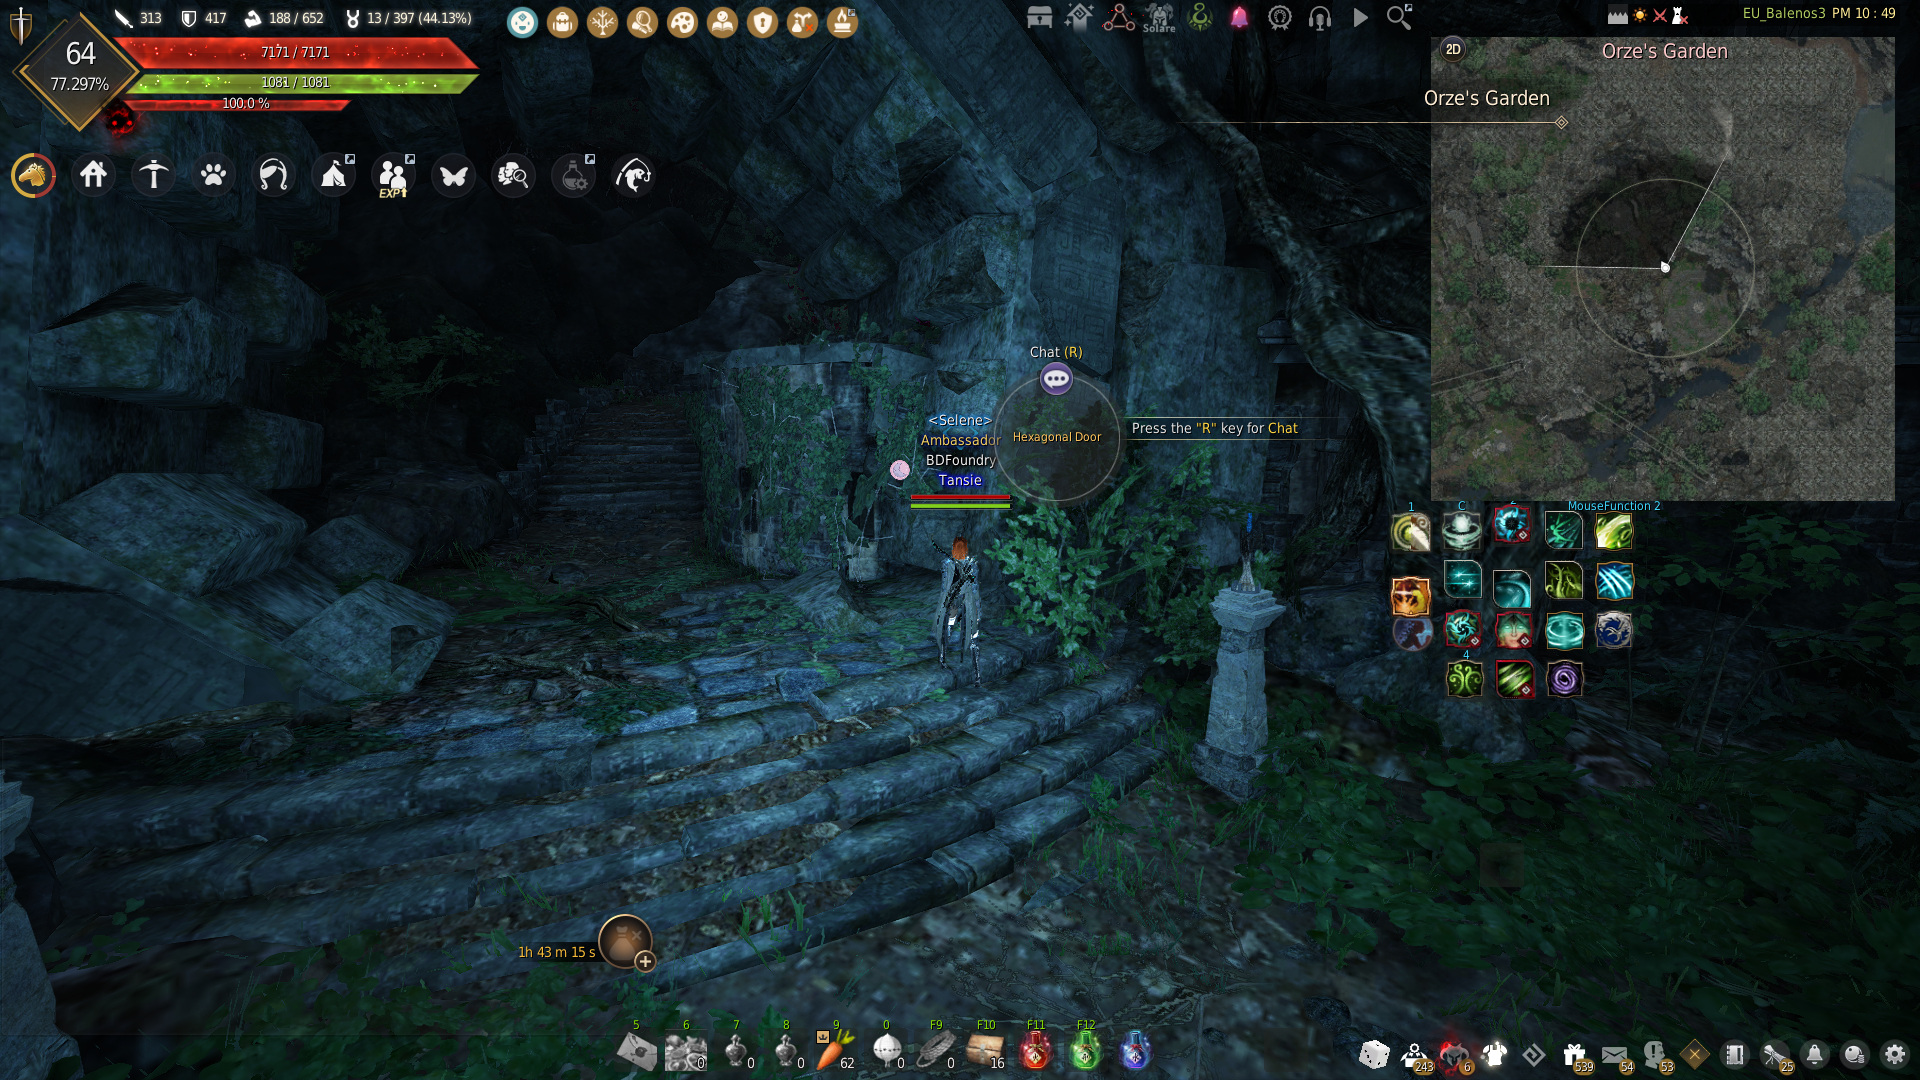
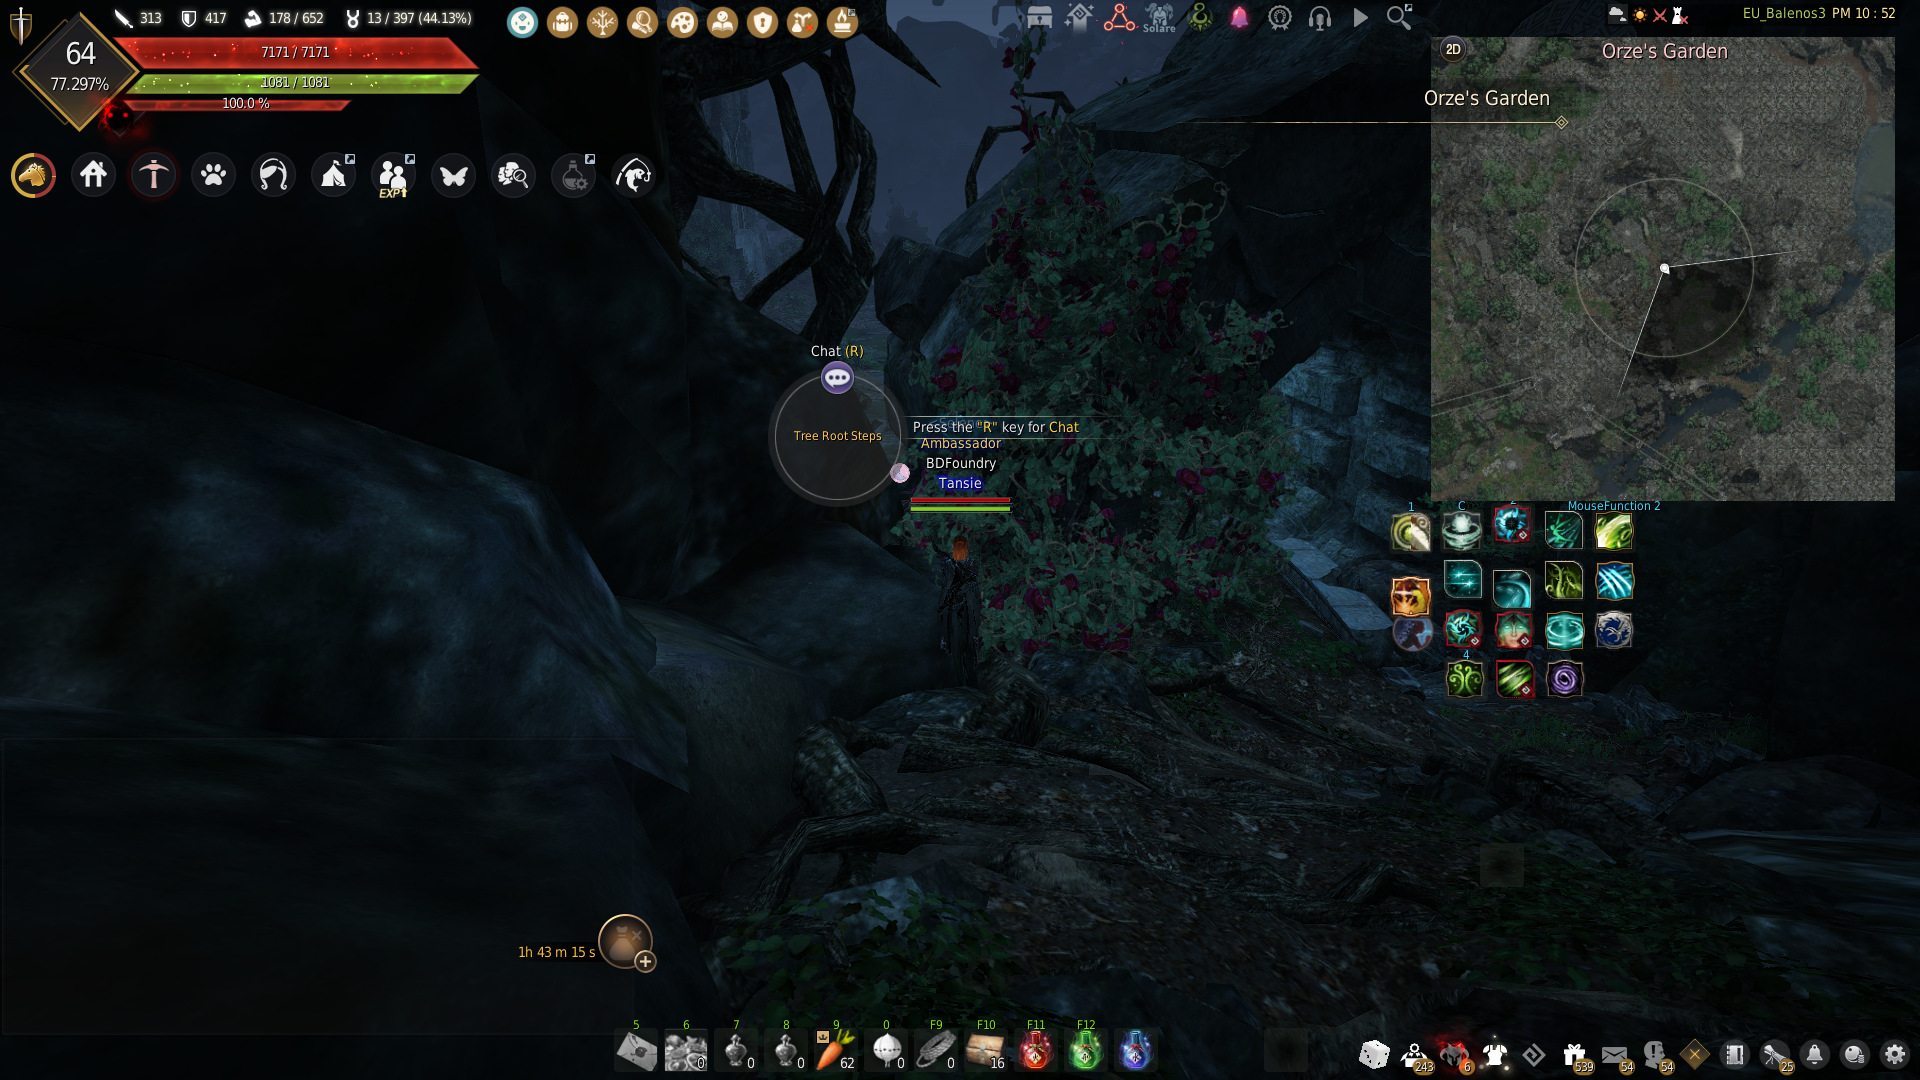
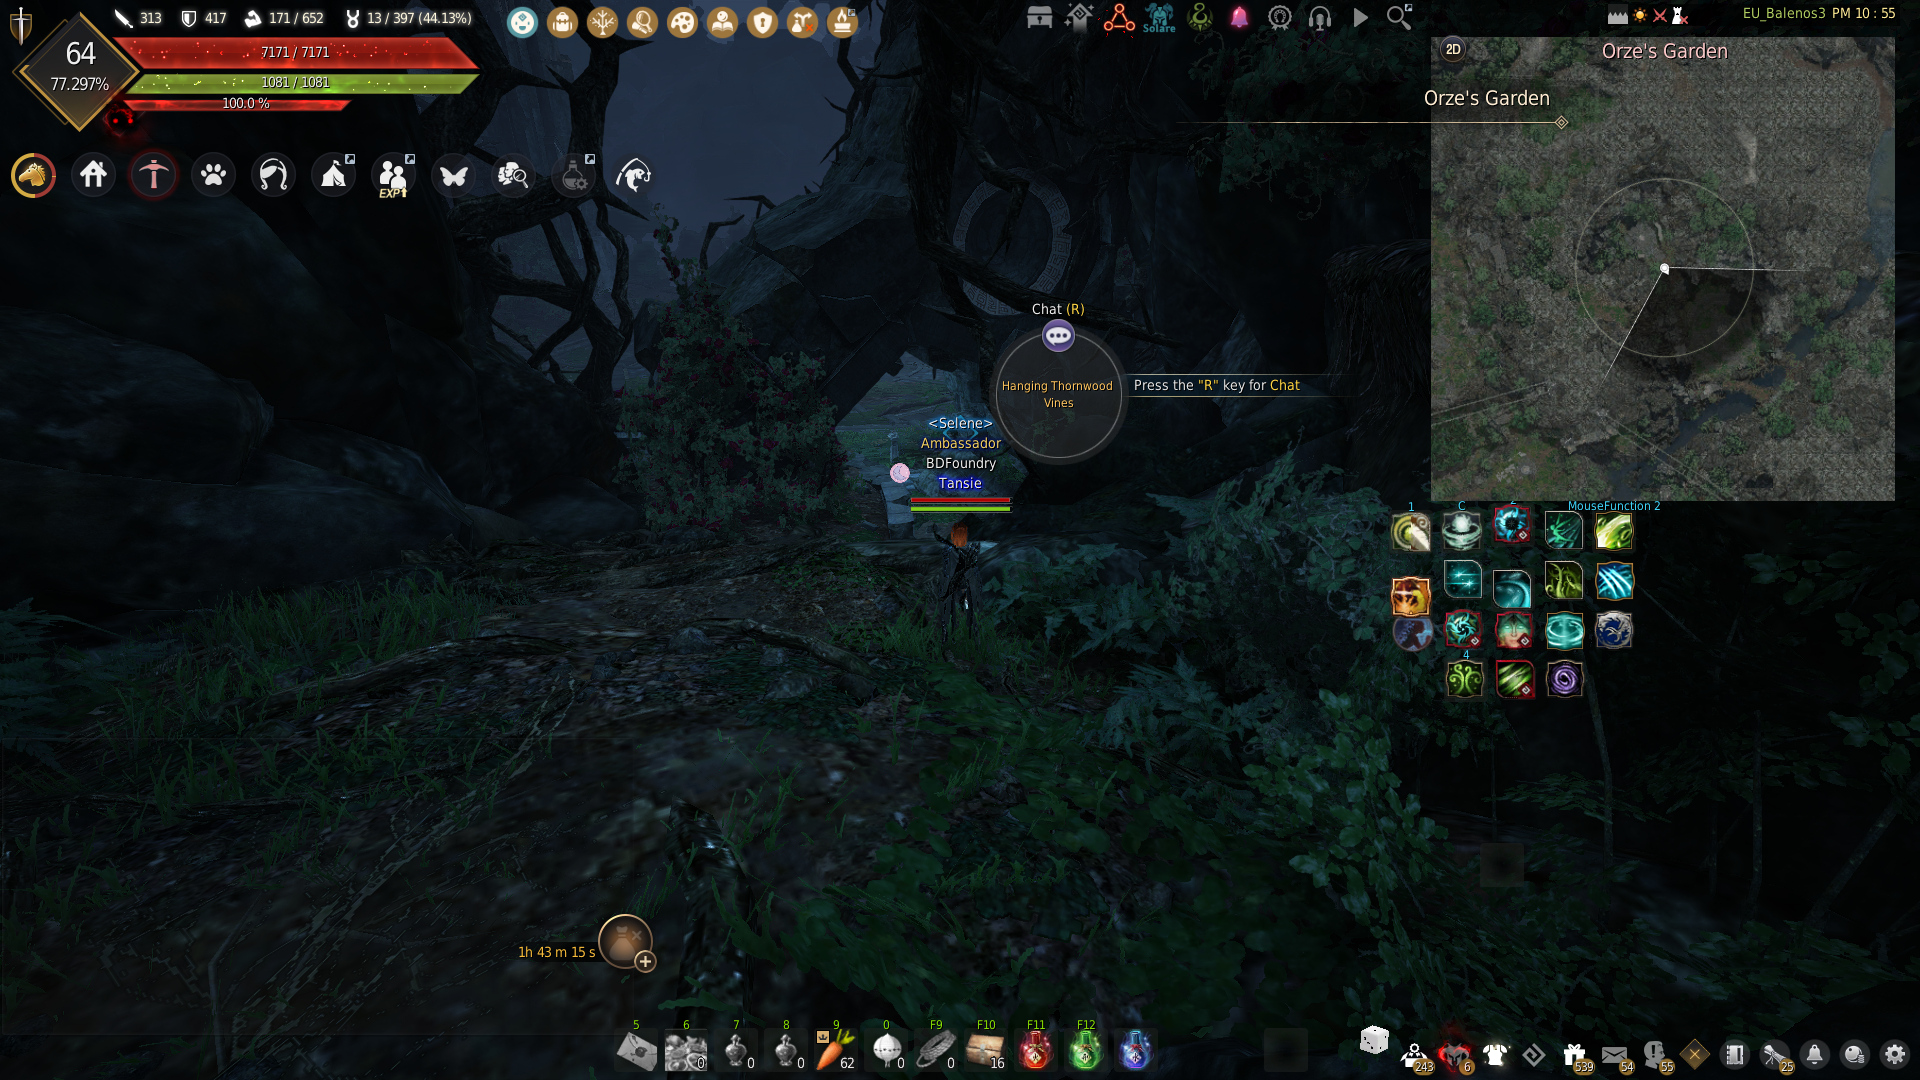
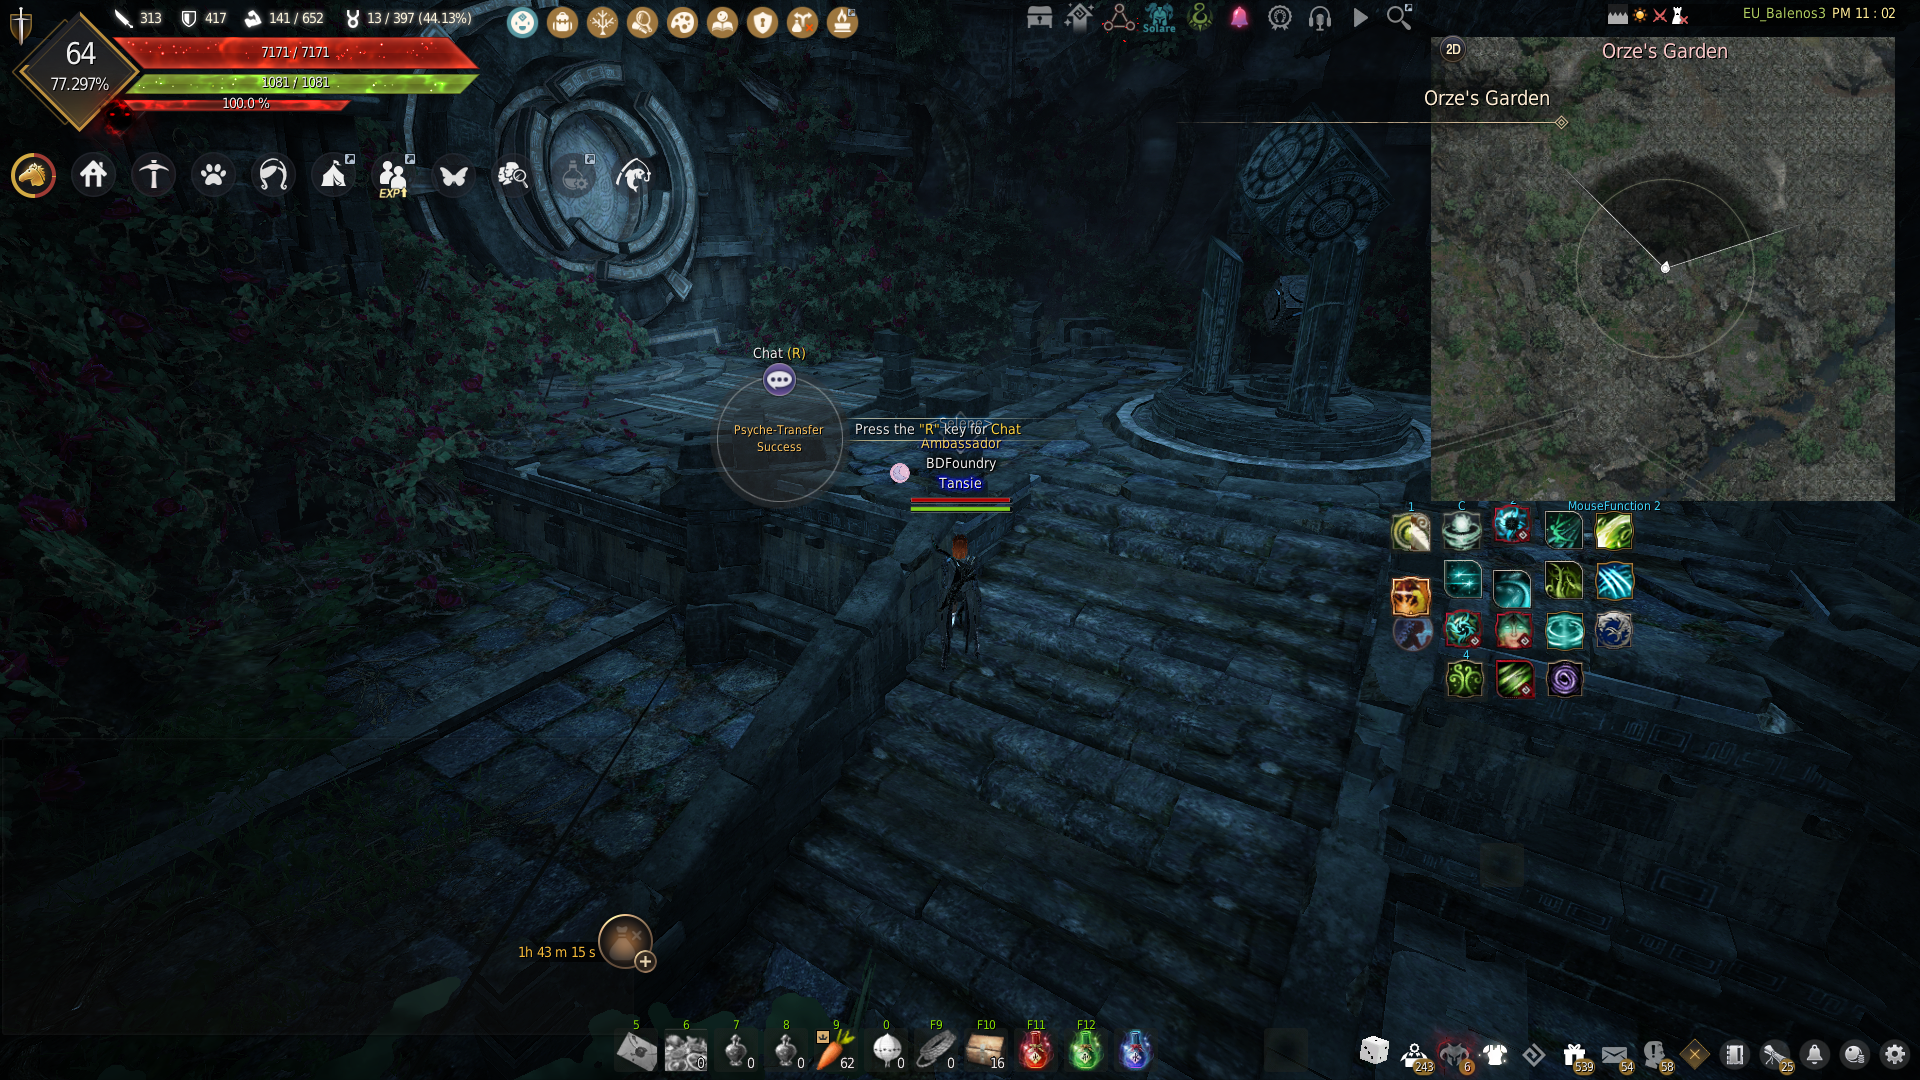
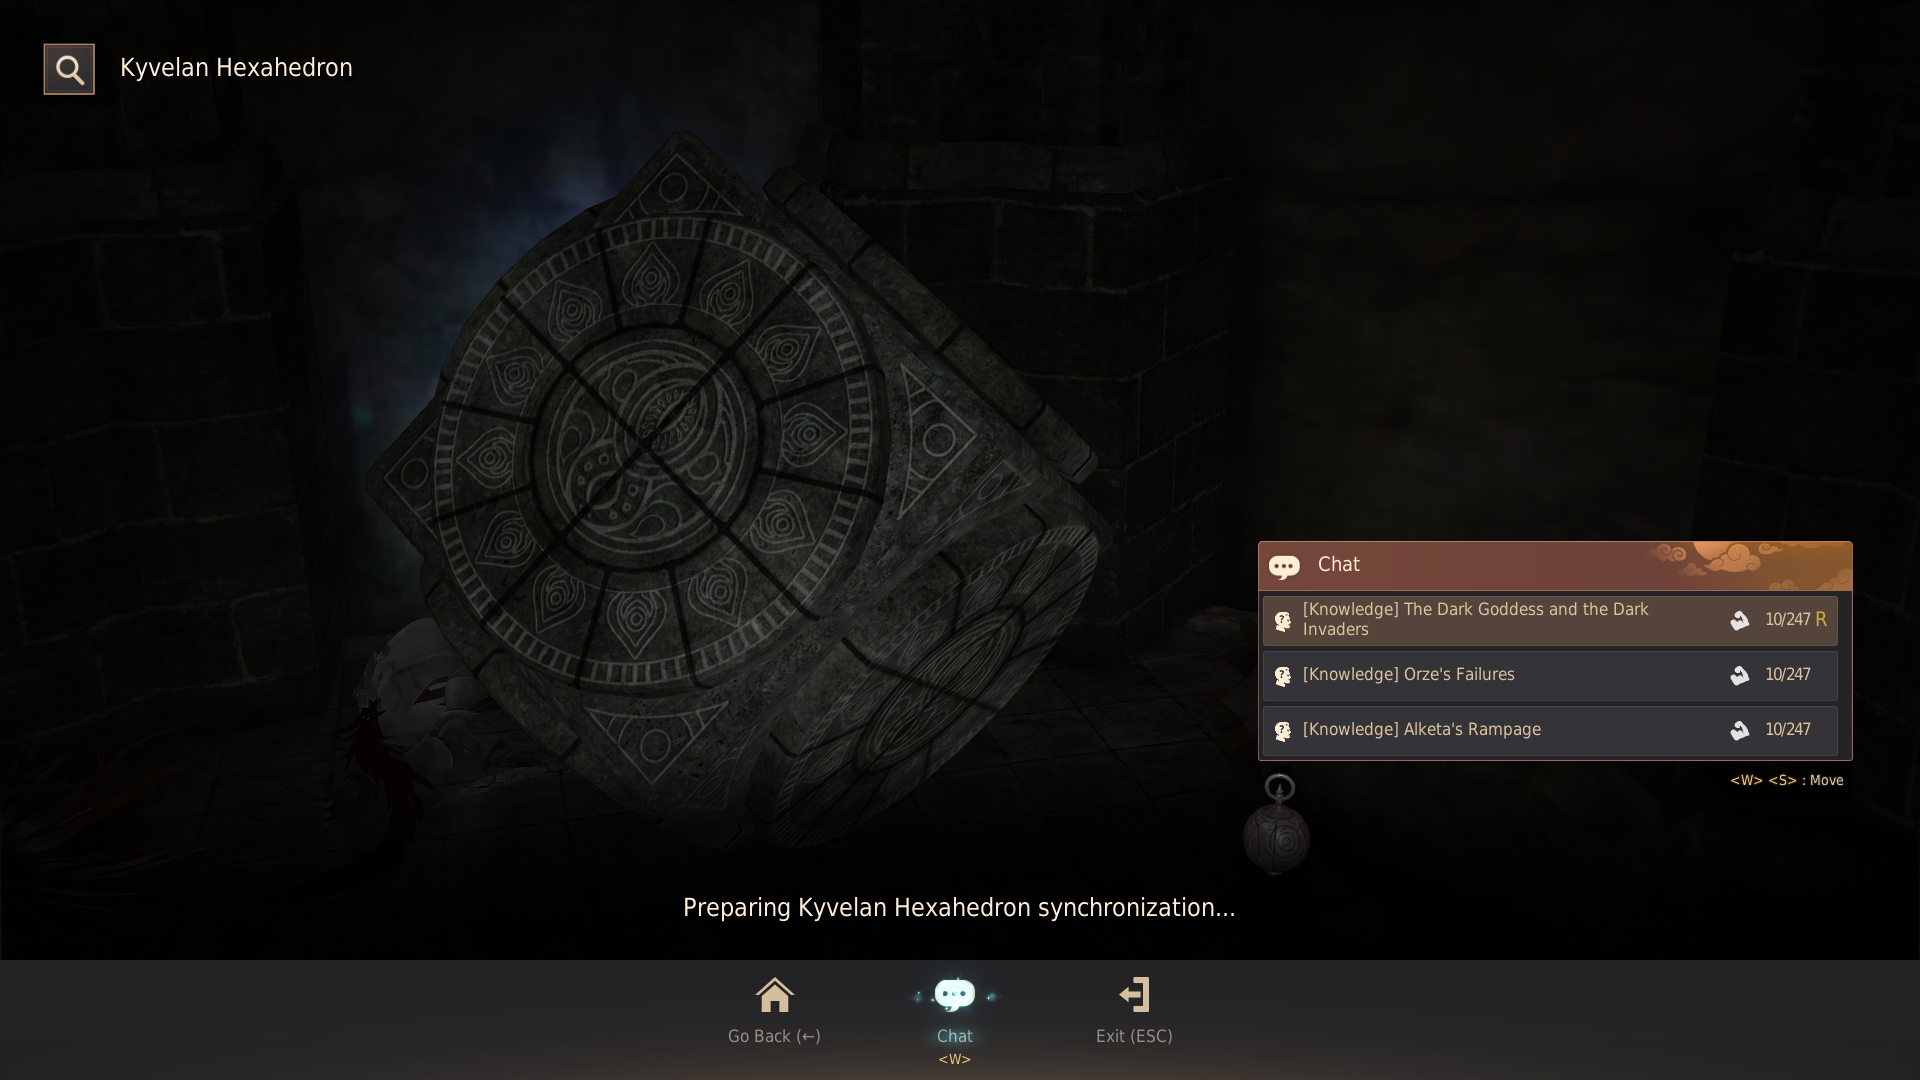
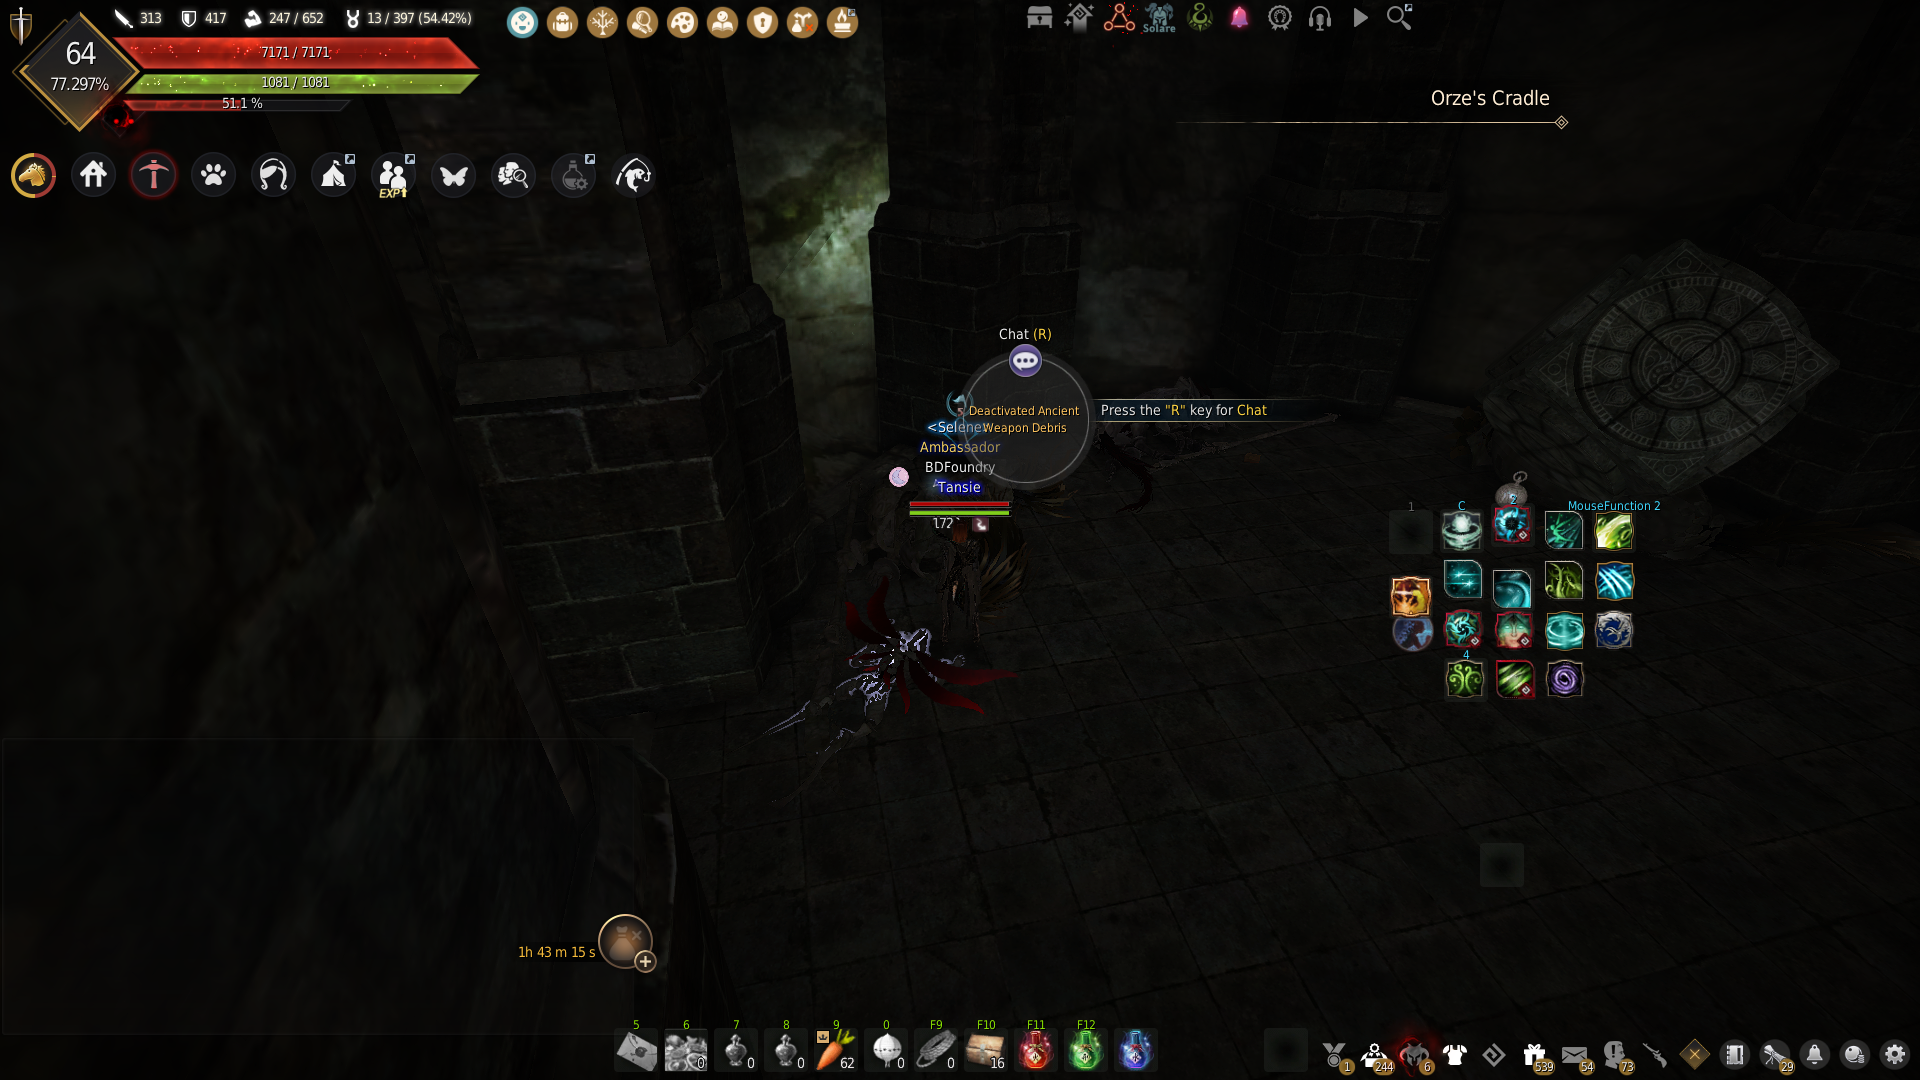
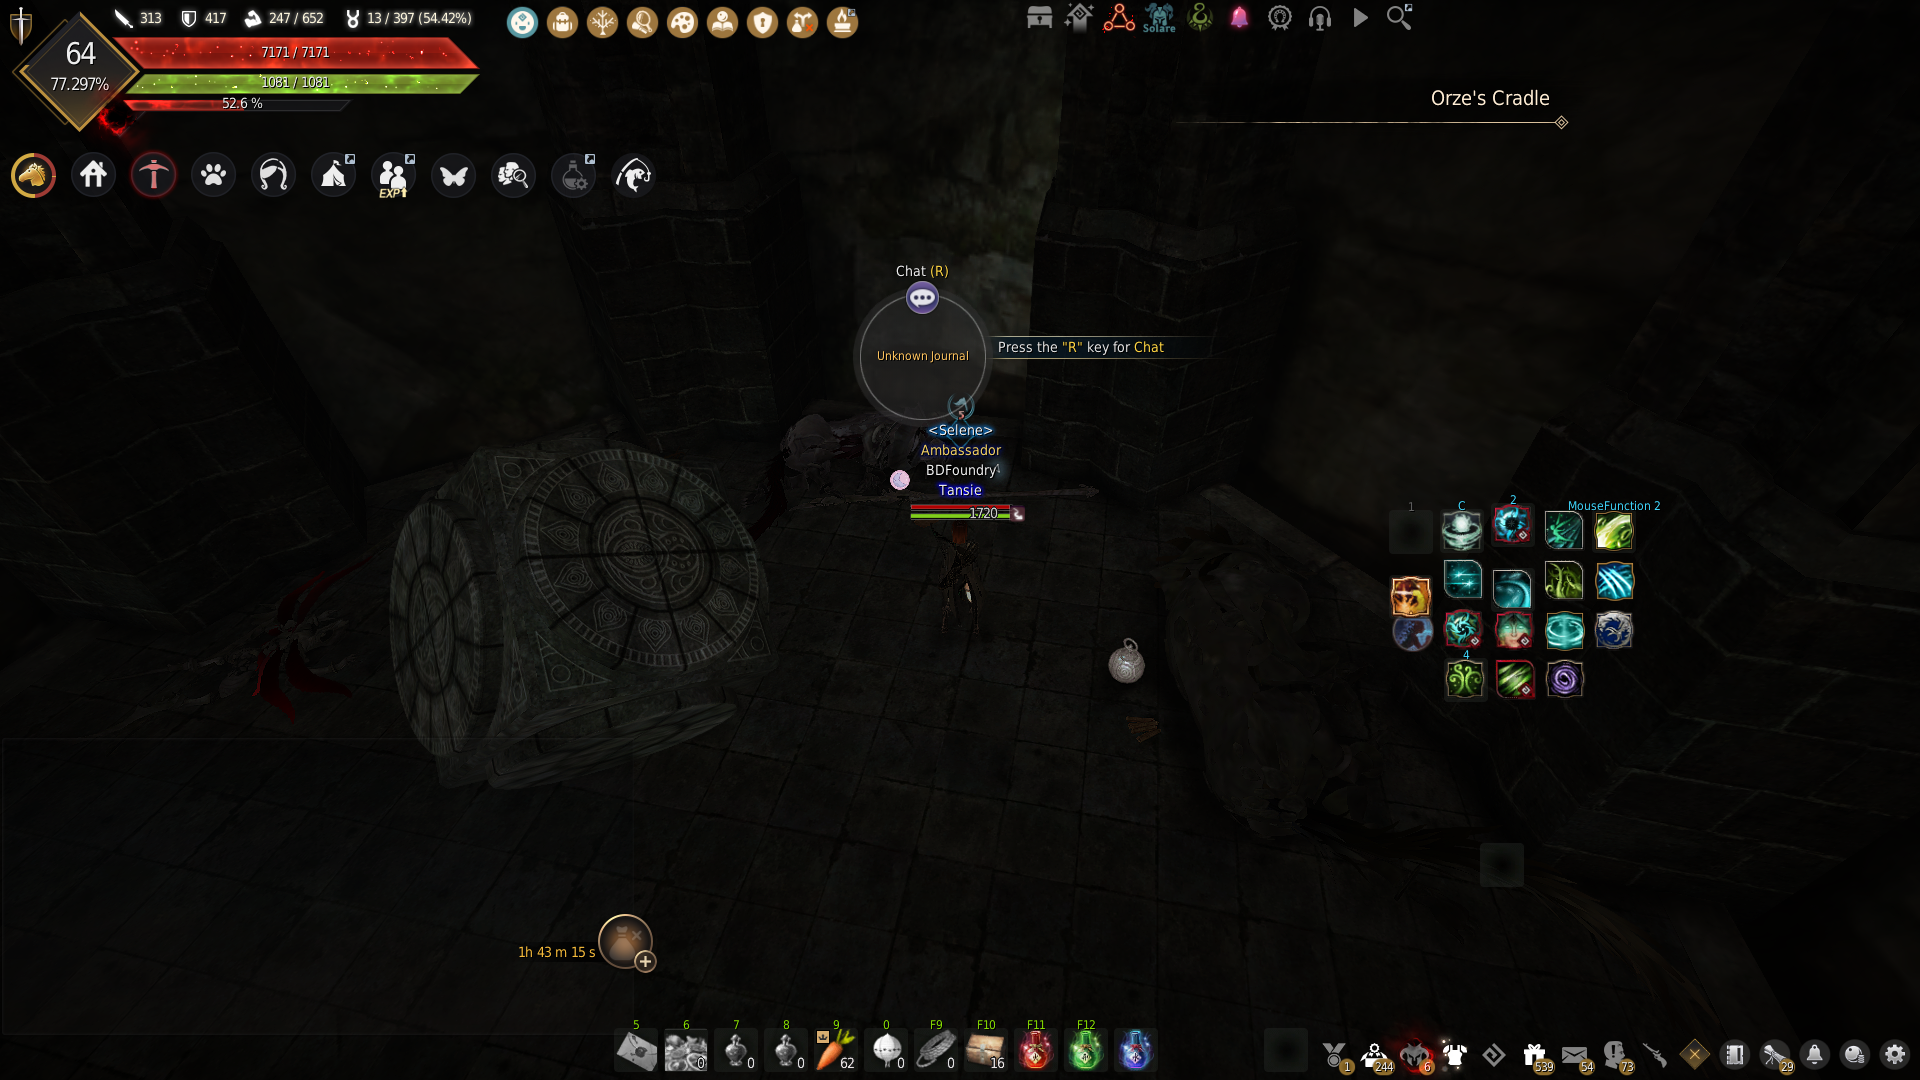
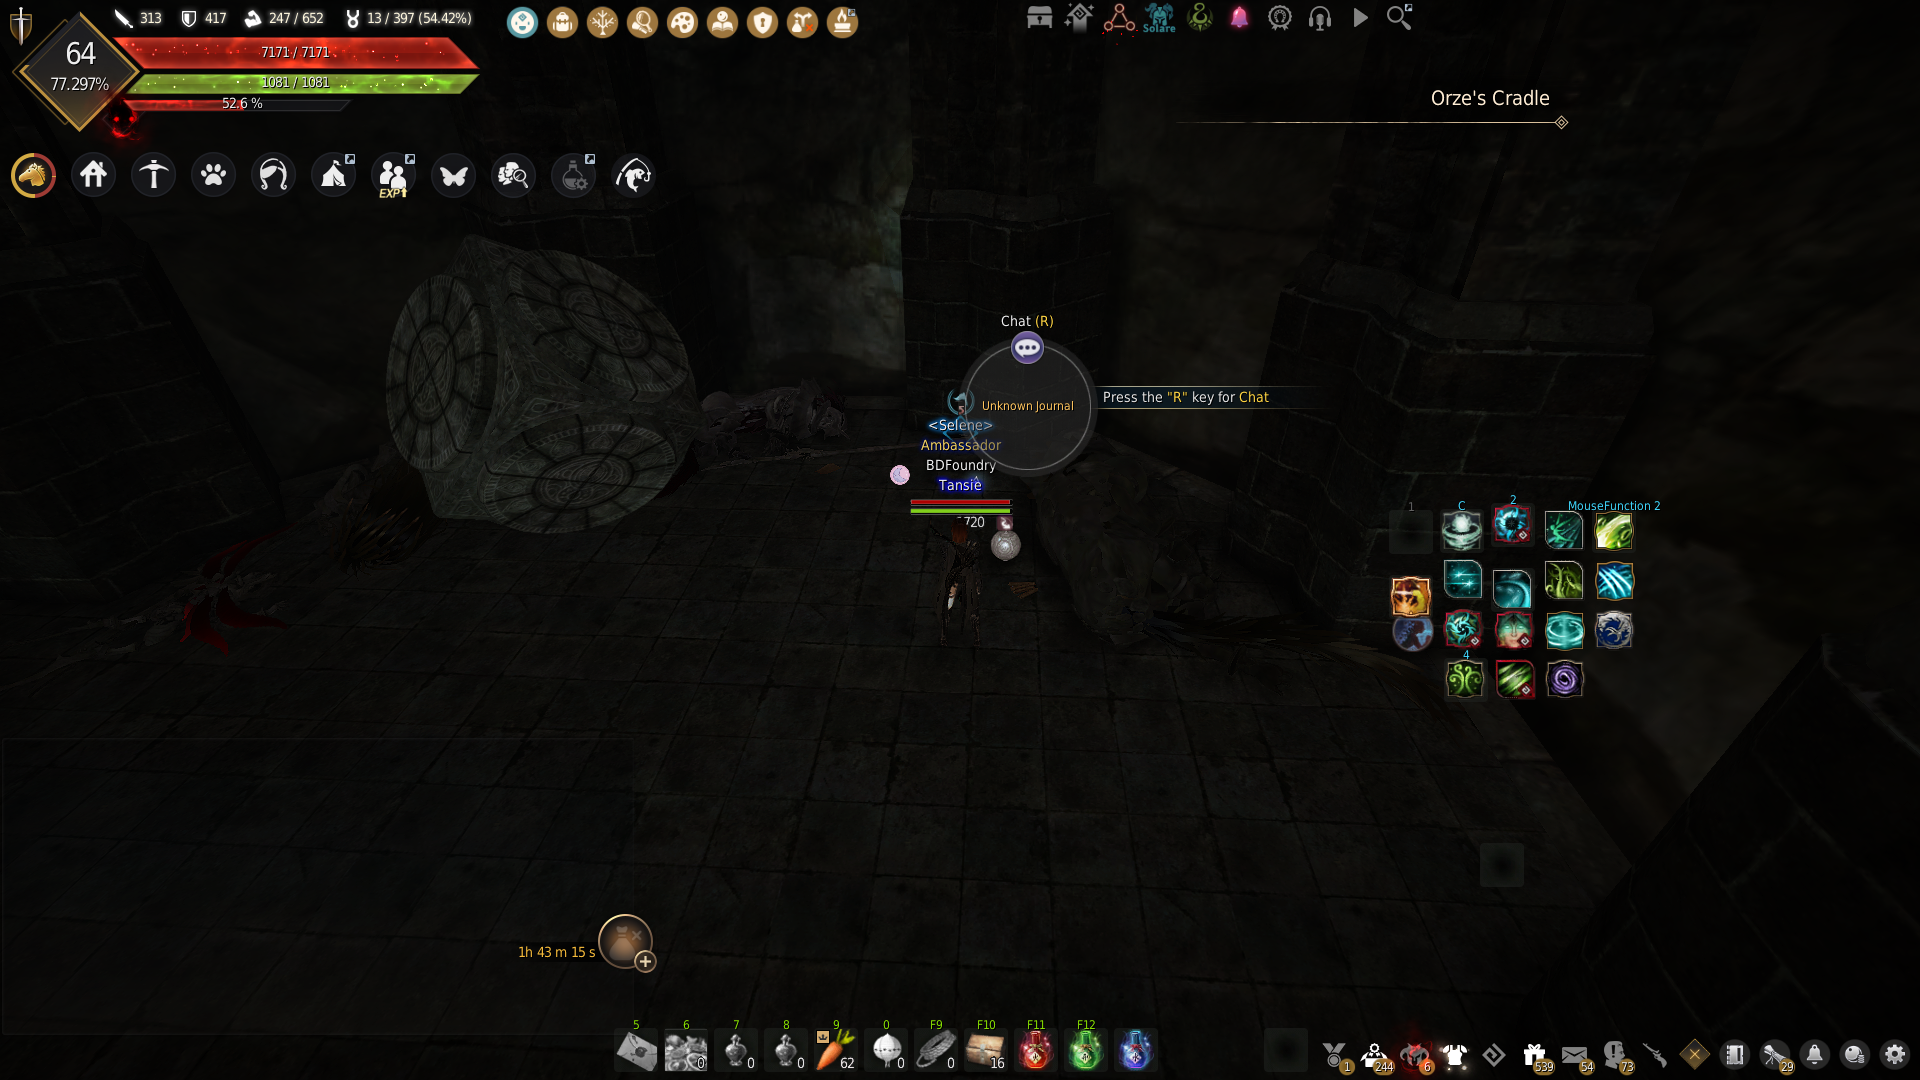
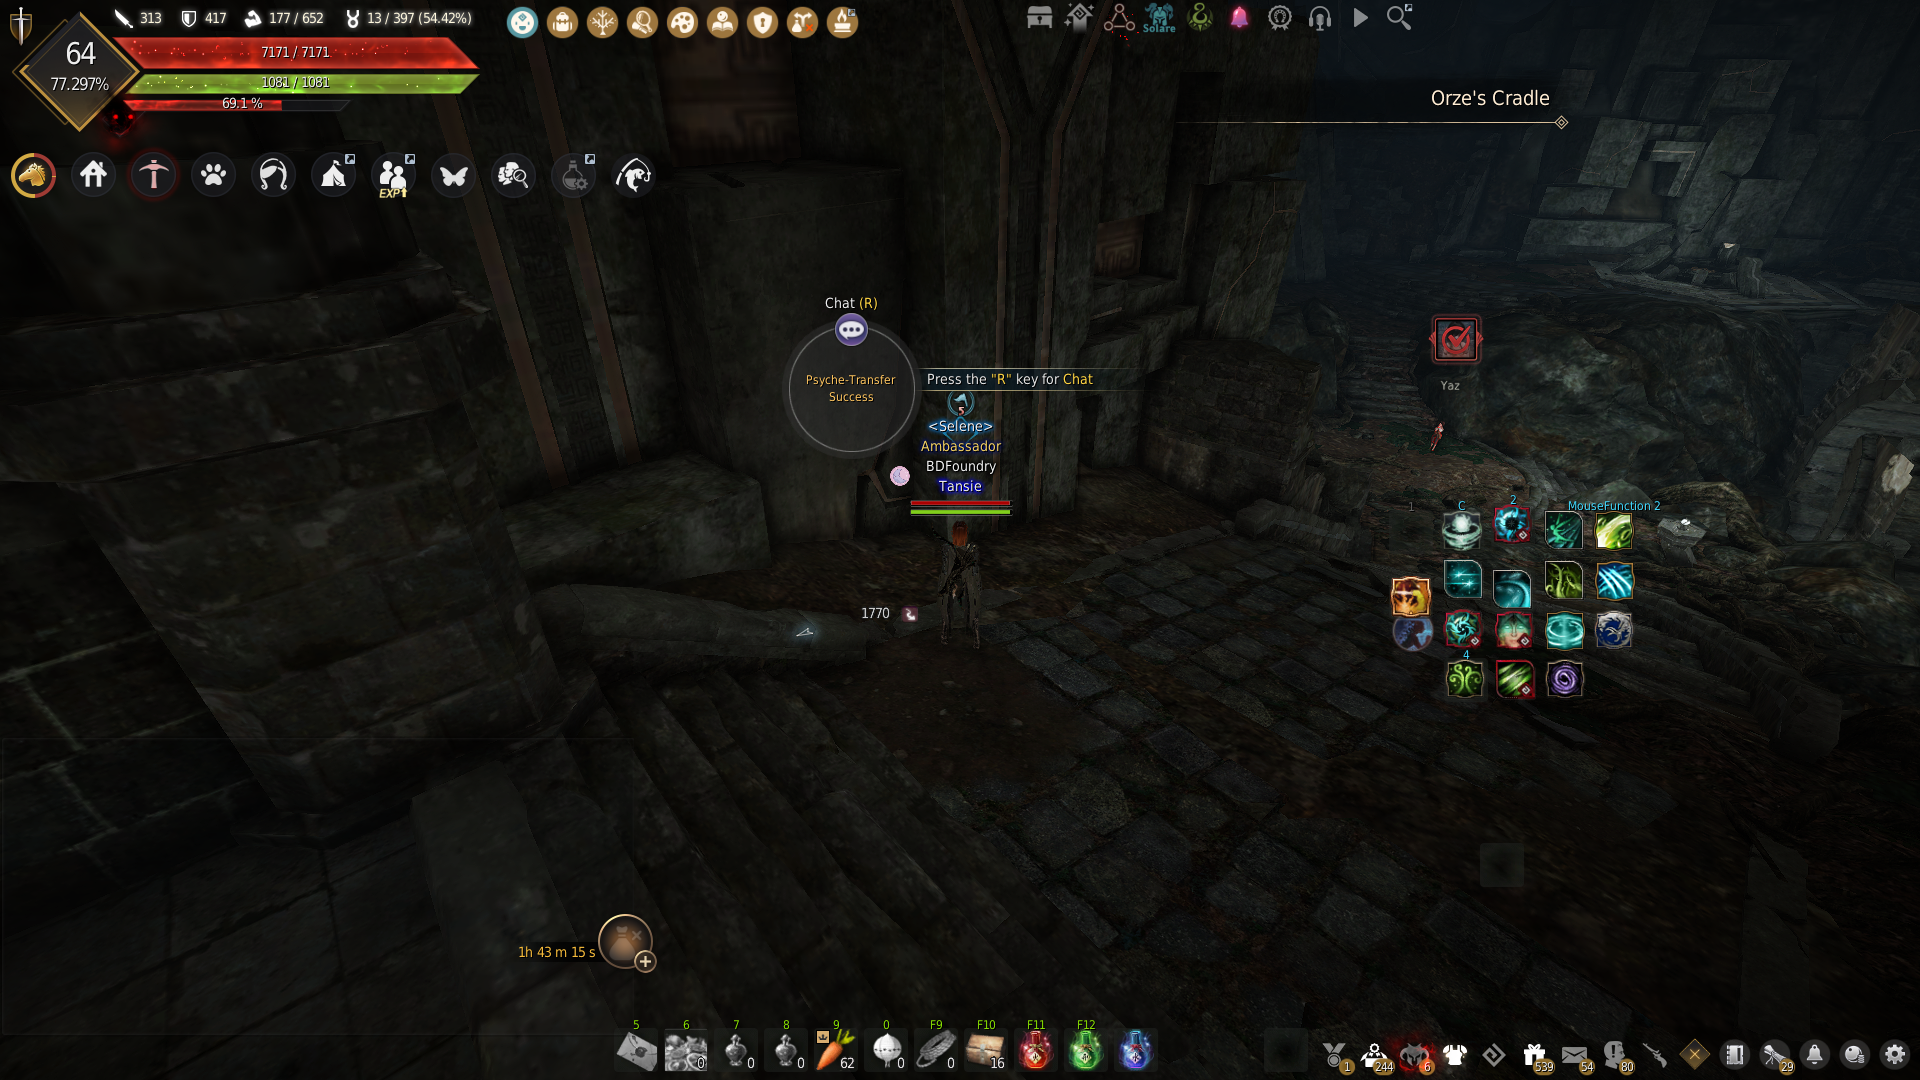
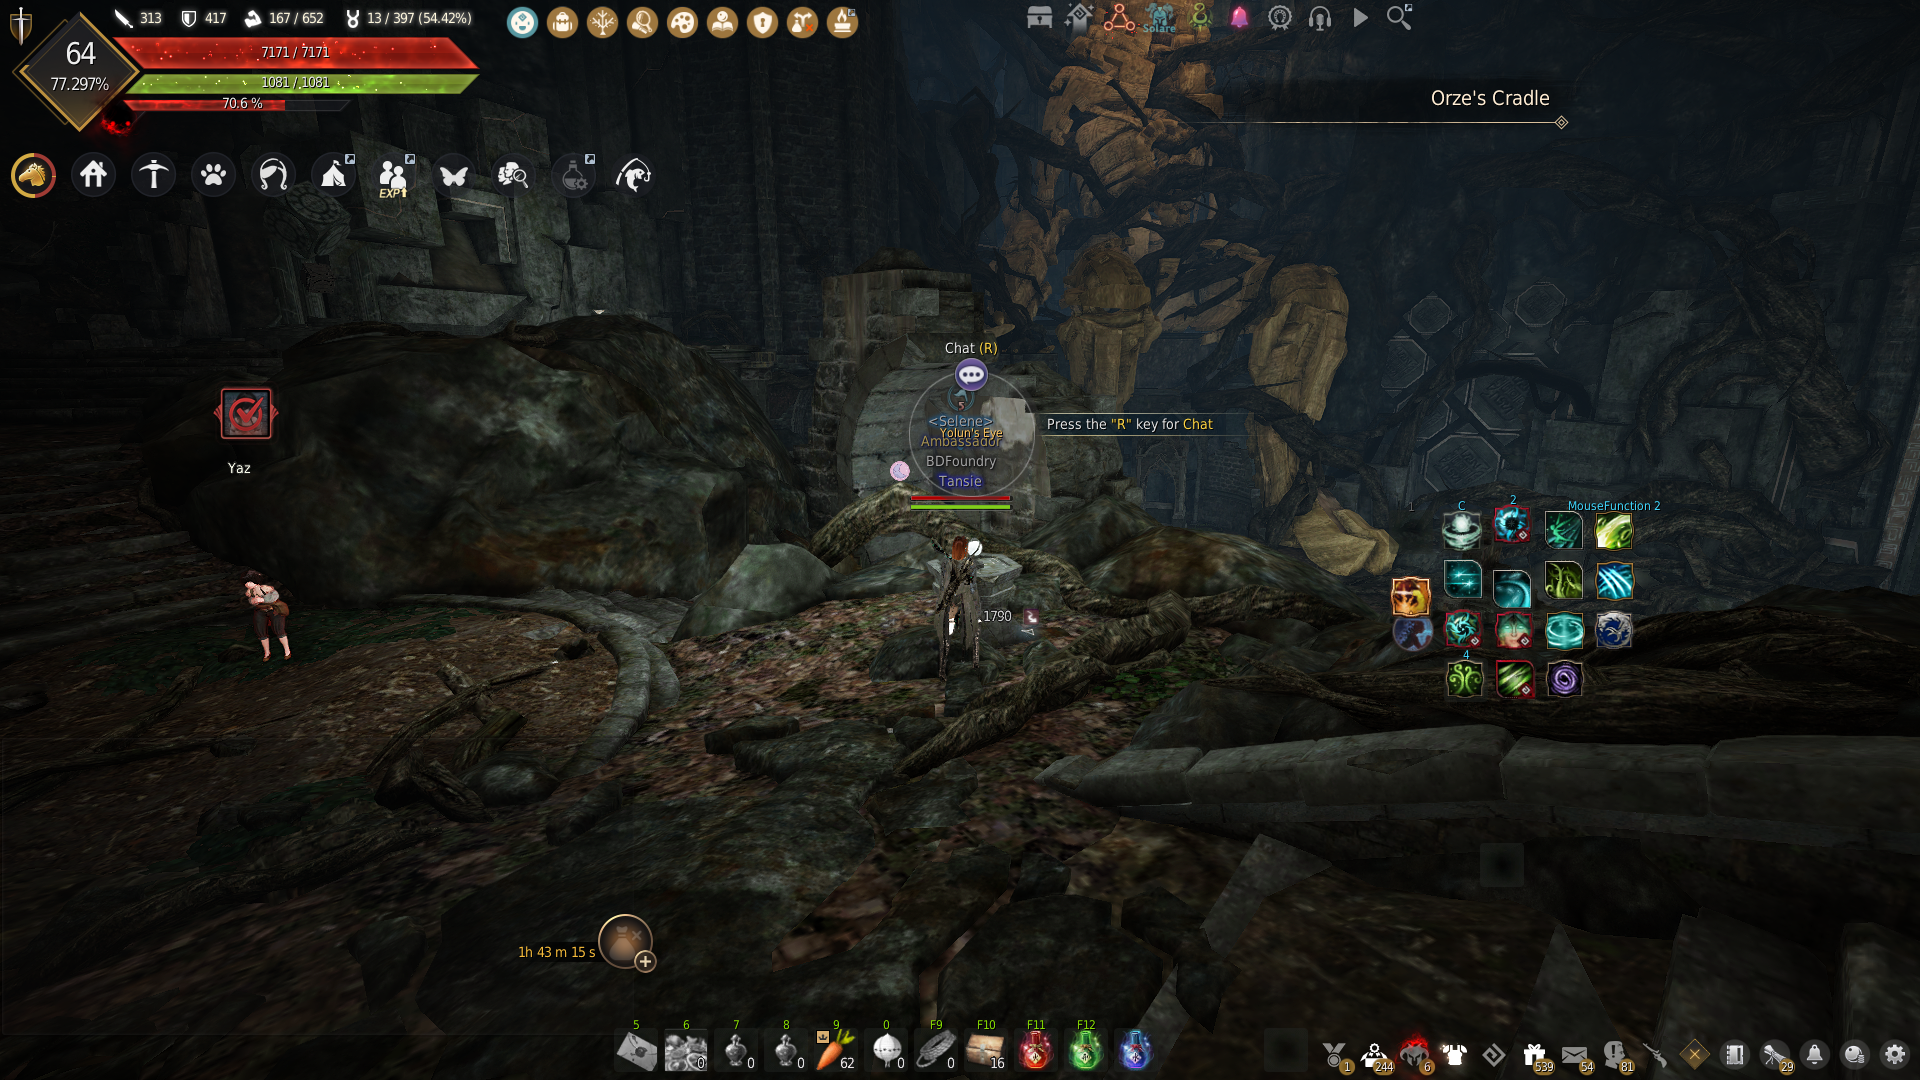
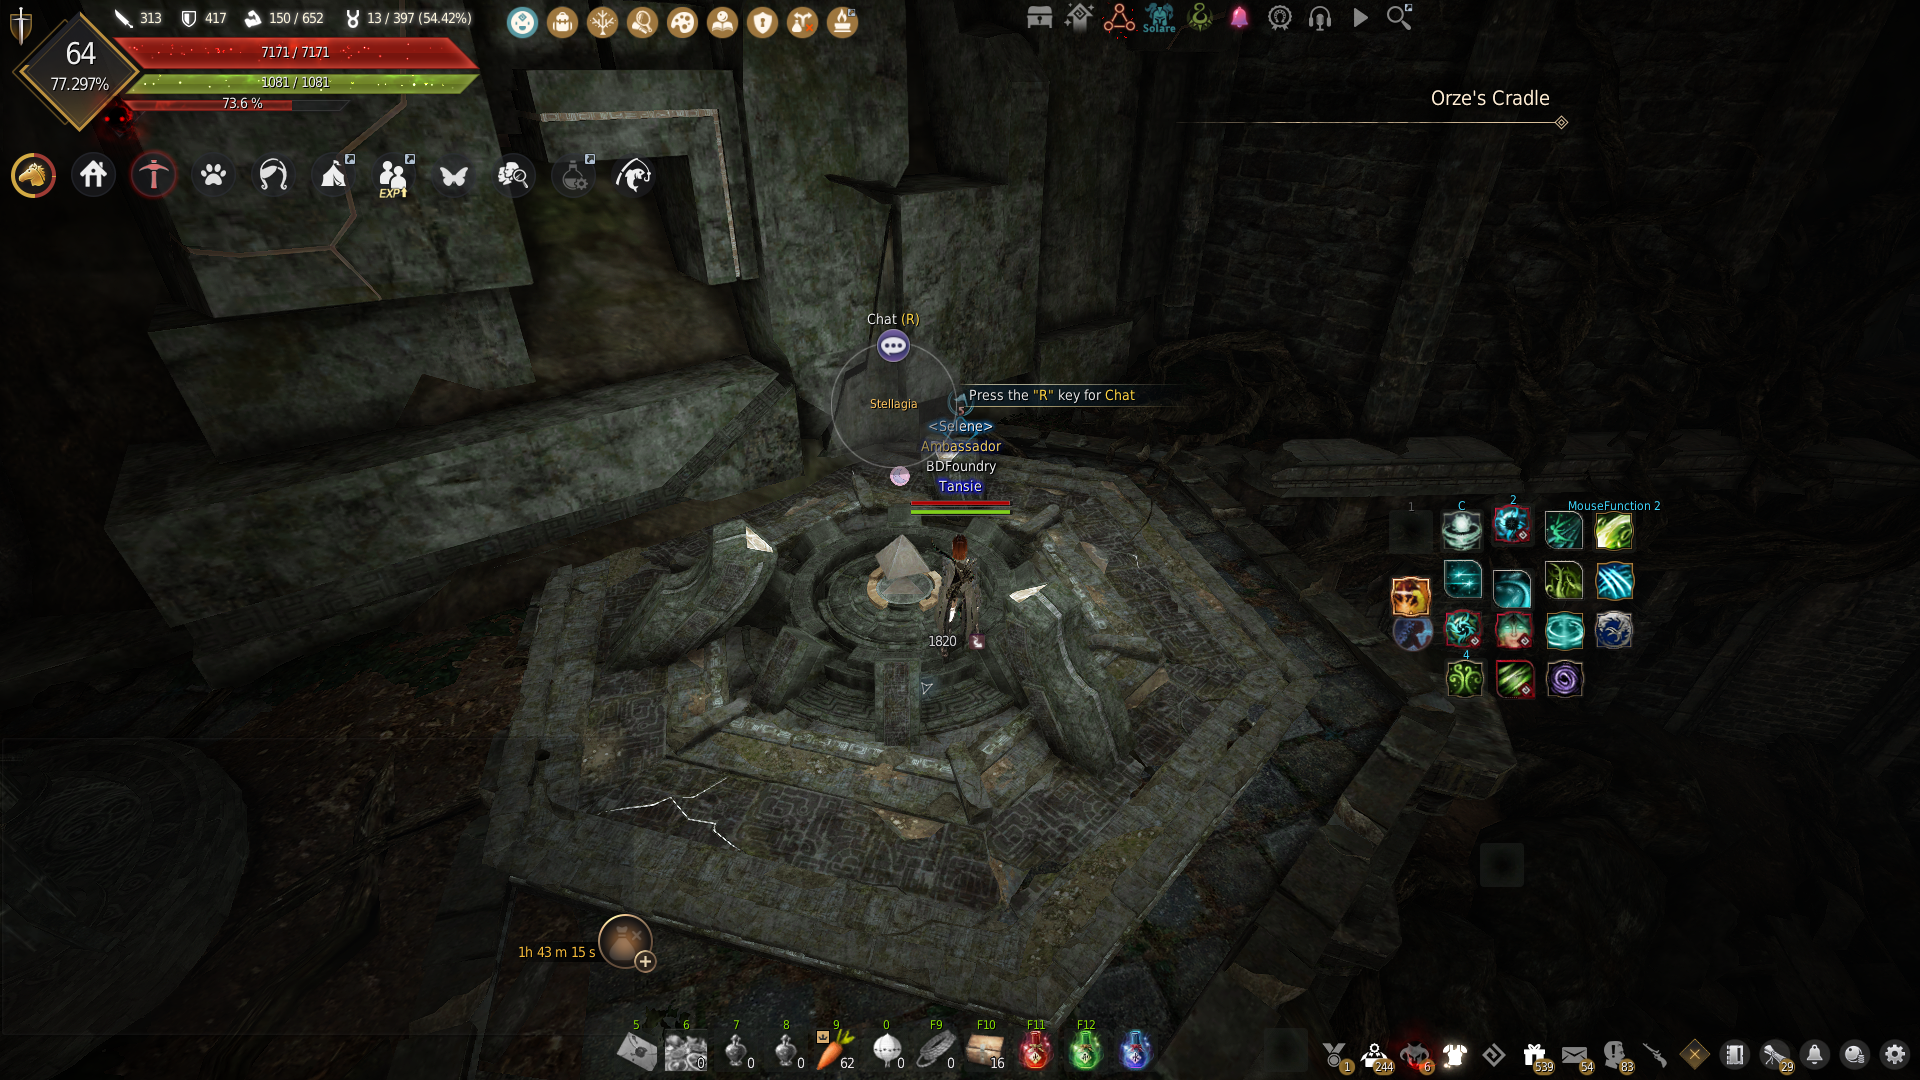
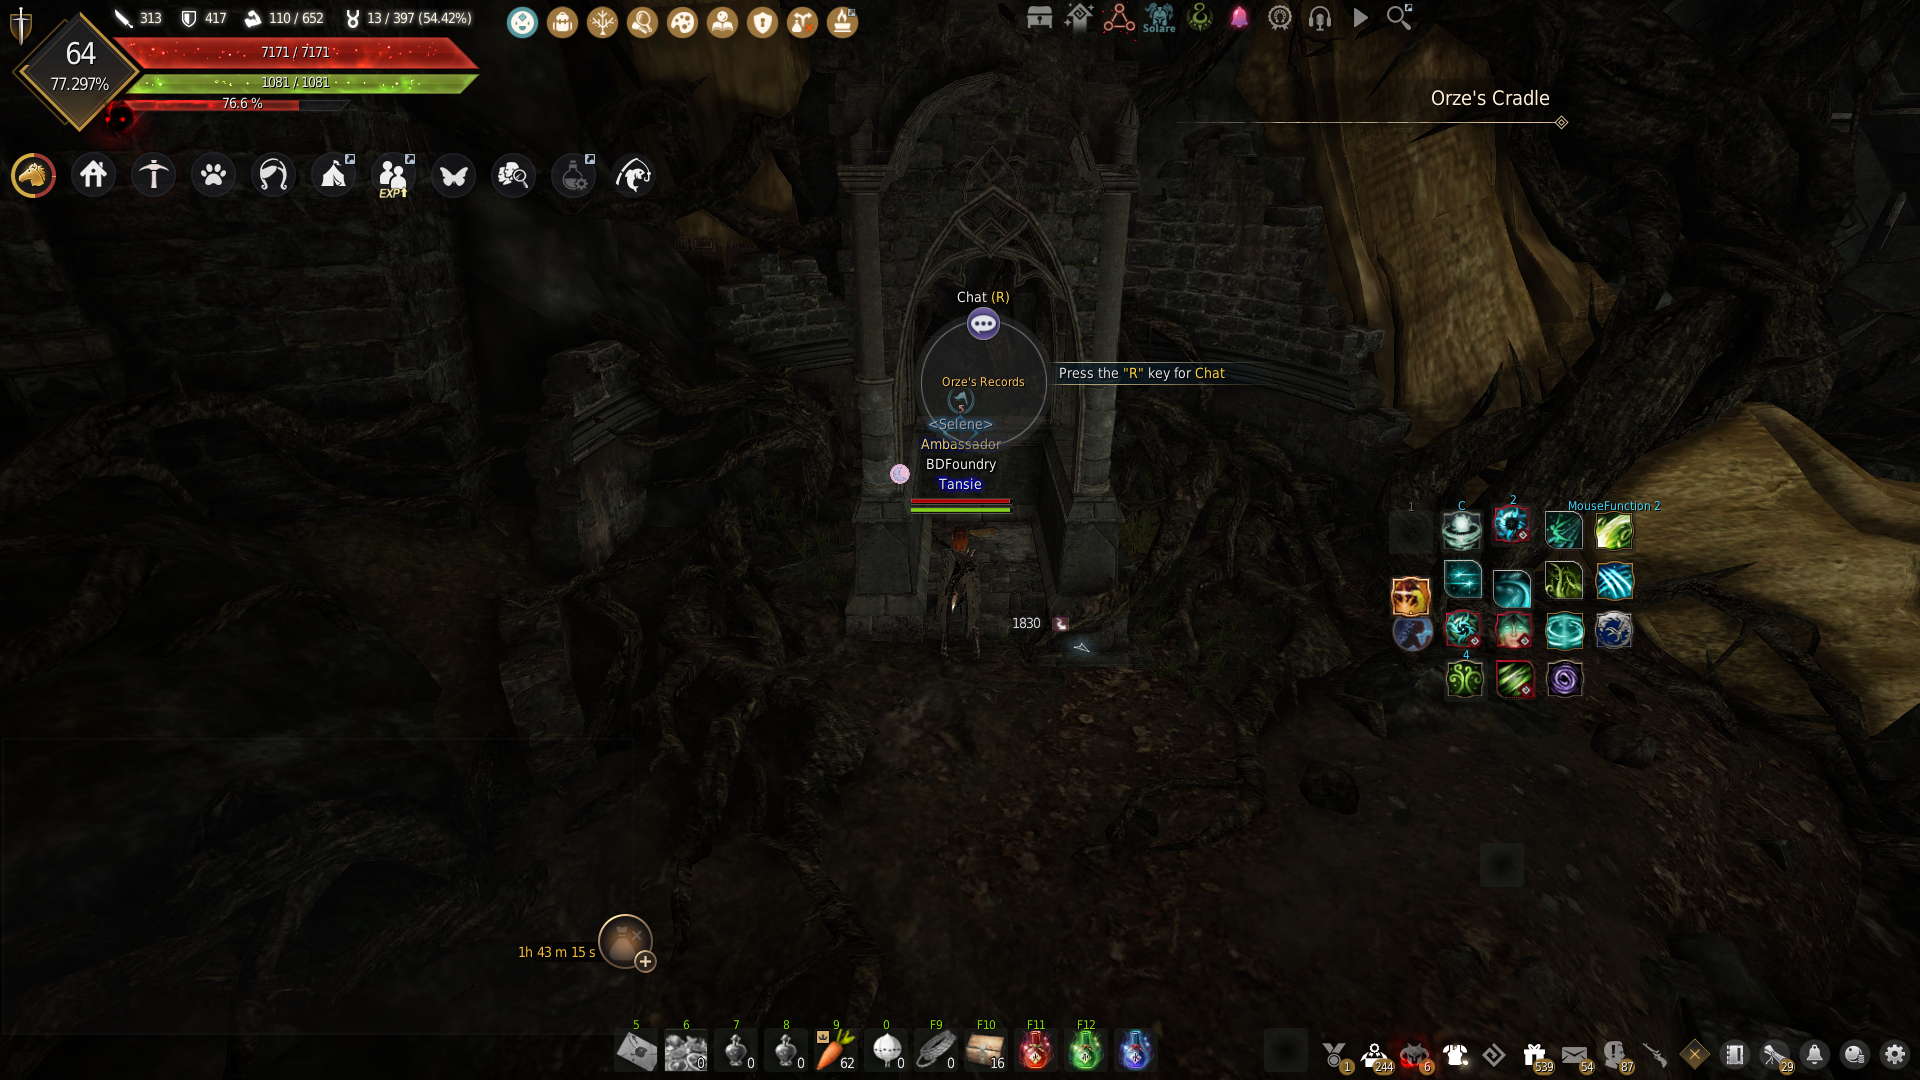
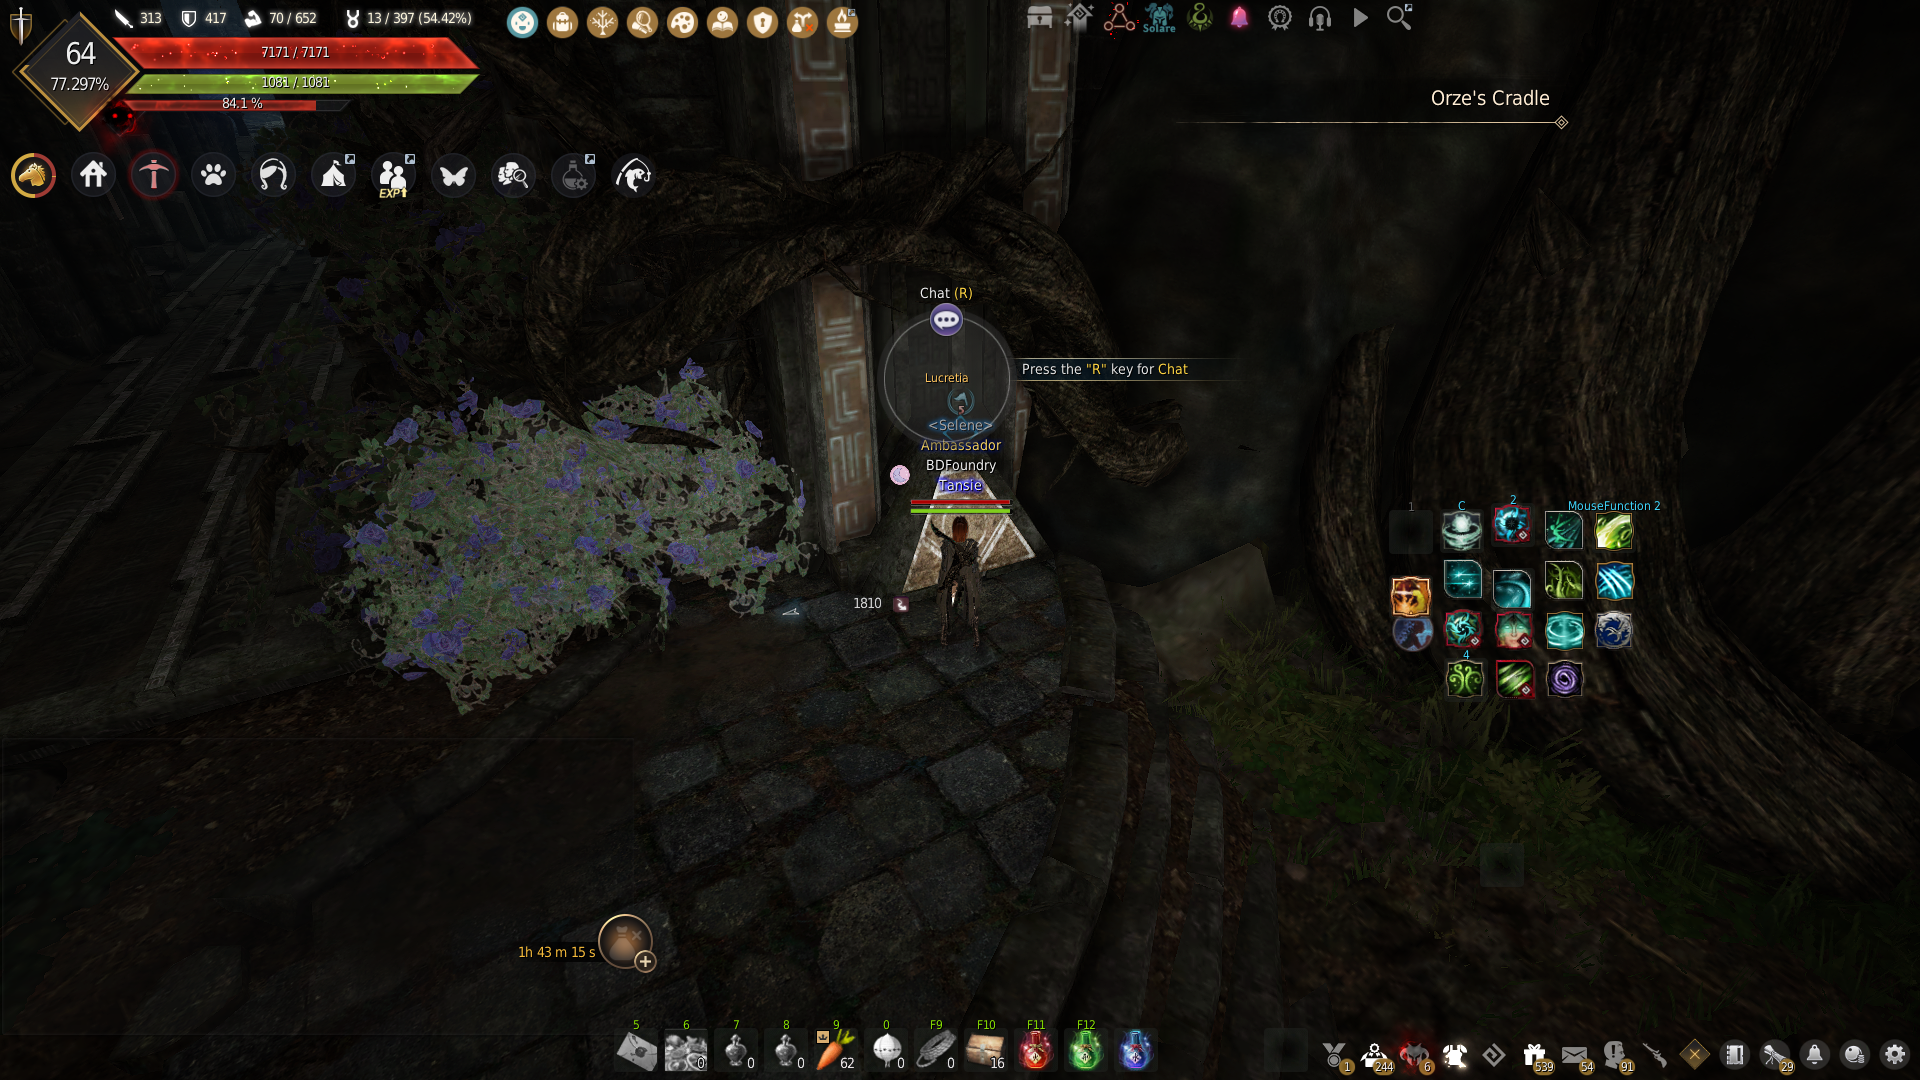
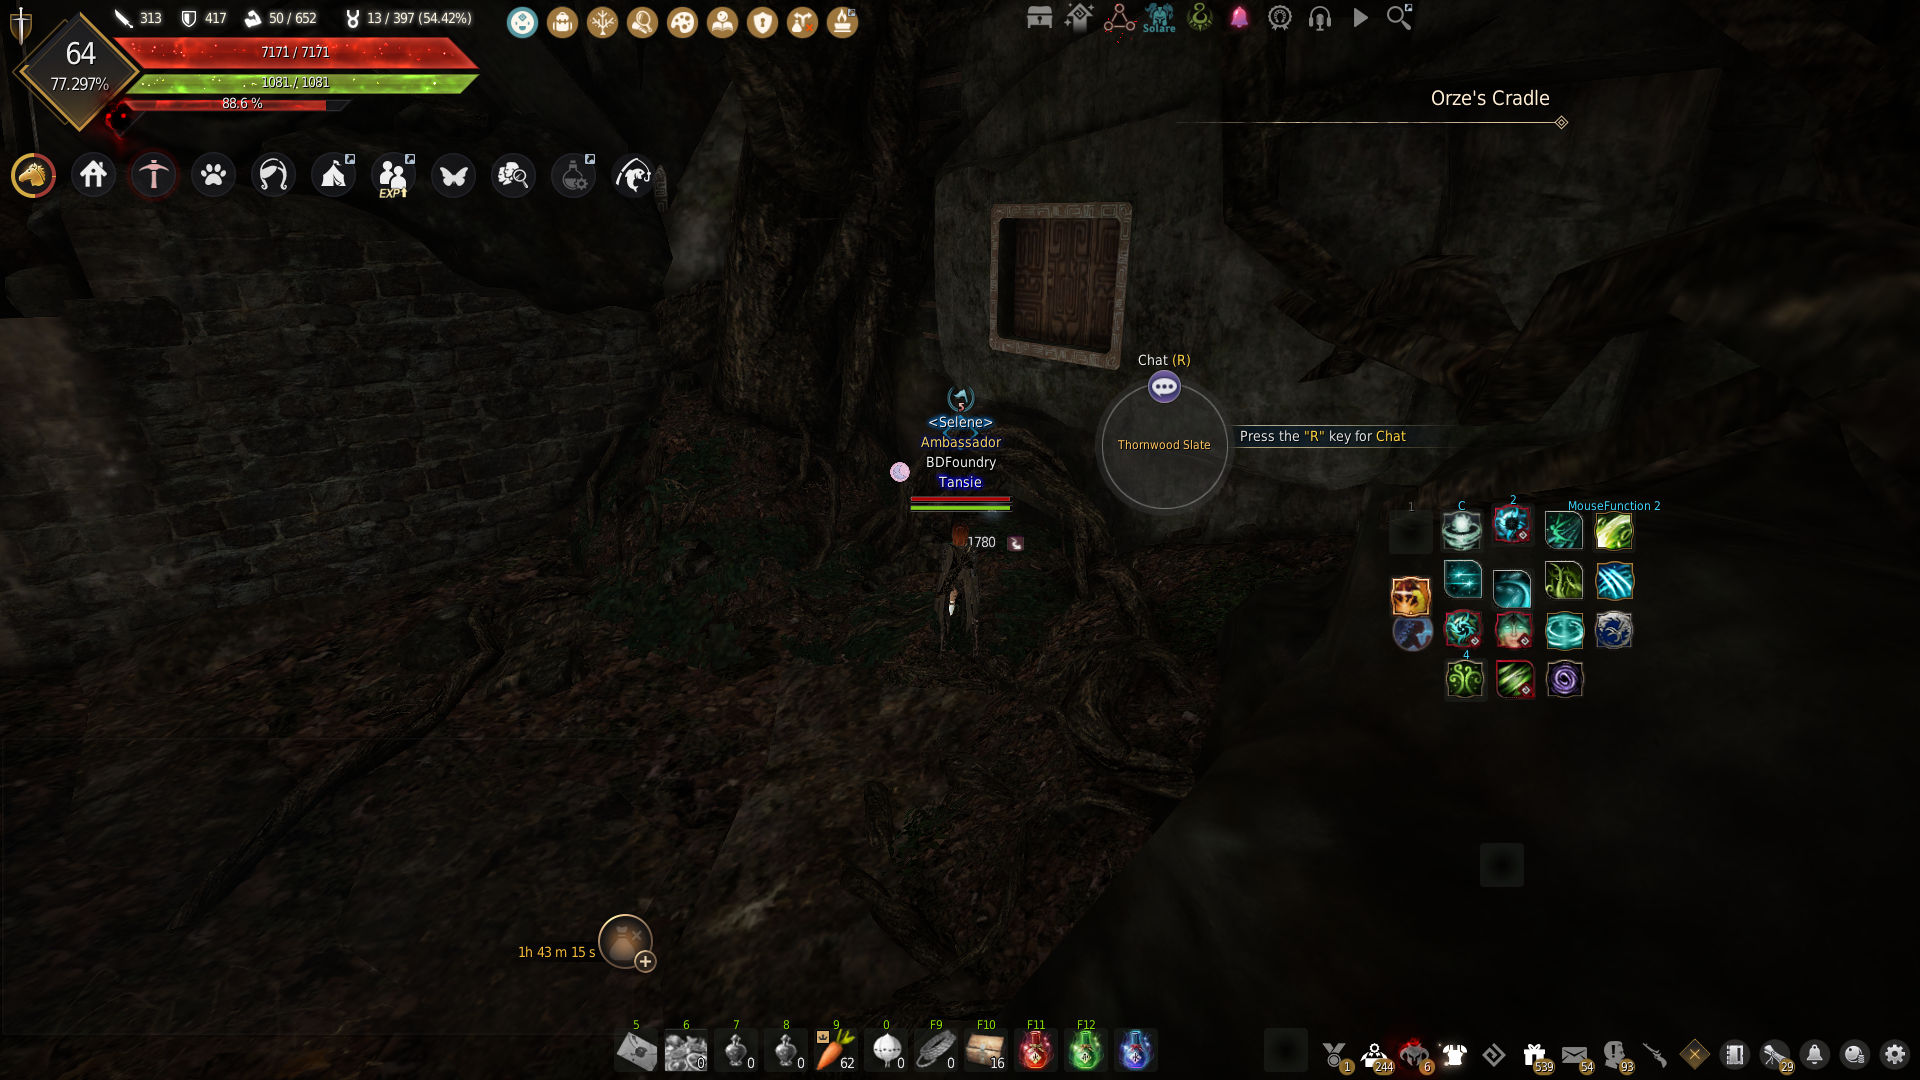
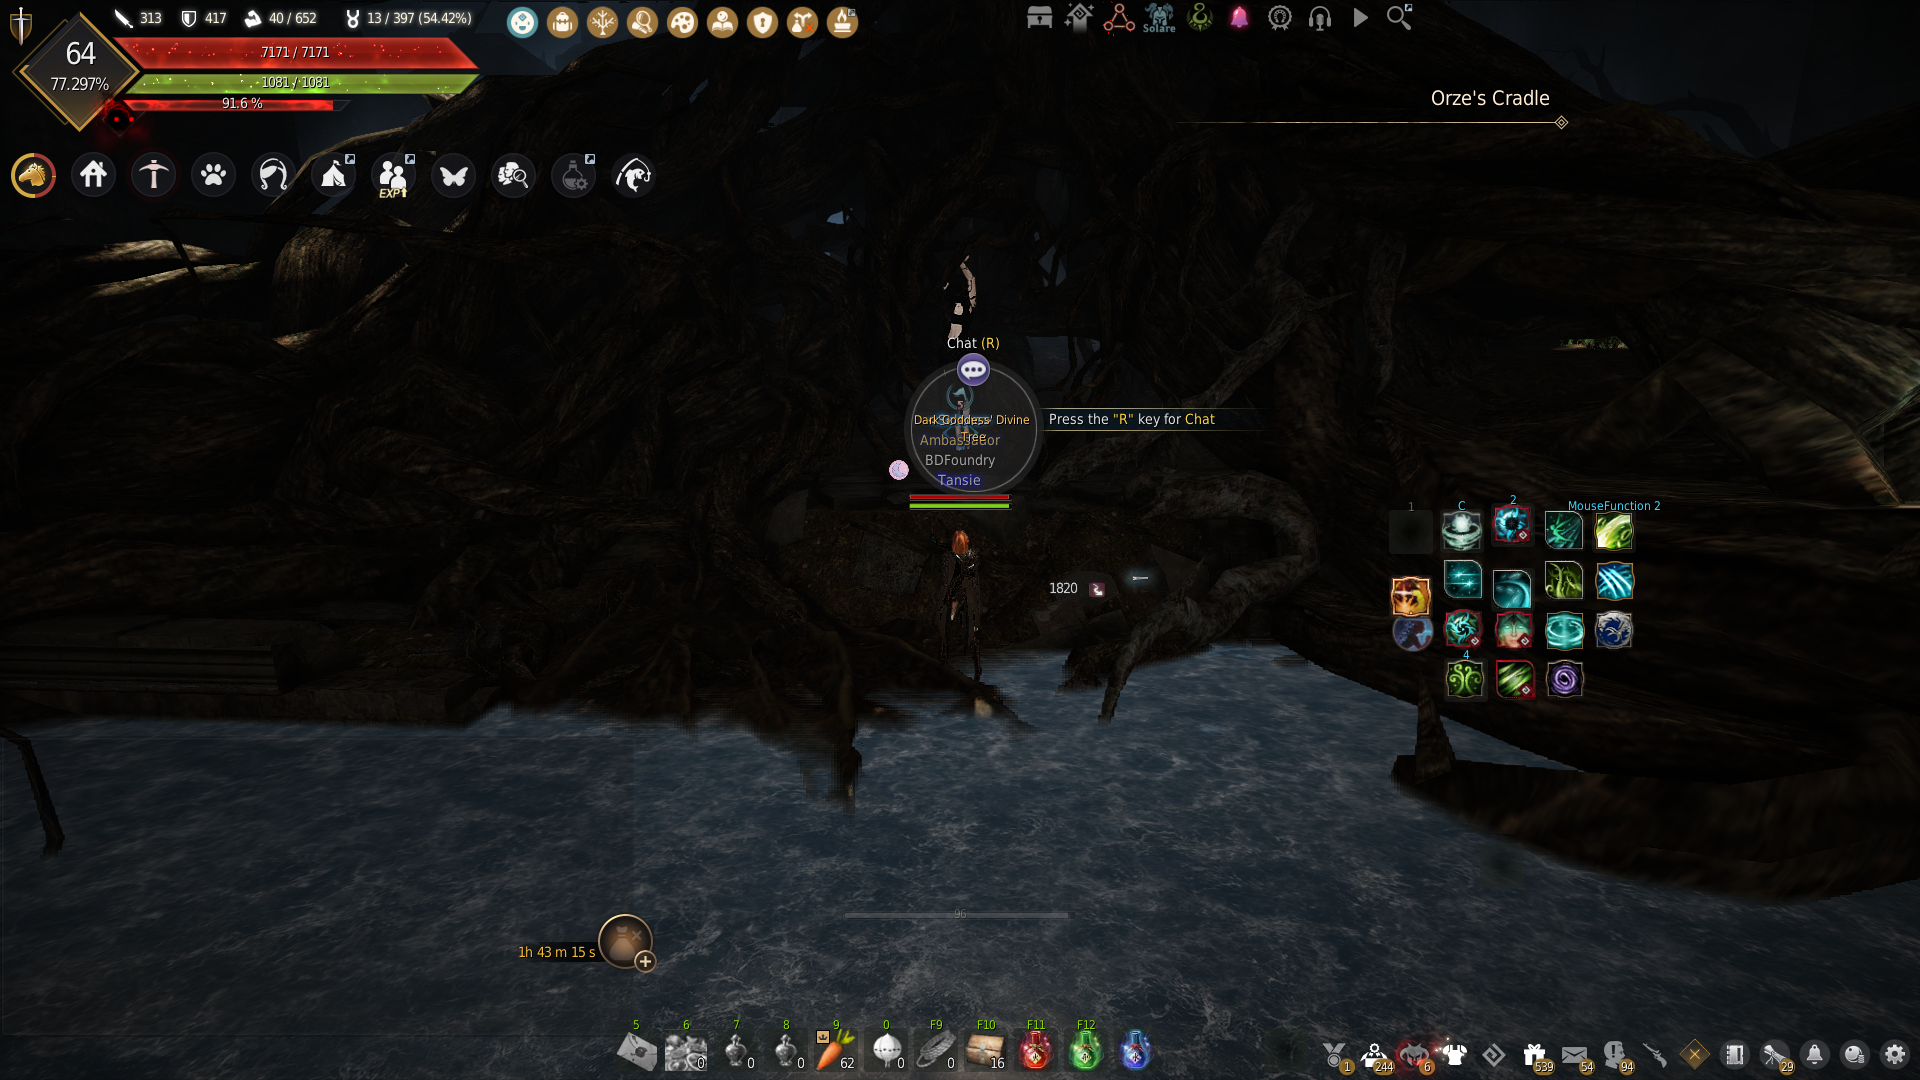
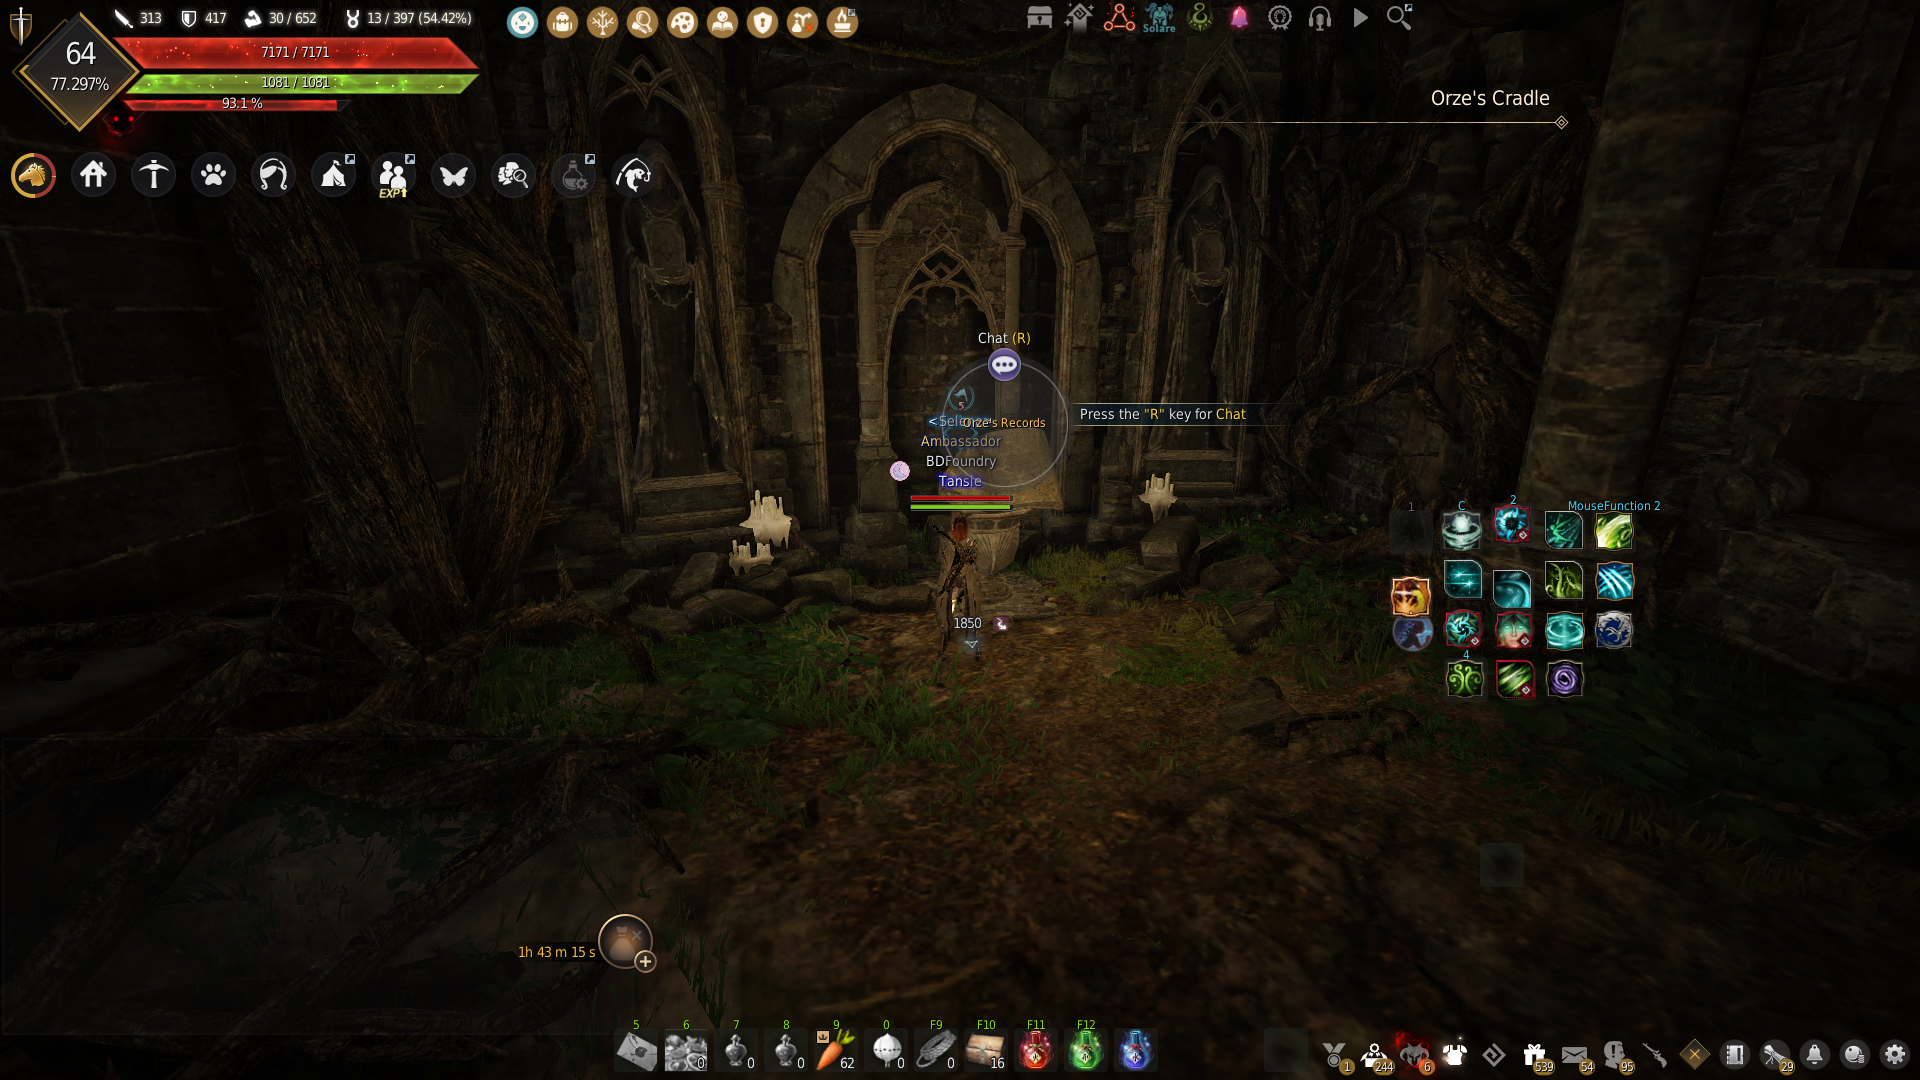
Below is an album of the knowledge you can obtain from interacting with the hidden objects around the dungeon (cradle knowledge currently not added).
Each interaction costs 10 or 30 energy, use a tagged character and energy potions to gain all the knowledge.